What Is Lecture Capture? A Complete Guide to Modern Learning Tools


If you’ve ever repeated the same session for different groups or answered the same questions over and over, you know how valuable a good recording can be.
Lecture capture is already widely used in higher education — around 75% of UK universities provide students with recorded lectures. And it’s quickly gaining ground in corporate training as a way to streamline delivery and support on-demand learning across teams, locations, and time zones.
In this guide, we’ll share how lecture capture works, why it matters, and how to use it effectively in your learning projects.
Key Takeaways
The article defines lecture capture as the process of recording live lectures or training sessions — including slides, screen activity, and sometimes a webcam and captions — for later replay, helping organizations scale and make learning flexible and self-paced. It explains how capture systems combine hardware, software, and LMS integration, outlines benefits like consistency, learner support, and time savings, and offers steps for planning, recording, editing, publishing, and evaluating recordings. It also covers common use cases in education and corporate training and cautions about privacy, technical setup, faculty adoption, and accessibility requirements.
What Is Lecture Capture?
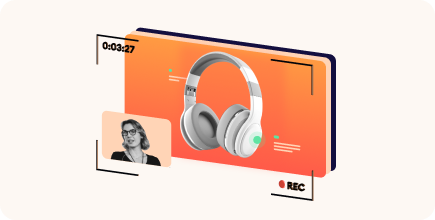
Lecture capture is the process of recording live training sessions or lectures along with slides, screen activity, and sometimes webcam and captions, so they can be replayed later.
Deliver once and use many times — that’s the core idea behind lecture capture. Whether you’re delivering onboarding, compliance training, or university lectures, recording your sessions allows you to scale your efforts, maintain consistency, and enable learners to engage with the content at their own pace.

How does lecture capture work?
Lecture capture combines hardware and software to record, process, and share learning sessions. Here’s what it typically involves:
- Cameras and microphones. Capture the instructor’s voice, presence, and any class or in-room interaction.
- Screen recording software. Records what’s shown on screen: slides, digital whiteboards, or live demonstrations.
- Lecture capture system. Tools like iSpring Suite, TechSmith, or Panopto enable editing, organization, and distribution of the recordings.
- Cloud or LMS integration. Once recorded, sessions are stored on cloud servers or embedded directly into an LMS, such as iSpring LMS, Canvas, or Moodle, for easy access.

Modern systems often include AI-powered features like automatic transcription, closed captions, and searchable video content, improving accessibility and learner experience.
 The Best Screen Recorders for PC: Free and Paid
3 Benefits of Lecture Capture for Learners and Educators
There’s nothing efficient about delivering the same session five times a week or stopping mid-flow to answer questions that could have been handled with a quick replay. That’s where lecture recording earns its place: it helps you do more, once, without losing impact.
Here are three main reasons trainers and educators rely on it:

Knowledge scalability
Recording once means you don’t have to deliver the same session repeatedly. Whether it’s onboarding, compliance, or technical walkthroughs, you create a solid version once and make it available to anyone who needs it, whenever they need it. This ensures consistency across teams and saves hours of delivery time.
Deeper learner support
Not everyone processes information in the same way or at the same speed. Lecture recording lets people pause, rewind, and revisit tough topics as often as needed. For complex or detail-heavy training, this makes a real difference in how well learners absorb and retain information.
More time for strategic tasks
When your recordings already cover the basics, you can spend more time where it counts — answering deeper questions, mentoring team members, or adapting content to active learning formats. Lecture capture takes care of the repeatable part of your work so you can focus on the impactful one.
Too much to read? Get a summary from AI
How to Set Up Lecture Capture in 6 Simple Steps
If you want your recordings to support learning — and not just sit in a folder — getting the setup right from the start is essential. Here’s how to plan, record, and deliver lecture capture that’s both useful and easy to reuse.
Step 1. Choose the right recording system
The first step is to select a lecture capture platform that fits your workflow and goals. Do some research to find the optimal software for your needs. Here are five key features we recommend looking for:
| Main point | Explanation |
|---|---|
| 1. Integrations | Look for software that integrates seamlessly with your existing tools, especially your LMS, to ensure smooth access and workflow continuity. |
| 2. Recording options | Choose a platform that offers reliable, flexible options for recording audio, video files, and screen activity to fit different training setups. |
| 3. Playback experience | Ensure that the platform supports a smooth playback experience with features like intuitive navigation, adjustable speed, and a user-friendly interface. |
| 4. Automatic transcription | Built-in transcription and captioning features improve accessibility and make content easier to review. |
| 5. Analytics and reporting | Robust analytics help you track engagement, monitor learner behavior, and refine your teaching or training strategy. |
Step 2. Set up the lecture recording environment
A solid technical setup is key to a professional-looking (and sounding) recording. Prioritize clear audio — poor sound is one of the fastest ways to lose your audience.
Also, use a high-quality microphone and a reliable camera, whether it’s an external device or a built-in webcam. Good lighting and clean screen capture for slides or demos will also help create polished, engaging content.

Step 3. Plan and record your lecture
A solid recording starts with proper planning. Outline your key points and organize your slides or supporting visuals to keep your session focused and engaging.
Record in a quiet, distraction-free environment. Speak clearly and maintain a professional tone — it doesn’t have to be formal, just confident and easy to follow.
Many lecture capture tools also let you combine screen sharing with a presenter view, which makes your recording more dynamic and personal.

Step 4. Enhance your video content
Once you’ve finished recording, a little editing can go a long way. Trim unnecessary parts, add chapter markers for easier navigation, and include captions to make your content more accessible.
You can also enhance the video with visuals, presentation slides, annotations, or interactive elements, like embedded quizzes, to keep learners engaged and reinforce key points.

Step 5. Publish and share your lecture
Once your lecture is finalized, upload it to your LMS, video platform, or cloud-based storage. Set access permissions and enable useful playback features like adjustable speed and searchability. Then, share the content with your audience through direct links or course modules.
 Pro tip. iSpring Suite enables you to record video lectures and make them a part of an interactive online course filled with quizzes, branching scenarios, role-play simulations, and more. When finished, you can upload your video lecture to YouTube with a few clicks or share it on any LMS.
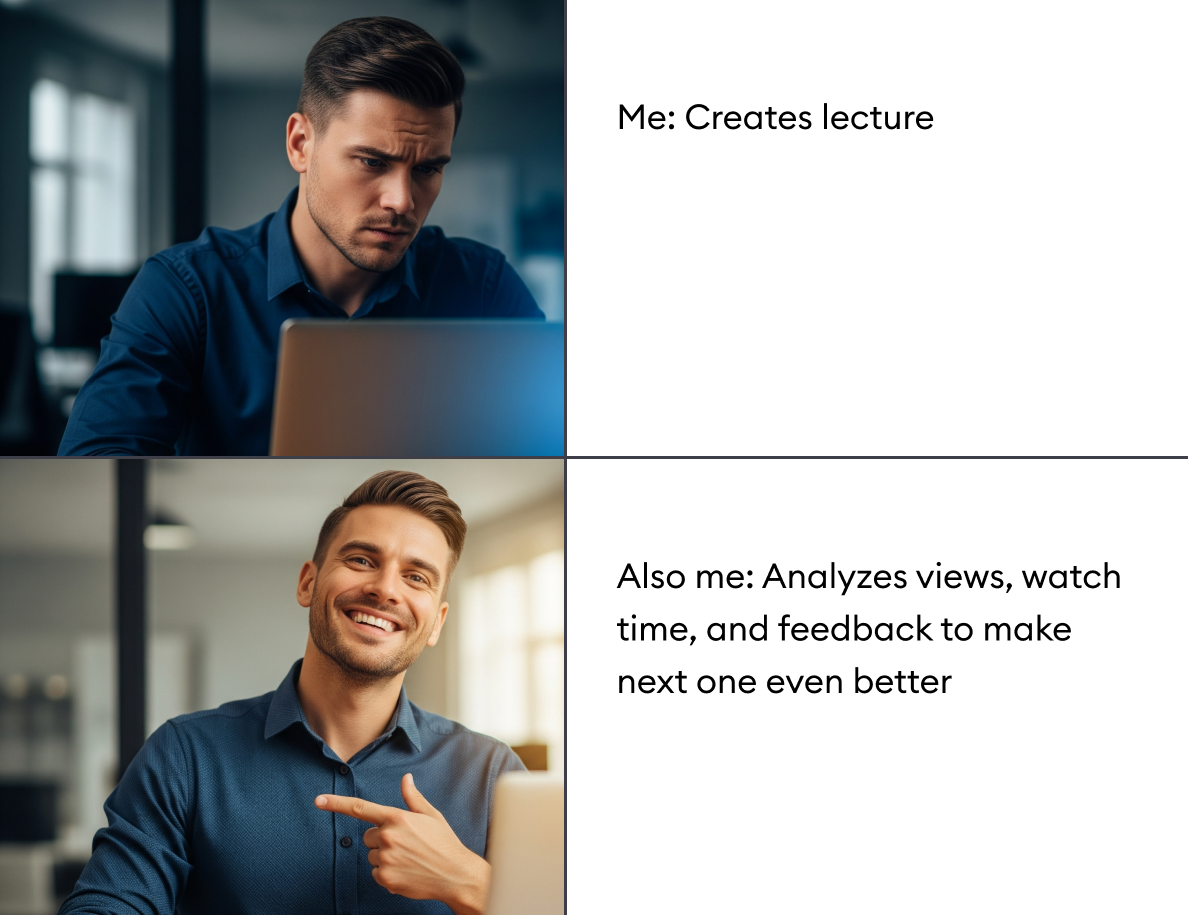
Step 6. Review engagement and feedback
Finally, take time to review how your audience interacts with the content. Metrics like views, watch time, and completion rates can provide valuable insights into learner engagement.
Feedback from students or employees is just as important — it can help you refine future lectures, improve visuals and audio, and make your recordings even more effective.
Common Use Cases of Lecture Capture
From universities to multinational companies, lecture capture supports a range of learning scenarios — especially when consistency, scale, or flexibility is a priority.
Higher education
Universities record traditional lectures for hybrid and online courses, allowing students to review materials on demand.
 University of Hertfordshire enhanced traditional text-based guides by incorporating interactive multimedia elements such as embedded video lectures, voice-overs, and clear module outlines. This approach helped students engage 83% more effectively with course materials and significantly improved their academic performance.
Corporate training
Businesses use lecture capture to deliver consistent training materials across global teams.
Castle switched from a classroom lecture format to using online training modules. This allowed them to deliver high-quality safety and compliance lessons to all teams, no matter where they were located. The change made a real difference: they saved thousands of dollars by reducing downtime because employees could complete training before setting foot on site.
Hybrid and remote learning
Lecture capture supports flexible learning models, bridging the gap between in-person and virtual classrooms.
By using recorded lectures and video-based online training, AUTOSUR made learning more engaging. Learners now spend more time with the material and finish more sessions than previously expected. Even better, this blend of in-person and online learning has helped improve the quality of their vehicle inspections, showing that a hybrid model works well in practice.
What to Consider Before You Hit the Record Button
While lecture capture offers powerful benefits, it’s not entirely plug-and-play. To make the most of it and avoid potential setbacks, it’s important to plan ahead for these key areas:
1. Data privacy and compliance
Lecture recordings often include personal data, so institutions must ensure compliance with privacy regulations such as GDPR or FERPA. This includes controlling who has access to recorded sessions and how long recordings are stored. Using a secure lecture capture platform that integrates with your LMS helps you control access and permissions.
2. Technical setup
Implementing lecture capture may require hardware, storage capacity, and investments in network bandwidth. Poor video or audio quality can negatively affect the learner experience. Make sure your setup, whether it’s a dedicated lecture room or a home office, meets the technical requirements for stable, high-quality recording.
3. Faculty adoption and mindset
Some instructors may be hesitant to embrace lecture capture, especially if they’re concerned about reduced classroom engagement or are unfamiliar with the technology. Supporting and showing how recorded content can complement live teaching is key to building long-term buy-in.
4. Accessibility and captioning
Captioning isn’t just best practice — in many regions, it’s a legal requirement. Laws like the Americans with Disabilities Act (ADA) and Section 508 of the Rehabilitation Act mandate that recorded learning content be accessible to all learners, including those who are deaf or hard of hearing.
Quality captions also improve the experience for non-native speakers, learners in noisy environments, and those who prefer reading along.
Final Words
Lecture capture is becoming a core part of modern education and corporate training. By making learning content more accessible, flexible, and scalable, it empowers organizations to reach more learners, support different learning styles, and reduce delivery effort.
Looking ahead, the future of lecture capture is even more promising. AI-powered tools, VR integrations, and personalized learning paths are on the horizon, making recorded content even smarter and more interactive.
Is lecture capture part of your learning strategy yet? Let’s continue the conversation in the comments — feel free to share how you use them in the learning process.
FAQ
1. What is lecture capture used for?
Lecture capture is used to record, organize, and share educational or training sessions for on-demand access. It allows learners to revisit content anytime, making it ideal for asynchronous learning, review, and long-term knowledge retention.
2. What are the best lecture capture tools?
Popular lecture capture tools include iSpring Suite, Panopto, TechSmith Camtasia, Kaltura, and Echo360. Each offers different strengths — for example, some focus on interactivity and quizzes, while others emphasize large-scale video management or analytics.
3. What is the difference between lecture capture and video conferencing?
While both tools let you share and record content, they serve different purposes, and the right choice depends on your goals.
Lecture capture is built for creating polished, reusable learning content. It typically includes multi-source recording, transcription, editing, chapter markers, and LMS integration, making it ideal for on-demand training and asynchronous learning.
Video conferencing (e.g., Zoom, Microsoft Teams) is designed for real-time interaction like live discussions, Q&As, or team meetings. Recordings are possible but often lack the structure, editing, and metadata needed for long-term learning use.
Create online courses and assessments in record time.


How to Create an Online Course: A Comprehensive Guide
The 21 Best Video Tutorial Software Programs: Free & Paid
How to Create a Video Tutorial People Actually Want to Watch
Video-Based Learning: How to Become a Training Video Ninja