How to Create Training Videos: A Complete Guide & 5 Examples (2026)


Training videos are everywhere! Chances are, you’ve watched cooking shows on TV or Photoshop tutorials on YouTube. But that’s not all — they’ve become a key part of corporate learning too. Surveys show that over half of employees enjoy watching videos more than reading content.
Making your own training videos can feel overwhelming. From writing a script to delivering the video on the right platform, there’s a lot to consider. So, where do you start if you want your training video to bring in real results?
 In this article, I’ll guide you through easy steps and tips for making employee training videos, even if you’re short on time or lack experience. You’ll also find useful resources, such as a template for writing a script and a checklist that covers all stages of video production. Whether you’re focused on online course creation or want to create a simple onboarding video, this article has everything you need!
What Is a Training Video?
A training video is one that’s created to teach viewers a new skill or educate them on a specific topic.
With training videos, you can learn new information in a manner that’s structured and accessible and then go into more detail through reading if needed.
You might be thinking, “It’s pretty clear why people watch videos. But why would I make them in the corporate sphere?” We’ll explain why.
Why Create Training Videos?
Using videos to train employees might be a good solution for the following reasons:
- Video is more compelling and engaging than text. It combines sound and pictures and engages more of our senses.
- Training videos improve knowledge retention. Research shows that 83% of people prefer watching videos to getting information as text or audio.
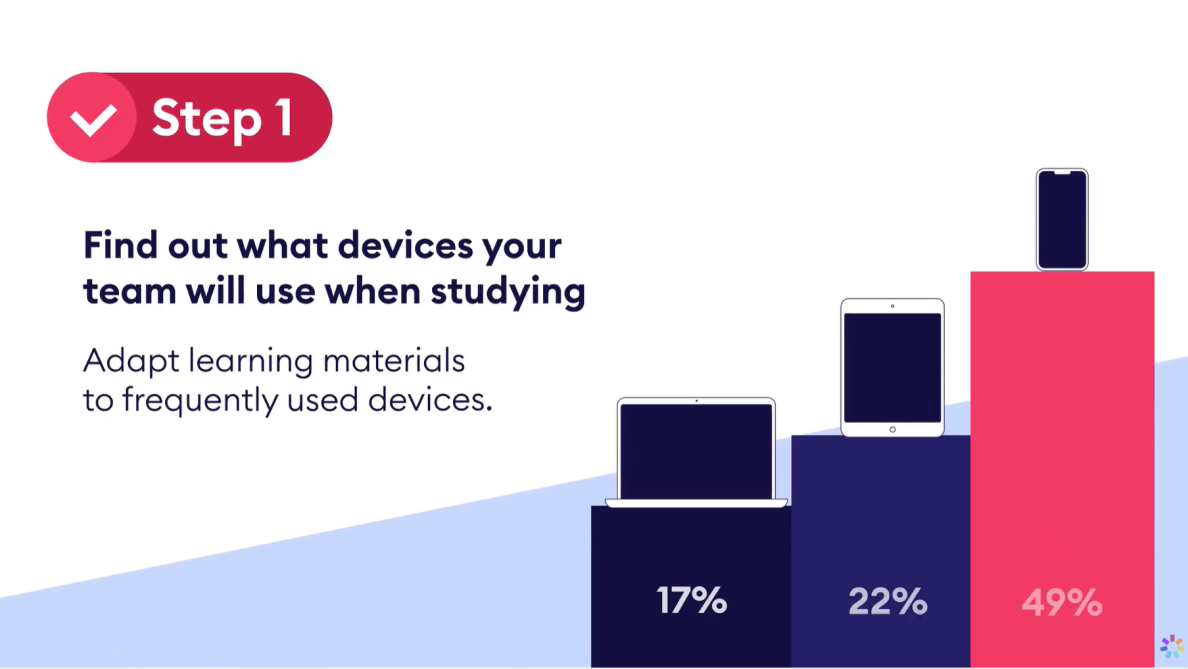
- Videos are more accessible and easier to consume. Learners can watch training videos on their smartphones in the subway, during a break from work, or while cooking or doing housework.
- Videos can reduce training costs. You can make a training video replicable for internal use, which is especially important for large companies with geographically dispersed teams. Video training helps them reduce repetitive instructor fees and other costs, such as venue, travel, and accommodation expenditures for training staff.
What Makes a Great Training Video?
When creating a training video, make sure the content matches your learning goal and is helpful for your learners. Set a clear objective, such as streamlining the onboarding process, helping new employees learn about company culture, teaching managers how to give feedback, or showing sales teams how to handle objections.
Key Elements of Effective Training Videos
To produce a great training video, keep the following aspects in mind.
| Aspect | Explanation |
|---|---|
| Clarity | Present information in a way that’s clear and understandable, and avoid unnecessary jargon or complexity. |
| Structure | Organize your video content logically with a well-defined structure, so it’s easy for viewers to follow and comprehend. |
| Length | Optimize the video’s duration for viewer engagement, balancing comprehensive coverage with concise delivery. |
| Interactivity | Incorporate interactive components, such as quizzes or simulations, to enhance engagement and reinforce key concepts. |
| Visual appeal | Use engaging visuals to make the video aesthetically pleasing and memorable. |
| Accessibility | Make the training video accessible to a diverse audience by providing subtitles, transcripts, or other accessibility features. |
| Feedback mechanism | Incorporate feedback mechanisms like surveys or quizzes to collect insights and assess training results. |
If you want to create not just a video but a complete course, make sure to check out this 12-step guide on how to build an online course.
Want to create professional training videos without expensive equipment?
Download a free trial of iSpring Suite and start recording in minutes.

5 Training Video Examples That Inspire
Let’s look at five examples of training videos that successfully apply the key principles of effective learning.
#1. Getting started with iSpring Suite:
https://www.youtube.com/watch?v=DYj7Gl-yXcc
This example of a screencast training video walks viewers through the process of creating online courses. Each step is supported by the narrator’s explanation, making the video clear and easy to follow.
#2. What is eLearning?

Using bright visual elements and an engaging story, this animated video introduces viewers to the benefits of eLearning.
#3. How to give constructive feedback:

Live-action training videos rely on real-life scenarios to model different workplace situations. This training video features two employees demonstrating to viewers how to give feedback in a professional environment.
#4. How are Synthesia AI avatars created?
What better way to demonstrate the power of artificial intelligence than to show it in action? This training video on how to create AI avatars is narrated, understandably, by an AI avatar.
Too much to read? Get a summary from AI
Types of Corporate Training Videos
Whether you’re a pro or just starting out, it’s important to choose the right type of training video for your goals. Here are some options you can consider:
Traditional Video Types
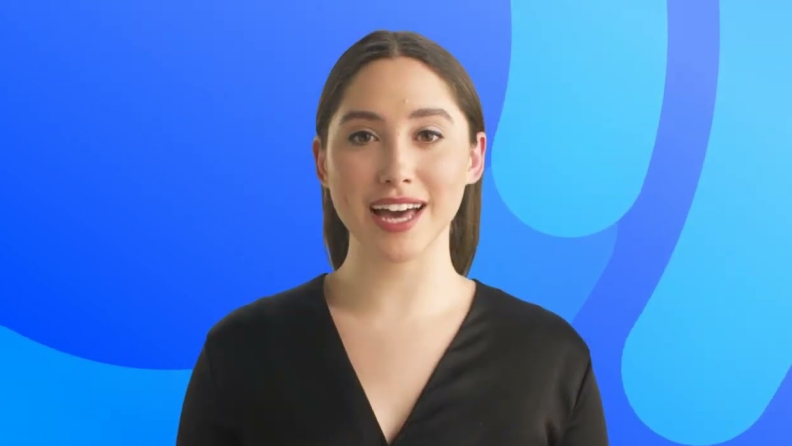
Talking head video
This type of online training video shows a person who addresses the audience directly to the camera as though speaking face-to-face. Use this type when you need to deliver instructions to the entire staff. For example, inform them about a new product or convey company policies, values, or procedures.
Animated training video

With animated graphics, characters, and storytelling, these videos bring complex concepts to life in a visually engaging manner. This type is ideal for making complicated content more accessible.
Screencast video
Screen recording with a voice-over narration, also known as screencasting, is useful for demonstrating software processes, computer workflows, or system functionalities. Screencast training is often used for customer service training videos.
Also read: How to Make a Screencast: Tips & Tricks
Whiteboard explainer videos

Featuring handwritten key details on a whiteboard, these videos are effective for breaking down and explaining complex ideas or processes step by step. They are valuable as procedure and concept explainers.
Also read: Best Explainer Video Software
Text-based video
By employing on-screen text and graphics, text-based videos focus on concise messaging to convey complex information efficiently. They’re suitable for delivering quick updates or compliance information.
Conference video

Valuable for capturing and sharing conference proceedings, these videos ensure that insights, discussions, and presentations are accessible to a wider audience beyond the event.
Modern Video Formats
AI-Generated Videos
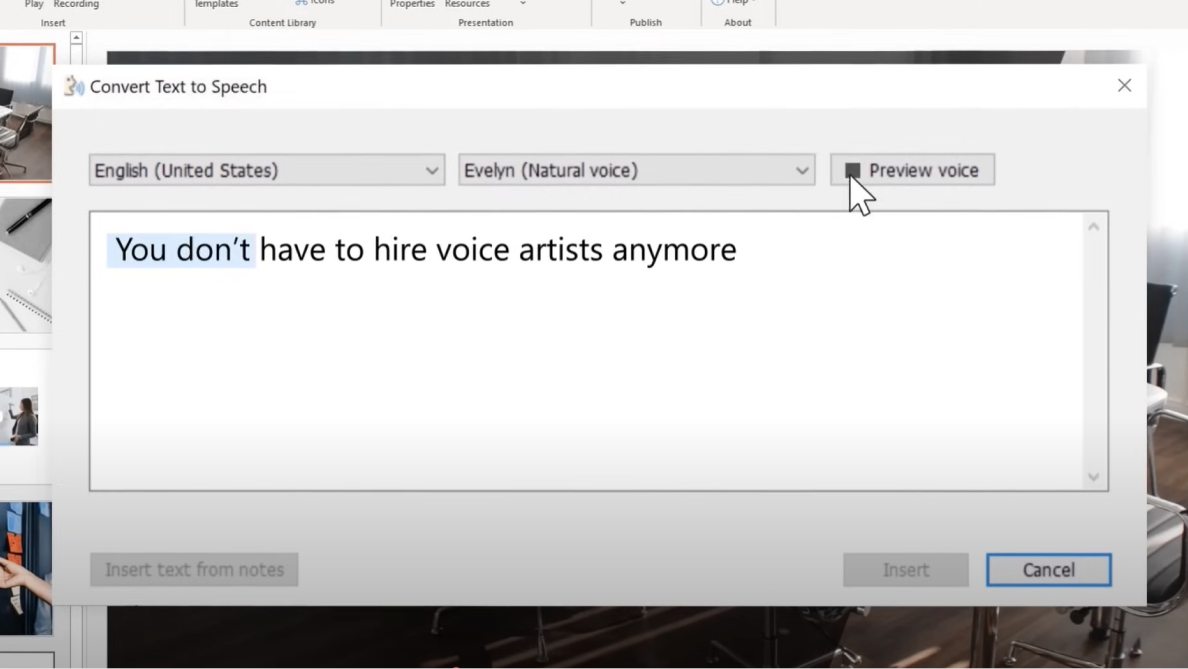
Thanks to AI, creating training videos has become quicker and easier than ever. Tools like Synthesia and Elai turn your scripts into videos with different AI avatars and voiceovers. They also allow companies to make videos in different languages, reducing production time and costs.
Interactive Videos
Branching scenarios, clickable elements, and quizzes that can be embedded right into videos can make a great addition to your training content. These features help create a personalized experience for learners, allowing them to actively engage in the whole process and reinforce their learning outcomes.
VR Training Videos

If you want to provide your employees with hands-on experience in a controlled setting, VR training is the way to go. This format allows learners to practice their skills by immersing them in real-world scenarios. VR training works great for teaching complex tasks, as well as improving soft skills and boosting confidence.
Equipment Needed to Record Employee Training Videos
Basic equipment setup
You only need two things to film training videos of decent quality:
- Record directly with your smartphone.
- Clip an external microphone, such as a Lavalier microphone, onto a presenter’s clothes to amplify their voice and create professional-sounding audio.
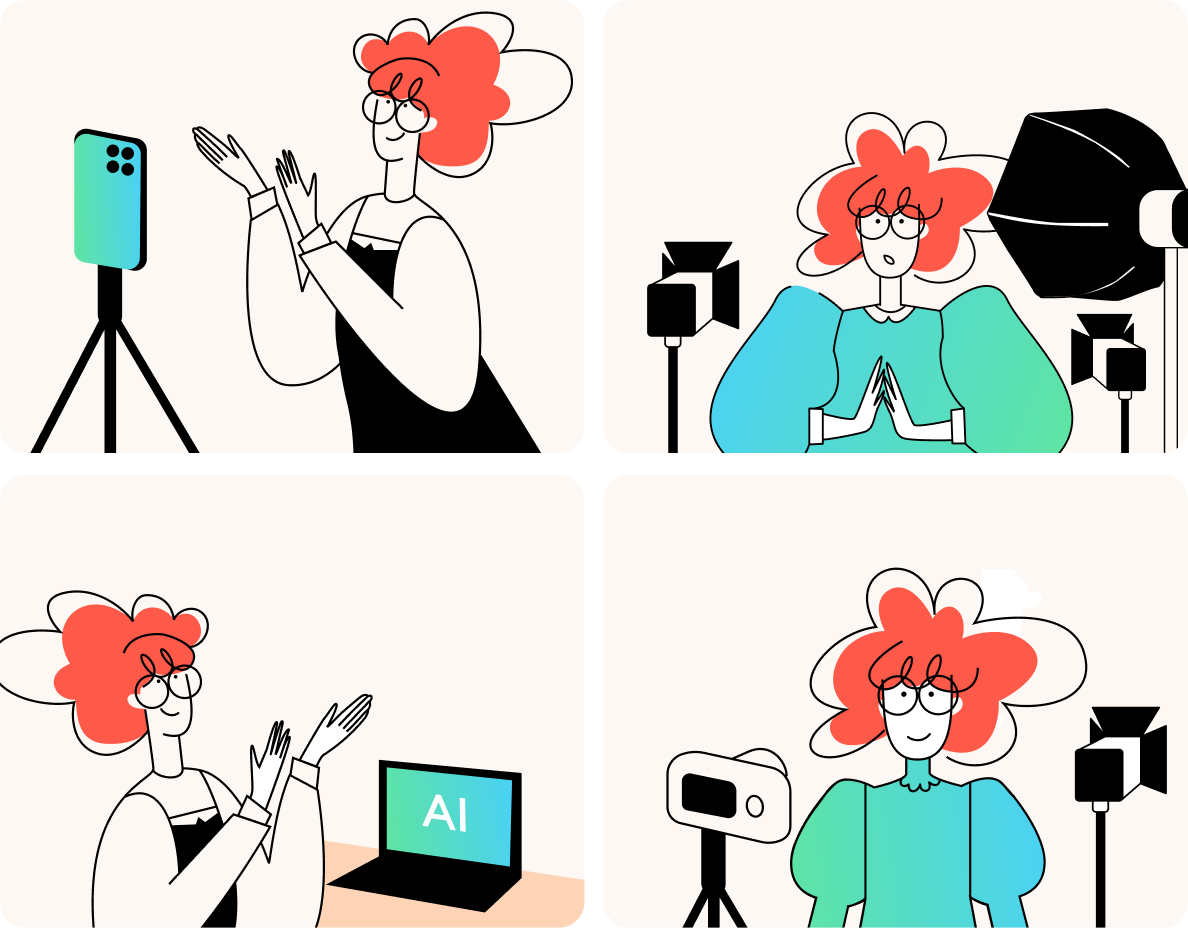
Budget-friendly home studio setup
Smaller businesses or creators who want a professional look without spending too much can follow this simple list:
- Use your smartphone or a basic webcam for recording.
- Get a tripod to keep your camera steady.
- Add affordable lighting, like LED ring lights, to brighten your shots.
Professional equipment options
If you want to make your training videos look more professional, using better equipment can really help. Here are some things to consider:
- Use a DSLR or mirrorless camera for a sharper image.
- Invest in a shotgun microphone to capture clear audio.
- Set up professional lighting to brighten your shots and minimize shadows.
Pro tip: AI platforms allow you to create good employee training videos without a need for cameras, microphones, or studios. However, keep in mind that many AI tools still aren’t fully developed and may have limitations.
Pre-Production Planning
Before you start filming training videos, it’s important to go through pre-production planning. This phase is essential to create an effective learning experience for your employees.
Creating a training video strategy
The first thing you need to do is define measurable objectives. What specific knowledge and skills do you want your employees to acquire? Is the video needed for soft skills training or employee onboarding? Keep in mind learners’ roles, experience levels, qualifications, and learning styles. Make sure your learning goals align with your company’s broader objectives and strategy.
Storyboarding techniques
To get a visual blueprint for your video and ensure a smooth narrative, you need to focus on storyboarding. A storyboard is a series of sketches or images that outline the video, scene by scene. There are different ways to go about this:
- Hand-drawn sketches. This technique only requires basic tools like pen and paper, allowing the artist to add a personal touch to the visuals. Hand-drawn storyboarding is perfect for quick, rough visualizations.
- Digital storyboarding. Specialized software allows users to create dynamic storyboards, integrate different multimedia elements, and collaborate on projects in real time. However, this method requires some technical skills and, in some cases, expensive software.
- AI-generated storyboards. AI tools offer a fast and easy way to create storyboards based on a simple prompt or a more detailed script. This approach can save you time and money but may lack the nuance of human-created sketches.
How to Create an Effective Training Video [+Checklists]
Making an outstanding training video isn’t just about hitting the “record” button. From finding subject matter experts to creating a rough cut, there are many details to keep in mind to make sure your video is engaging. Together with our video production team, we’ve made a training video checklist for you that covers all stages of video creation.
Step 1. Prepare all the materials
The first task is to write a script, or at least make a list of the key talking points for when you’re recording. Also, prepare the PowerPoint slides, images, demos, and other content items that you plan to insert into the video itself.
How to write a video script: tips and template
Here are some tips to help you create a well-written script for an instructional video:
- Write a plan for the training with the learning objective in mind.
- Keep the chosen type of video in mind to ensure that your content aligns with the video format.
- Stick to the story structure to make it logically consistent.
- Keep sentences short and to the point.
- Avoid clichés and inappropriate humor.
- Make sure your script has a clear call to action.
- Practice delivering the content by reading the entire text out loud prior to recording.
- When recording, speak as if you’re describing the topic in person. This way, you’ll provide a natural and engaging delivery without the need for significant adjustments while the camera’s rolling.
To create a training video script from scratch, use this template as a guideline. Feel free to customize it to fit your topic, audience, and learning objectives.
Step 2. Set up the recording environment
iSpring Suite allows you to record videos without fancy equipment. You just need a computer, a microphone, and a USB webcam, or a laptop with a built-in mic and camera. When you open the video recorder, it will automatically detect any connected devices.
After you connect the audio and video feeds, prepare your computer for smooth functioning. Close apps that aren’t involved in the video recording process, especially those that show alerts or pop-ups.
Step 3. Make a test recording
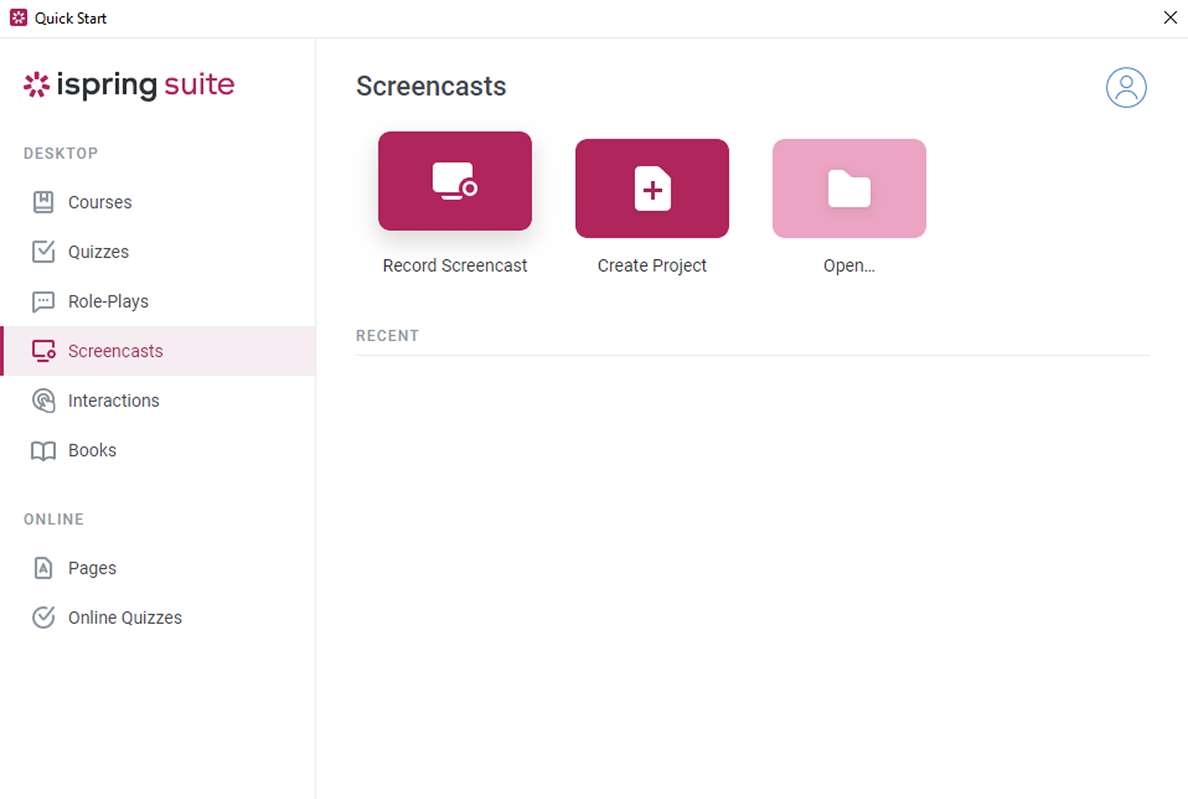
Install iSpring Suite for free and double-click on its icon on your desktop. In the Quick Start window, select the Screencasts tab. Choose Record Screencast.
iSpring Suite will ask what you want to record: the screen, the camera, or both the screen and the camera simultaneously. Since we’re going to make a presenter-style video, I’ll guide you through the key steps on how to record using a webcam.
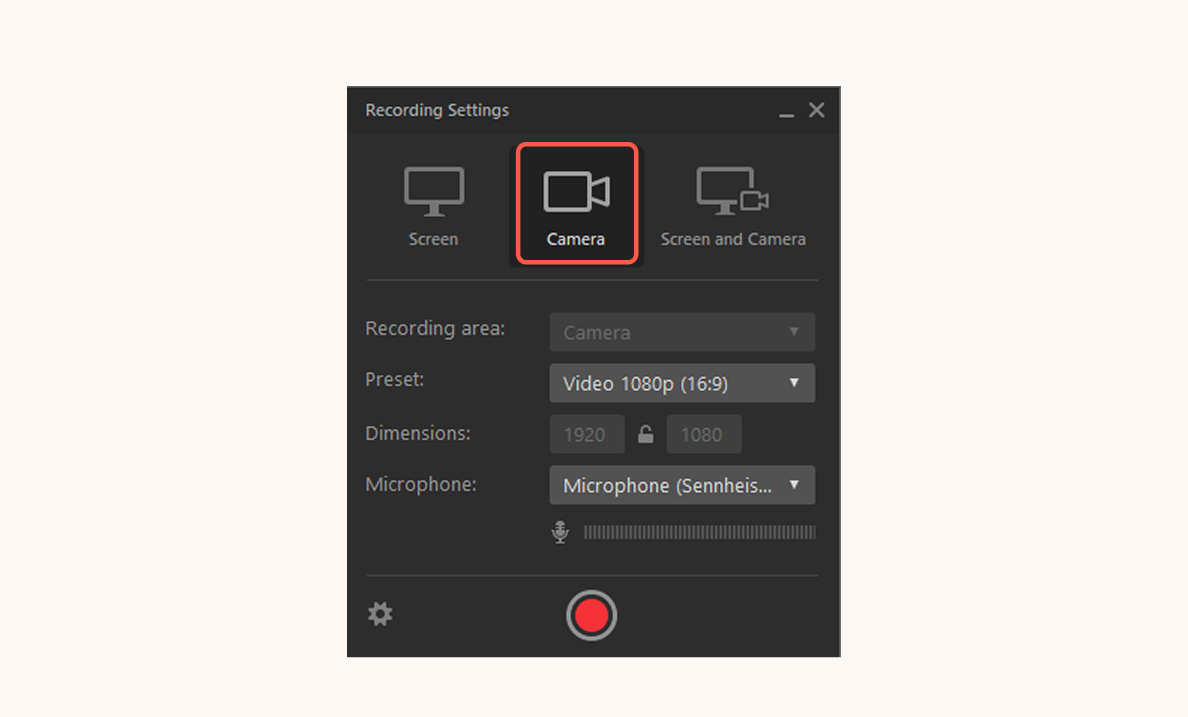
In the Recording Settings window, choose the Camera mode and customize the additional options.
- You can change the video size in the Preset drop-down menu.
- You can also choose the mic that will be used during recording on the Microphone menu. The mic is on by default, but you can turn it off by clicking on the speaker icon.
After you’re done with the webcam and microphone settings, click on the red button to perform a quick test.
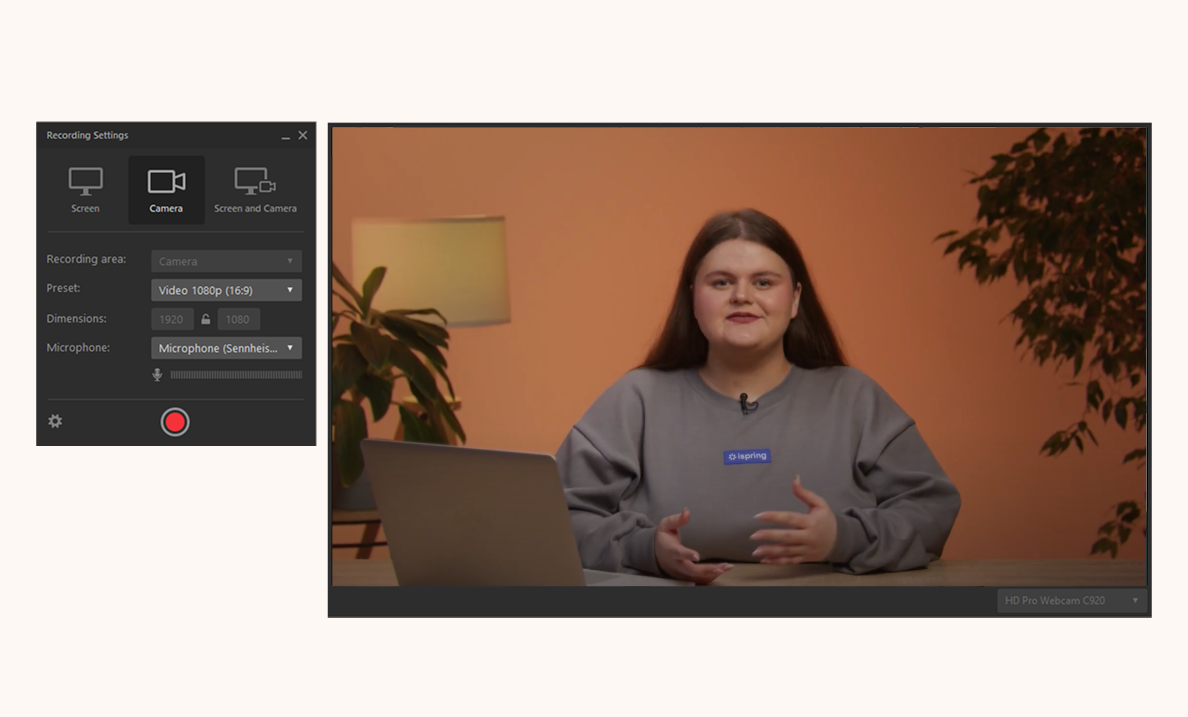
Record for a few seconds while talking. Then, click Stop or press F10 on your keyboard to finish the recording.

Play the video to check if the recording looks and sounds good.
Step 4. Record your training video
If everything works as intended, you can start recording your training video. Do a quick run-through of your script or talking points, adopt the appropriate posture, and click on the Capture button. Pause the recording as needed, and stop it when you’ve finished presenting.
Note: If you make a mistake, continue recording. Simply take a breath and start from the place where you stumbled. You’ll be able to cut out the mistakes later.
Step 5. Edit your training video
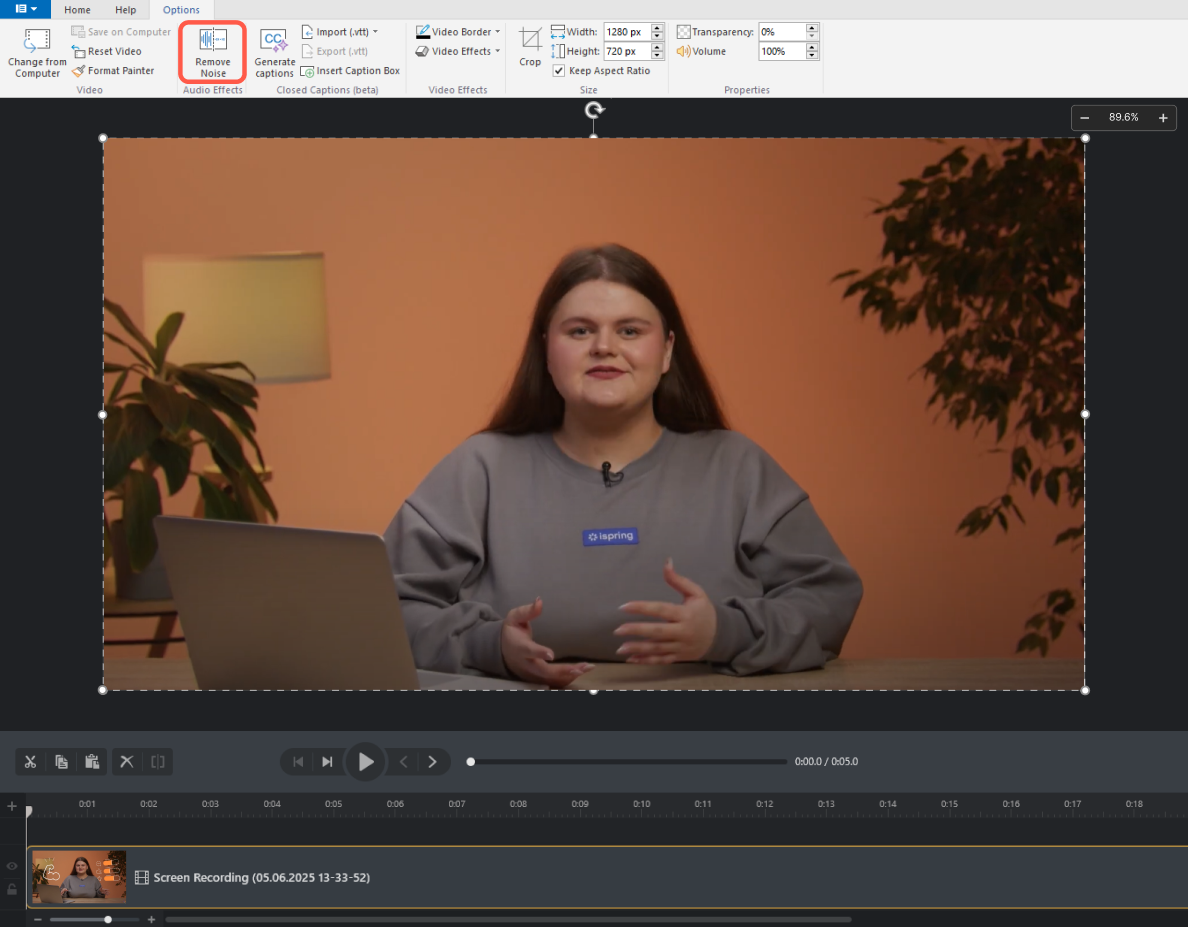
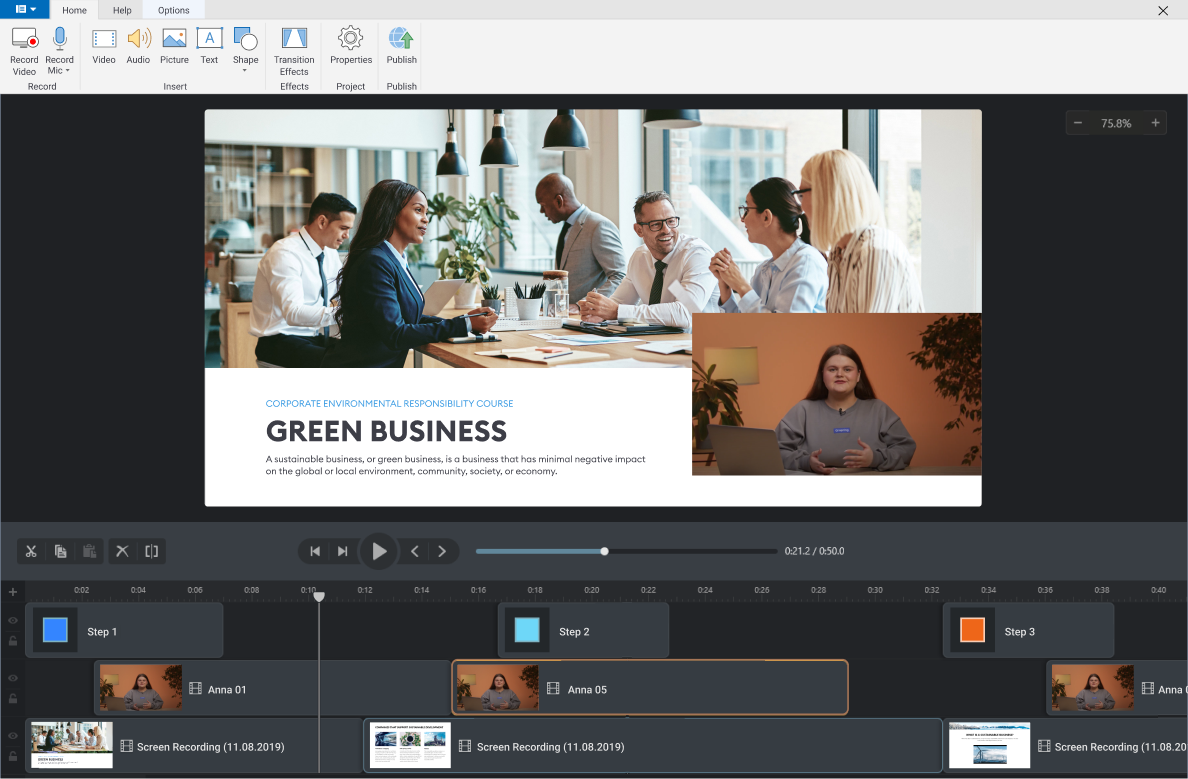
After you stop the recording, the video will open in the iSpring CamPro editor, where you can easily perform all the basic editing.
Start editing the video by trimming out the unwanted parts. Use the scissors icon to cut the fragments where you misspeak or cough out of the timeline.

You can also remove background noise from the entire recording by hitting the Remove Noise button on the iSpring toolbar.
With an entirely cleaned-up timeline, you can move on to the fun part: adding other kinds of content. You can insert pictures, infographics, animations, and text.
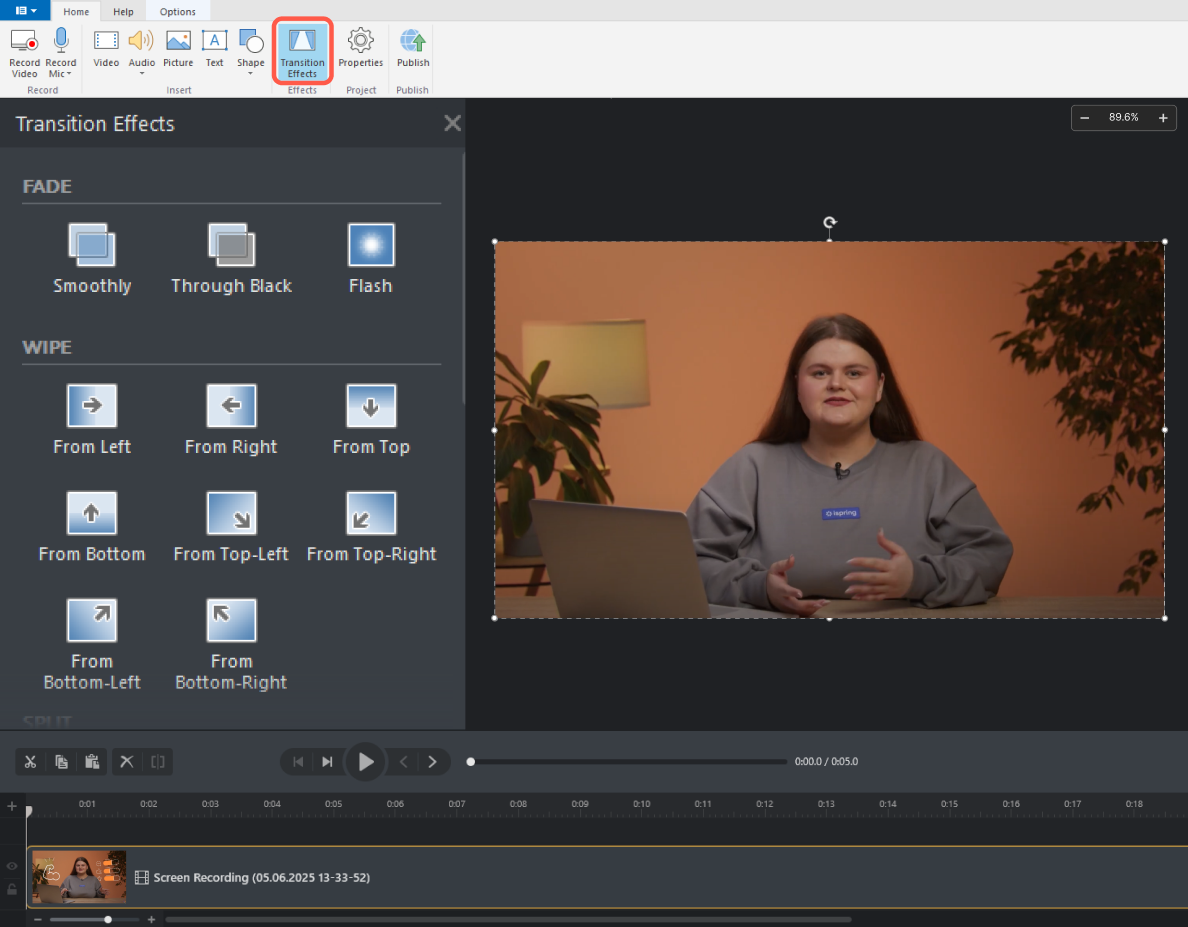
If you’re going to add pictures or other visuals to your training video or want a smoother segue from one shot to the next, you need to add transition effects. To apply a selected transition effect, drag and drop it onto the clip in the timeline.
You can also enhance your training video by adding background music or just inserting it at the beginning and end of the video to engage your audience even more.
Once your video is ready, you can start training your employees. To make your video available for colleagues, upload it to YouTube, Vimeo, or your LMS.
Best practices for effective video editing
To streamline your video editing process and make the final interactive video training more polished, consider this advice from video experts.
Make sure you:
- Give reasonable descriptions. There’s nothing worse than trying to find a desired shot in a folder containing several hundred files named “Untitled File.”
- Focus on storytelling. Having a clear vision while editing will help you deliver the message effectively.
- Review the next day. “Sleep on it” to have a clearer assessment of the final product. This can also help you see the video from the viewer’s standpoint.
Avoid these pitfalls:
- Overuse of transitions and sound effects. Strive for a balanced approach, as too many jump cuts and sound effects can overwhelm the viewer.
- Use of copyrighted material. To determine if an image or other media is copyrighted, check for licensing information, look for watermarks, or consult the source website’s terms of use.
- Don’t forget to save and back up. Be sure to save your work and make backups regularly. Set up automatic saving on your device and maintain backups on an external hard drive to ensure that you won’t lose your edits.
The 6 Best Training Video Software
We’ve collected the best all-in-one tools to facilitate the recording and editing process for all types of users.
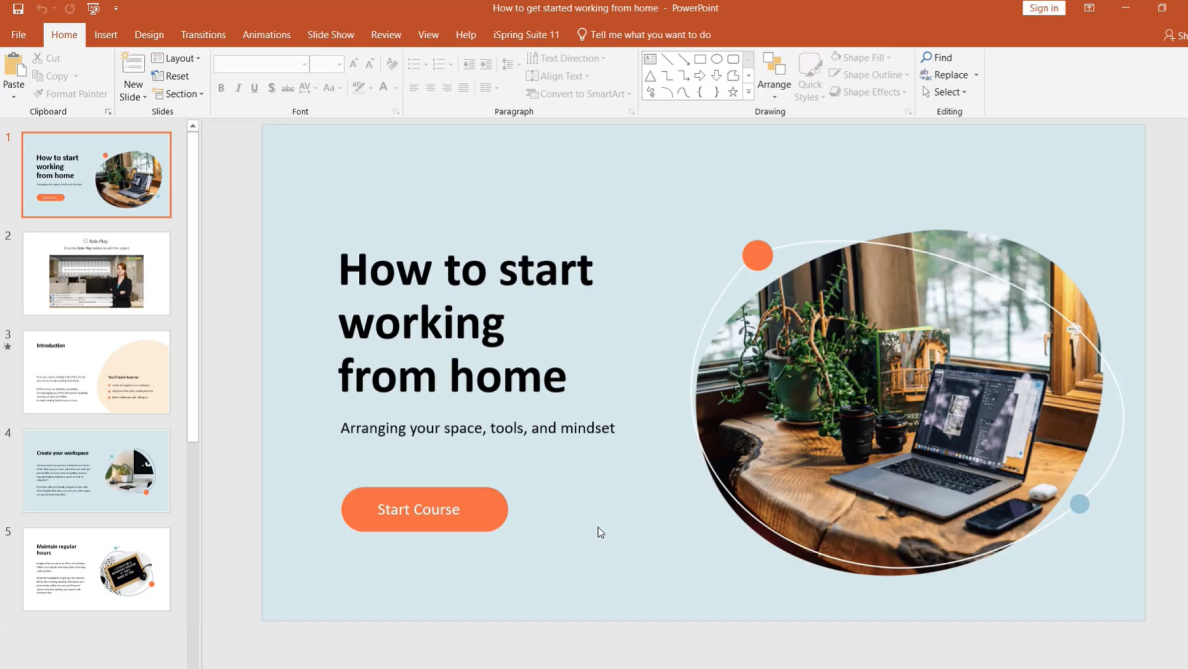
PowerPoint-based training video software
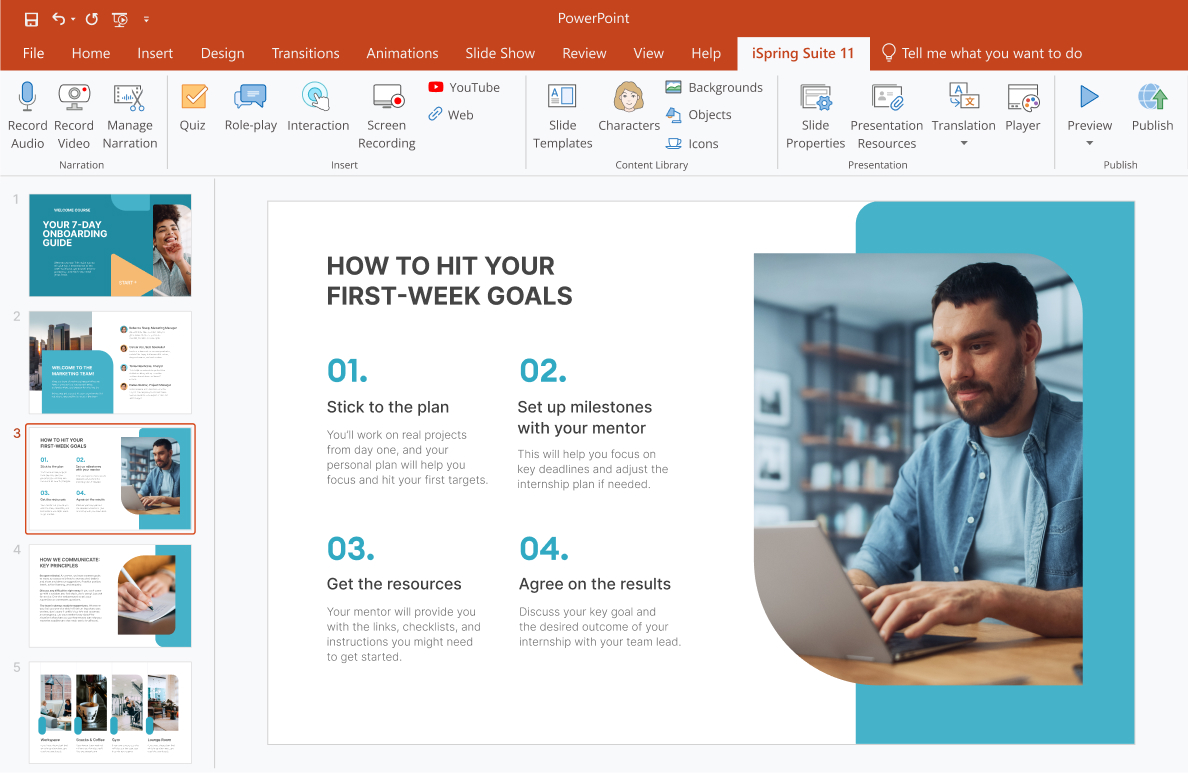
#1. iSpring Suite
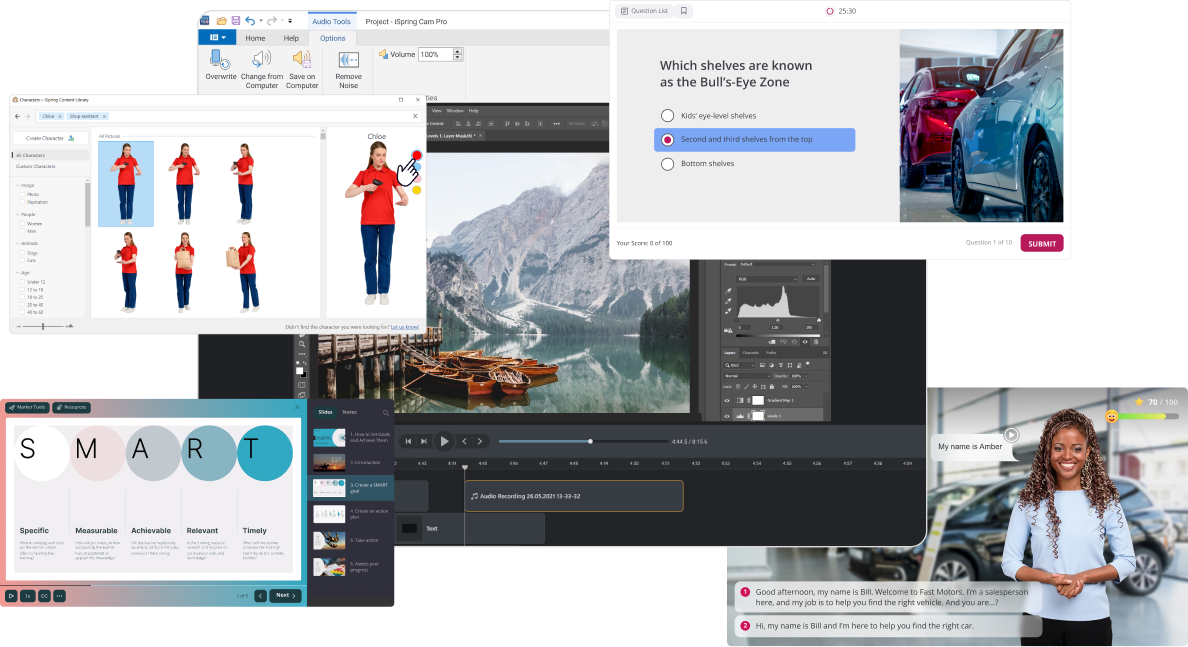
iSpring Suite is an authoring tool for creating online courses. If you want to engage your online learners not only with video but with interactive courses as well, this will be a perfect choice. The tool includes all the key features for making an online course interactive, like voice-over, course templates, backgrounds, and even custom characters. With iSpring Suite, you can make video tutorials with role-plays, interactive elements, drag-and-drop quizzes, and more. Then you can save the courses as videos or other eLearning formats right from PowerPoint.
AI Video Generation Tools
#2. Synthesia
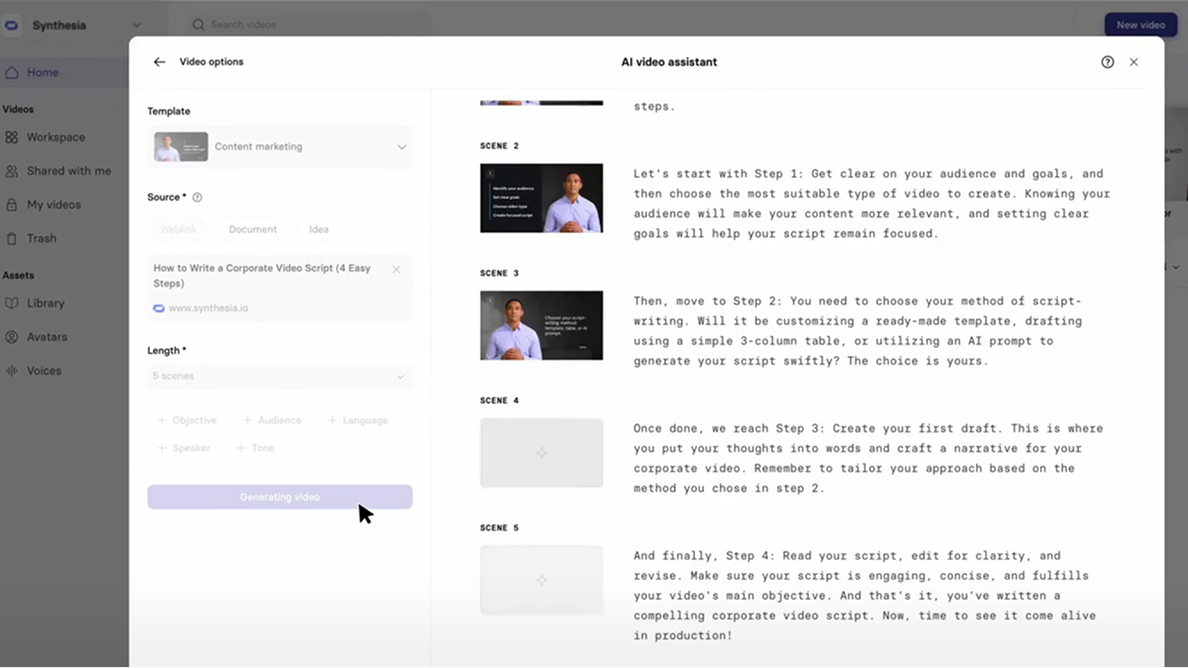
Synthesia is an AI-powered platform that allows you to create professional training videos with digital avatars and voice-overs in multiple languages. It offers a simple way to make videos from scratch by helping you to write a script, customize the AI avatar, generate subtitles and translations, and share the final results on any platform.
#3. Elai
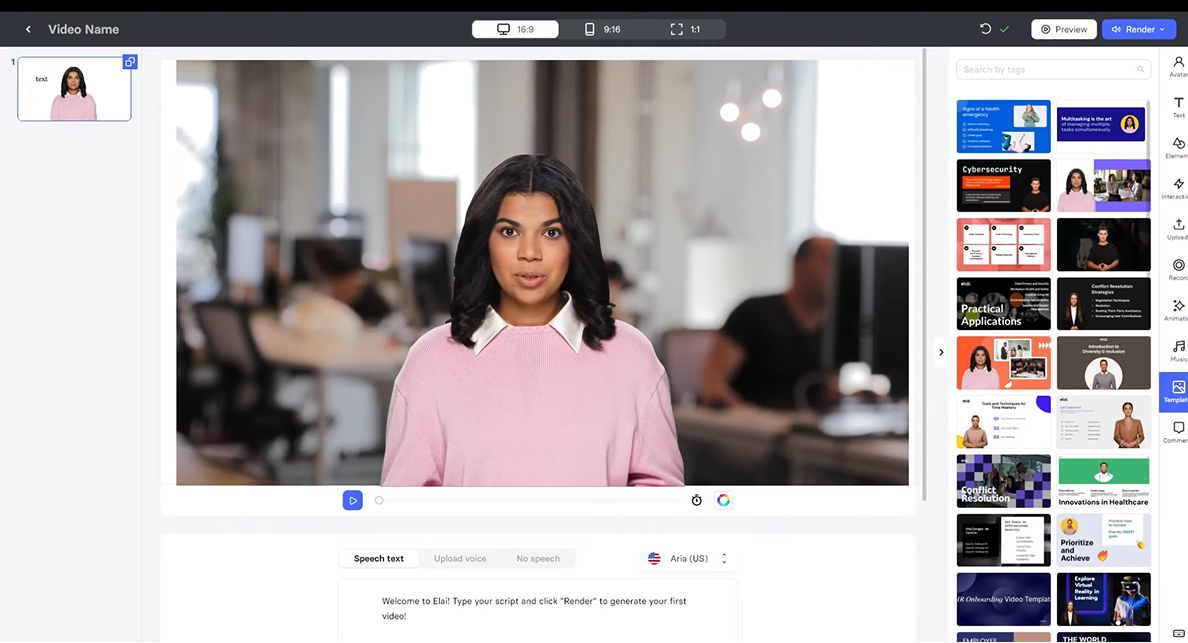
Similarly, Elai uses artificial intelligence to help companies create training videos at scale. In addition to a variety of custom avatars, Elai also offers features like interactive quizzes, branching scenarios, and clickable elements.
Traditional Video Editors
#4. FilmoraX
FilmoraX is a video editing tool that simplifies the entire process for novices. It enables you to adjust narration speed, fix camera shakes, and change backgrounds. You can also create custom animations, split-screen videos, stop-motions, and add other effects.
#4. Camtasia
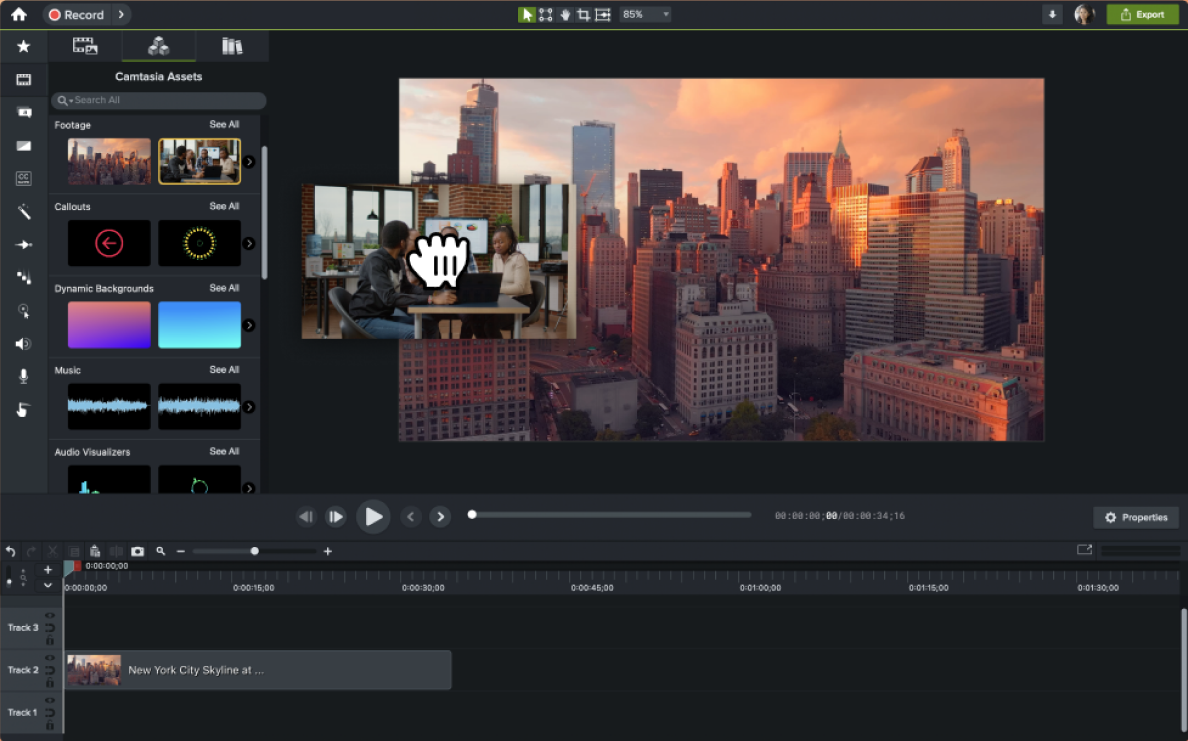
Camtasia is a smart choice for video screencasts and software demos. It’s a straightforward yet powerful screen recorder and video editor that also facilitates editing audio narration, adding sound effects, and including royalty-free music.
#6. Hippo Video
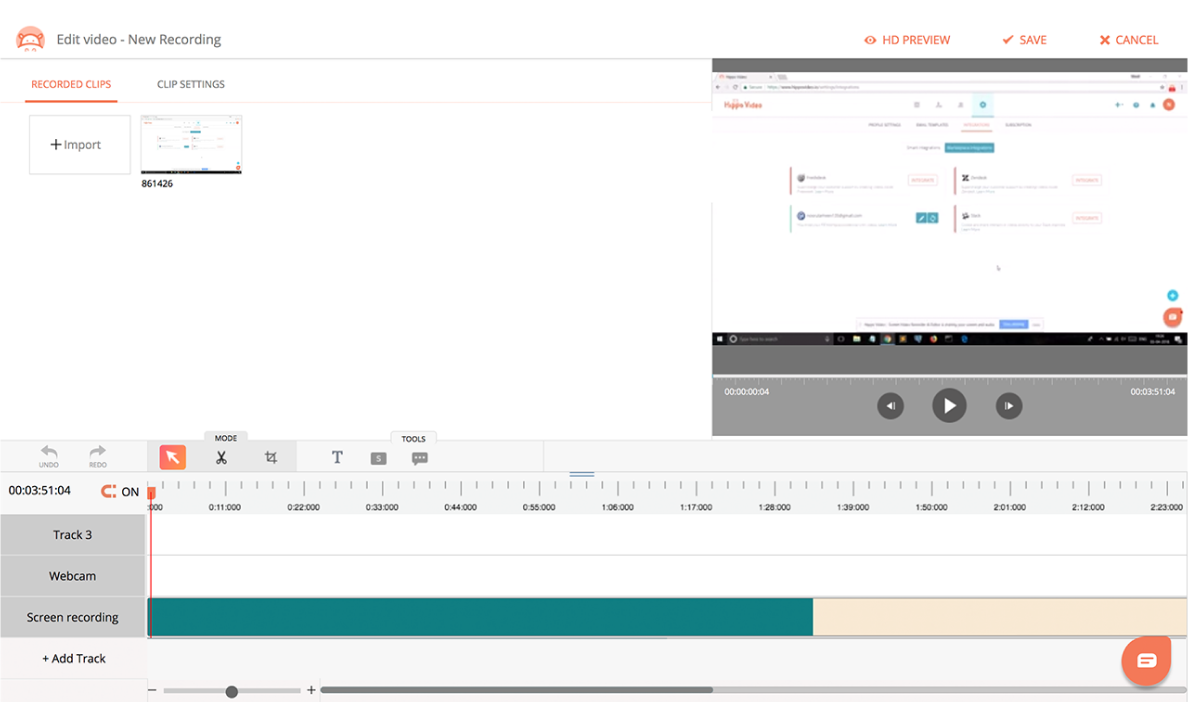
Hippo Video is a comprehensive tool that can record your video and audio in HD and place it anywhere on the Internet. It has a full set of helpful editing features, like annotations, callouts, tags, and highlighted mouse clicks. Moreover, it excels in video reporting: you can learn who your viewers are, where and how they watch your video, and their preferences.
Also read: The Best Training Video Software
6 Tips for Making More Effective Training Videos
Would you like to make your next training video even more effective? Here are the top 6 tips we’ve compiled for you to get what you need.
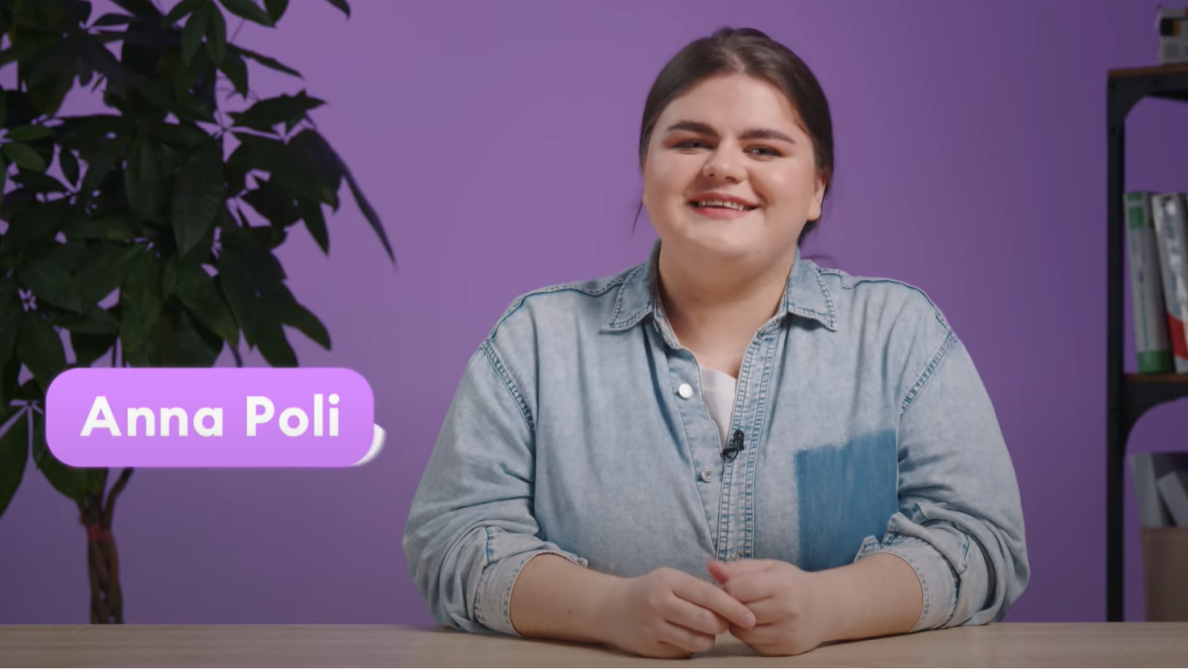
Tip 1. Connect with your learners
To flatten the learning curve and get good training results, you need to connect with your learners emotionally. Understand who they are: their age, education, job, and lifestyle. Use the same language they do to make your message clearer and more engaging.
The presenter’s overall image also shouldn’t be distracting. Here are some things to avoid when presenting on camera:

Tip 2. Keep your videos short
Most people have very short attention spans, and you need to keep this in mind when creating training videos. Vidyard research reports that short videos (under 1 minute) were completed by 62% of viewers, compared to 20-minute videos that were finished only by 26% of those watching.
La Sonanta used this tip when developing a training program on how to play flamenco guitar. Instead of recording long, exhausting videos, they made a series of lessons with close-ups to show how to keep your fingers on the guitar.
Tip 3. Use the Rule of Thirds
Whenever you’re recording a training video, remember the “Rule of Thirds.” Mentally divide your shot into nine equal parts using two horizontal lines and two vertical lines, like this:

You need to align the key subject (in this case, the presenter) in the image according to this grid — at the ‘power points’ where the lines intersect. The lines on the 3×3 grid are the points where our eyes automatically fix. Placing the more important elements along this grid results in a more aesthetically pleasing shot and makes it easier for the eye to “interpret” the information.
Tip 4. Use a clean background
Nothing looks less professional than a messy background. When choosing a shooting location, opt for a solid-colored background: a wall, backdrop paper, or even a bedsheet. Otherwise, you can catch the camera in the reflection or make the presenter look dark and shadowy.

It’s also a good idea to record a training video where you work. For example, if you’re going to train customer service agents, shoot a video in your office. For car dealership employees, you may want to film right in the car service department.
Tip 5. Add annotations
Annotations help attract viewers’ attention and keep them engaged. Here are some helpful insights into making annotations:
- Every training video should start with a title that tells the audience what you’re going to talk about and end with a closing graphic that ties the entire piece together.
- You can use subtitles for those who prefer to watch videos with the sound turned off. It also helps those who are not native speakers to understand the content.
- You can add captions to highlight the main ideas when presenting; for example, outline the steps.

- You can use bullet points to list some rules, techniques, or other important points. This will also help you focus the viewer’s attention on important information.

Tip 6. Combine training videos with other learning activities
Educators around the world encourage using various interactive activities to keep learners engaged and focused. You can make training much more effective if you combine video-based learning with other elements. Studies show that incorporating quizzes at different points along the video can boost knowledge retention and provide better outcomes.
Best Practices for Training Video Distribution
Creating an engaging training video is only half the process. The next step is ensuring it reaches your learners and seeing what results they get. Here are four distribution channels we advise you to consider:
LMS
Using a Learning Management System (LMS) allows you to keep all training videos in one place. It lets you group videos into courses, making learning easier and more engaging. In addition to that, many LMSs send reminders to keep employees on track and let you view their progress.
Corporate portals
Corporate portals offer a convenient way to store company resources and policies. Hosting videos there gives employees quick and secure access to training materials. Although this approach doesn’t allow you to create structured courses, it facilitates finding and using the videos.
Public platforms (YouTube/Vimeo)
When you think of videos, sites like YouTube or Vimeo often come to mind. They let you share videos with many people, like partners or clients, who can watch without needing to sign up or log in. However, make sure to protect any sensitive content to keep it confidential.
Mobile learning apps
Learning apps enable employees to watch training videos anytime, anywhere. They often work offline, send reminders, and use games to keep users interested. Nevertheless, it can be difficult to watch complex videos on small screens.
How to Measure the Success of a Video Training
Once you’ve learned how to create a training video, it’s time to answer this burning question: Is it any good, or have your time and effort been spent in vain? Here are the metrics that can measure its effectiveness:
- Knowledge retention and comprehension. Here, you can use quantitative assessment, such as quizzes or tests to evaluate participants’ understanding.
- Qualitative feedback. Encourage employees to provide comments and respond to surveys so you can gather feedback and qualitative insights.
- ROI Calculation. Calculate the cost of creating the video: production, employee time, software, and equipment. You also need to measure the benefits you’ve realized — for example, faster response time, fewer customer complaints, and so on. To calculate ROI (return on investment), use the following formula:
ROI = (Benefits – Costs) / Costs × 100
Ideally, you should end up with an ROI of over 100%. An ROI of 100% will mean that you’ve earned your money back but haven’t ‘profited’ from the investment.
Common Mistakes to Avoid
Here are some common pitfalls when making training videos:
- Overcomplicated content. Keep your video simple and to the point. Avoid using complex technical terms and unnecessary details.
- Poor quality. Bad video and audio are deal-breakers for most viewers. Make sure your picture is clear and there’s no background noise.
- Length. Most people lose focus after about 20 minutes. Keep your videos short yet informative.
- Perfectionism. Trying to get every single thing right only wastes time and money. Instead, focus on making videos relevant and engaging.
Final Thoughts
I hope this article has provided you with some ideas on how to record a training video — even if you have no video production experience.
Videos don’t require much time to make, but they’ll improve your employees’ learning experience. If you have questions about any of the points in this article, please let me know in the comments or book a free demo with our eLearning expert.
Create online courses and assessments in record time.


Video-Based Learning: How to Become a Training Video Ninja
Instructional Video Made Easy: Types, Costs, Guides, and Tips