How to Embed a YouTube Video in PowerPoint


One sure and simple way to enhance a Microsoft PowerPoint presentation and boost audience engagement is to embed a video from YouTube.
This website is chock-full of educational and entertaining video content that can add a dynamic element to your slides. You can add a YouTube video to PowerPoint with just a few clicks — whether it’s your own video clip or one that you found on someone else’s channel.
Key Takeaways
The article explains how to add YouTube videos to PowerPoint to make presentations more engaging, outlining four practical methods. You can insert a video online using its URL or embed code for more flexible playback options, use iSpring Suite to integrate and publish interactive content, or upload a video file from your computer for offline use. Each method has its own requirements and advantages, such as internet connectivity, playback control, and compatibility with e-learning workflows.
How to Insert a YouTube Video into Microsoft PowerPoint
Start by opening your PowerPoint presentation and choosing the slide you would like to insert the video into. Then try one of these four methods.
Option 1: Insert an Online Video Using Its URL
Microsoft PowerPoint includes a built-in tool for adding videos from YouTube. Just find the video that you want to insert and follow these steps:
- Go to YouTube and copy the video’s URL from the address bar.

- In PowerPoint, go to the Insert tab, click on Video, and select Online Video.

- Paste the video URL into the pop-up window. Then, resize the video clip if needed.


This is probably the simplest and fastest way to add a YouTube video to PowerPoint. However, you won’t be able to trim the clip or skip ads, and your audience will need a stable internet connection to watch it.
Tip: You can also search for YouTube videos directly inside PowerPoint using the Online Video tool (available on Windows in PowerPoint 2013 and later). This option is not supported on Mac or earlier versions.
Option 2: Use YouTube Embed Code
Want more control over how the video plays? You can embed a YouTube video using HTML code.
- On YouTube, click on Share → Embed and copy the embed code. If needed, pause the video and check the Start at box to select a custom timecode.

- In PowerPoint, go to the Insert tab → Video → Online Video, and then paste the HTML embed code.
- Resize or reposition the video on your slide.


This method gives you more flexibility. You can make the embedded video start automatically, define start and end times, or loop playback.
Tip: Customize your embed code using YouTube API parameters like autoplay, start, end, or modest branding (reduced YouTube logo display).
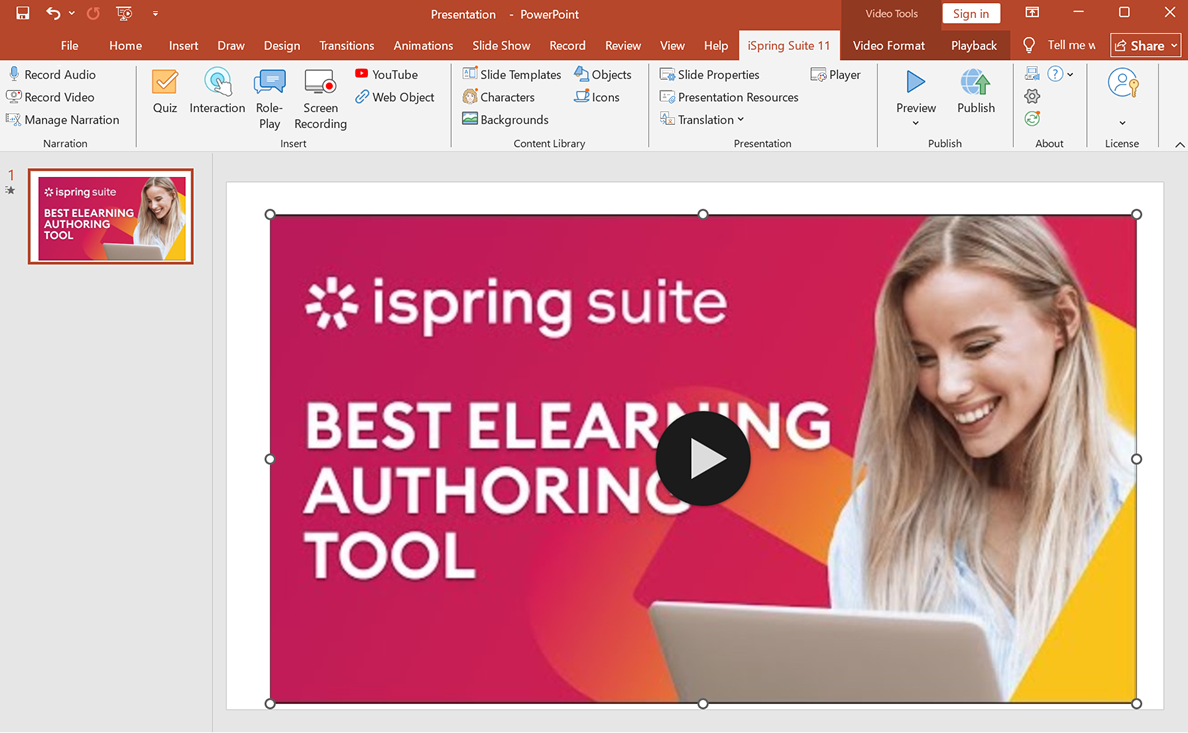
Option 3: Use iSpring Suite
If you want to publish your presentation online, convert it to video, or create interactive eLearning content, try iSpring Suite — a robust third-party software that integrates with PowerPoint. Here’s how:
- Download and install iSpring Suite. A new iSpring Suite tab will appear in PowerPoint.

- Go to the iSpring Suite tab, click on YouTube, and paste the video link.

- Click on Publish, choose My Computer from the drop-down menu, and export the file as HTML5 or MP4, or upload it directly to YouTube.


You can also set a delay, add watermarks, or password-protect your presentation online. This method is ideal for educators and course creators who want to ensure that their content is accessible and secure across devices and browsers.
Tip: You can turn your slideshow into a web-ready online course with just a few clicks.
iSpring Suite
Fully-stocked eLearning authoring tool for PowerPoint. No training required to start!

Option 4: Upload a Video from Your Computer
Need to play a YouTube video in PowerPoint offline? Just insert a video file directly from your device.
- Go to the Insert tab, select Video, and choose Video on My PC.
- Locate and insert the video file from your computer.


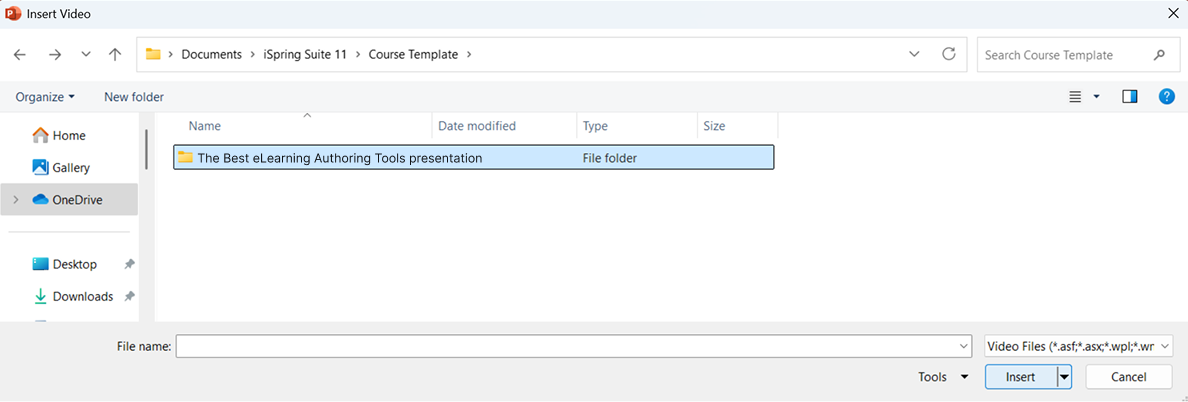
Make sure your video format is compatible with PowerPoint. If you’re using a screen recording or a downloaded clip, test it beforehand to ensure that it works properly.
Note: Downloading YouTube videos without permission usually violates their Terms of Service. You may only download and reuse content if you own it or have explicit rights.
Tip: You can use PowerPoint’s built-in Screen Recording tool (available on Windows PowerPoint 2013 and later) to capture part of a YouTube video. Audio and mouse pointer capture can be toggled on or off.
Which Method Works Best?
Here’s a quick breakdown of each method:
| Method | Pros | Cons |
|---|---|---|
| Video URL | Quick and easy to add | Requires an internet connection; playback is not customizable |
| YouTube Embed Code | More control over video playback and appearance | Requires an internet connection; slightly more setup |
| iSpring Suite | Share presentations online; protection via password, watermark, etc. | Requires third-party software; an internet connection is needed |
| Video from a Computer | Can play offline; no ads | File format must be compatible; screencast quality may vary; downloading may be illegal |
Troubleshooting: Why Can’t I Embed My YouTube Video into PowerPoint?
PowerPoint won’t allow me to insert the video’s URL
Make sure you’re using a version of PowerPoint that supports online video. Check your internet connection and ensure that the URL has been copied correctly.
The YouTube video doesn’t play
Try using the embed code instead of the link. Also, make sure the video hasn’t been removed or made private.
Compatibility issues (Mac vs. Windows)
PowerPoint 2013 and later for Windows and 2019 and later for Mac support online videos. Older versions may not. For full compatibility info, visit Microsoft’s support page.
FAQ on How to Embed a YouTube Video in PowerPoint
What video formats are supported?
Windows supports MP4, WMV, AVI, and MPEG movie files. Mac works best with MP4, MOV, and M4V. Use MP4 with H.264/AAC encoding for best results.
Can I make videos play automatically?
Yes! Select the video in your slide, go to the Playback tab, and choose Automatically, On Click, or In Click Sequence under the Start settings. This lets you play a YouTube video in PowerPoint automatically as soon as the slide loads, thereby improving engagement and minimizing clicks during your presentation.
Can I legally download YouTube videos for PowerPoint?
Only if you own the video or have explicit permission. YouTube Premium allows offline viewing, but only within the app — you can’t insert those into PowerPoint. Downloading content without rights violates YouTube Terms of Service.
Conclusion
There’s no single best way of embedding YouTube videos in PowerPoint. It all depends on your setup and how you plan to share your presentation.
- Use a video URL or embed its code for quick online access.
- Upload a video file for offline use.
- Choose iSpring Suite to turn your slideshow into an interactive, secure, and professional online course.
Want to create and share smarter presentations? Try iSpring Suite for free today.
Create online courses and assessments in record time.


How to Add a Hyperlink to a PowerPoint Presentation (PPT)
The Top 10 Video Presentation Software for Engaging an Audience
How to Embed a Web Page in a PowerPoint Presentation