Video-Based Learning: How to Become a Training Video Ninja


Imagine you need to learn the fundamentals of car design by tomorrow. You might read a long manual or watch a few videos. What will you choose? Video-based learning is more convenient and effective. First, you’ll remember much more information and retain it far longer than if you were simply reading a text. Second, it’ll take you much less time – you won’t have to study the complex schematics on your own. The presenter will show you where each car part is located and how it works.
In this article, we’ll explain in detail how to create instructional videos and launch video-based learning in a company.
What Is Video-Based Learning?
Video-based learning is the use of video to teach people new knowledge or skills. Chances are you’ve come across many educational videos in your life and learned something from them, whether it was a commercial training course on Udemy or LinkedIn Learning, or a free YouTube tutorial.
Today, video-based learning is a widely-accepted eLearning trend and an increasing number of organizations are catching on to its effectiveness. More precisely, 95% of companies use some type of video to train employees. And that’s not surprising, as teaching and learning through video is extremely convenient. A couple of clicks and you’re already viewing the lesson, no matter where you are – at work, at home, or traveling.
Benefits of Video-Based Learning
If you aren’t already leveraging video-based learning, perhaps it’s time to start! We’ll tell you how, but first let’s have a look at why learning through video is a really good idea:
Better results in a shorter time
Our brain understands visual information better than text, and video images remain in memory much longer. In other words, watching a video lesson helps you spend less time learning the material and keep it in memory longer.
No schedule conflict
There’s no need to provide lessons after work or send employees to training sessions in another city. They can watch a video anytime and anywhere it’s convenient for them: in bed before going to sleep, in line at the bank, or during lunch at work.
Fewer employee training costs
Many well-known companies use video-based learning in some way. Thus, they managed not only to involve employees and improve training effectiveness, but also to reduce training costs. For example, IBM has an entire YouTube channel for employee training. The content varies from live-action videos to animated and screen-recorded lectures.
In 2 years, after IBM launched its video learning program, it managed to save $579 million. According to Microsoft’s estimates, this approach helped them reduce training costs from approximately $320 per hour per participant down to just $17.
How to Launch Video-Based Learning
Now that we’ve figured out what video-based learning is and how it can provide benefits, let’s see how to implement video training in your company. Take the plunge!
Step 1. Define a goal
First, spend some time figuring out what your employees should achieve by the end of the training.
Examples of goals:
- Present a new product or a whole product line to employees.
- Train how to operate new equipment.
- Show how to use complex software tools.
- Explain how to deal with customers.
- Tell new hires about the company and its culture.
This will determine your further actions: what video format to choose, and what equipment and software to use.
Step 2. Choose the format of video training
Once you know your goal, you can easily choose the right video format. To do this, first estimate the time, budget, and human resources required. Various types of video content require different amounts of time and effort. Here are a few formats to select from:
Presenter videos
They allow you to talk directly to your audience. For instance, Deakin University recorded a presenter video to explain to their managers how to conduct a performance review for people who have a mental health issue.
This type of training works best when you want to show the presenter and provide a sense of credibility to the audience. It creates the effect of presence, as if you’re in the same room with the presenter.
Screencasts
A screencast is a video recording that captures the actions that take place on a screen. This is the best solution if you need to train your employees on how to use complicated software. For example, here is a screencast in which you can learn how to blur the background in Photoshop:
To learn how to make a screencast, read this article.
Demonstration videos
They’re perfect when you need to teach your audience how to use a certain thing. In the following video, the author demonstrates how to install an outdoor security camera.
The same instructions can be given in the form of a written manual, but it’ll be rather difficult to understand them. The best thing about demonstration videos is that they take the viewer through step-by-step instructions, visually showing what to do. The viewer just has to repeat and remember the actions.
Role-play videos
In such videos, a situation your staff may face is acted out. For example, on the Semel Institute for Neuroscience and Human Behavior website, you can find role-plays which can help improve your conversational skills.
An acted out scenario helps viewers better understand how to behave in a particular situation. This type of video is good for training staff on how to handle things like sales calls, technical support, and other social interactions.
Interactive videos
This is a newer format. In interactive videos, there’s a branching scenario — viewers are asked to respond to situations by choosing this or that action. The further scenario plays out depending on the decision they make.
For instance, The Resuscitation Council (UK) created an interactive film called “Lifesaver” that teaches you how to save someone’s life from cardiac arrest. It gets you to make the choices you’d have to make in a real emergency.
Step 3. Define who will create videos
What will you choose: to create video courses in-house or hand off your project to a professional video production company? To make sure the right people are making your videos, weigh all the pros and cons.
Hire a video production company
| Pros | Cons |
| The average price for a 60-second explainer video is $8,000. And one tutorial video made by a production studio can cost more than $10,000. |
Create videos in-house
| Pros | Cons |
|
|
If you’ve opted for hiring a video production company, skip to Step 7. If you’re going to create instructional videos in-house, read on to figure out which video recording tool to install.
Step 4. Write a script and create a shot list
It takes a viewer 10 seconds to decide whether to keep watching a video or turn it off. Therefore, they must understand that the video will be useful and interesting from the first frame.
To immediately engage the viewer, come up with a lesson plan and then write a script. This will help you structure the video, avoid unnecessary pauses and interjections, and reduce editing time.
“Remember that training videos are best kept short. If you have a lot of information, it’s better to record a series of short videos so as not to overload the learner.”

Imagine you’re working on a movie. Write a text for each scene. In the introduction, briefly explain what the video is about. In the middle of the tutorial, you need to describe the topic in as much detail as possible. At the end, you can highlight the key points once again, make a short preview of the next lesson, or give the viewer an action they can perform, as in the following example:

iSpring video tutorial example script
When watching a video, the viewer perceives the text by ear. That’s why you should write the script in plain language. Then read it aloud several times. Replace phrases that you stumble on with simpler wording. As a safety net, upload the text to Hemingway. This service will help you find complex phrases and awkward transitions.

When the script is ready, create a shot list.
“The shot list is literally a document that maps out what will happen in every shot you need to capture to create the narrative of your story. Have it with you on the shoot and tick off every shot as you get it.”

There’s no need to make the shot list very detailed, as if you’re shooting a real movie. Just describe what will happen in each scene, then bring the text and actions together into one table. Add some information about the shooting: people, location, time, equipment, and props. This will make the preparations for the shoot, camera work, voicing, and editing simpler.
| Scene | Location | Actors | Props | Script | Footage |
| 1 | Office | No | A desk, a computer, a pencil box, glasses | Are you involved in staff training? Do you often find yourself sacrificing the quality of a training course trying to meet deadlines? | The close-up is from behind or from the side. We see that a training course is being created on a laptop. The title “Annual Compliance Training” is being typed on the PowerPoint slide.  Folders, books, and stickers appear next to the title — we can show this by using graphics or a time lapse. Folders, books, and stickers appear next to the title — we can show this by using graphics or a time lapse. |
| 2 | Office | No | A computer | No more compromising between speed and quality! With iSpring Suite, it’s fast and easy to produce a | The animated text “No more compromising between speed and quality!” shows up on the screen.The text disappears, and the iSpring Suite logo appears. |
| 11 | Office | Julia Farrow | A computer, headphones | If you get stuck at any step, don’t panic; our award-winning support heroes are on the way. Our commitment to excellent service is reflected in our industry-leading satisfaction ratings. | We see three support engineers talking in heir headphones (side view). A girl is the central focus. Then graphics with our rewards appear on top of the video. |
In the shot list, you also need to mark where to add on-screen graphics for important points, annotations, and captions.
“Give instructional videos meaningful titles and in general organize them so learners can easily find relevant material.”

And, last but not least, try to vary the presentation. Mix up the presenter’s performance with images, animation, other video incuts, or slides.
Step 5. Choose a shooting location
The location should be fully consistent with the topic of your instructional video. For example, if you train nurses, the action should take place in a hospital. If your audience are bank employees, it’s reasonable to shoot a video within the walls of a bank.
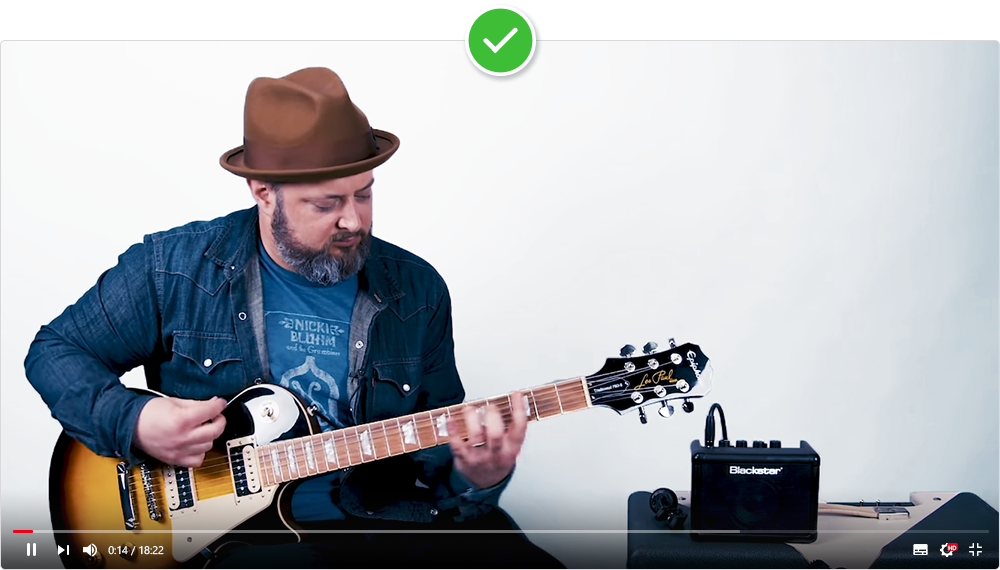
If you decide to make a video guitar lesson, equip a place for a music studio. Such a lesson will look more professional than one that was shot on the couch in the living room.
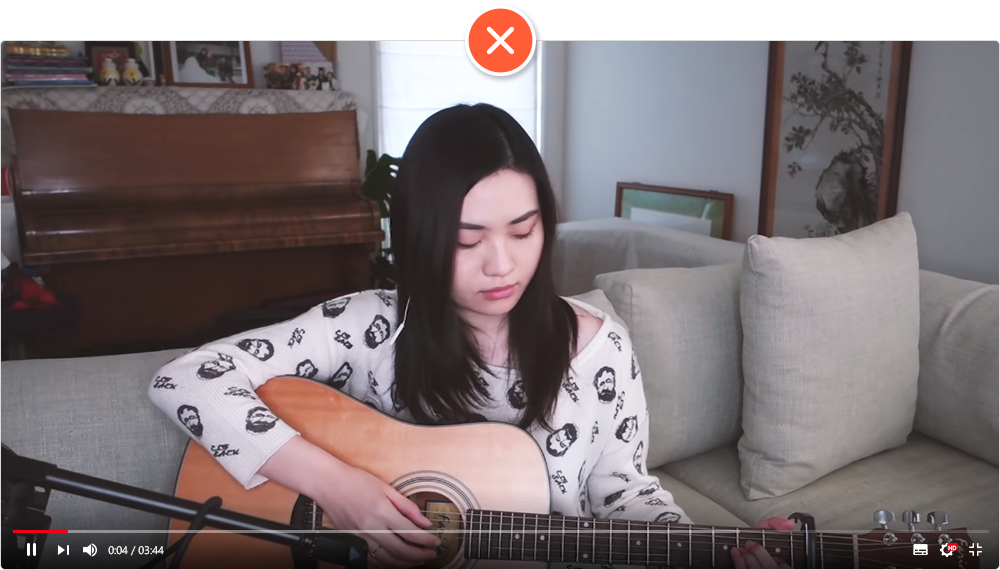
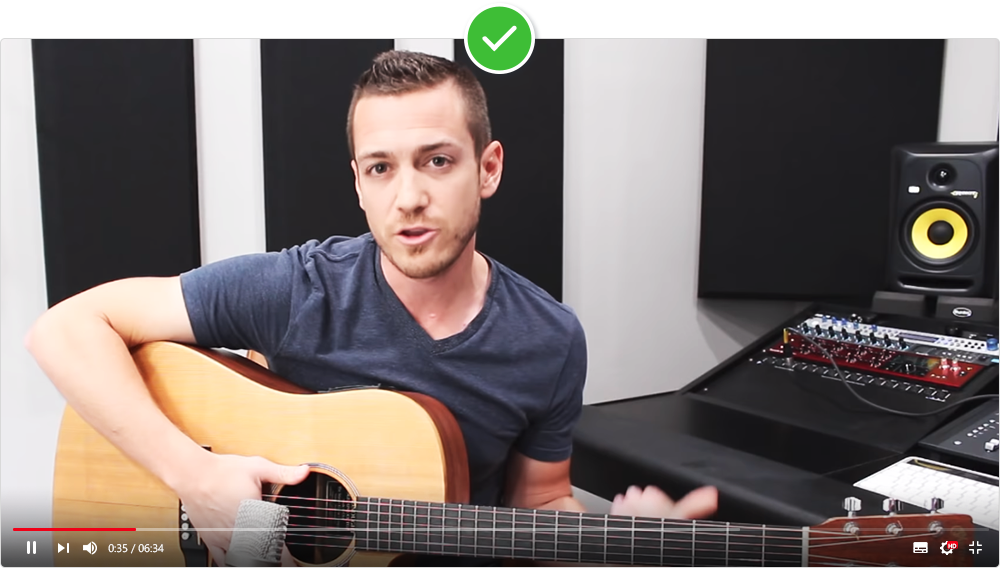
Or, at the very least, choose a neutral background.
There’s one more option — you can use a backdrop. It’s available on Amazon for $10-20.
“Check the locations meticulously before you shoot a single frame. Depending on the content of your film this may be the tidiness of the location, any ‘badged’ or confidential items that need to be removed, the consent to filming of people who may appear in the background, etc.”

Step 6. Work on a presenter’s image
Like the shooting location, the presenter’s image should match the subject matter. It’s essential for the presenter to get dressed in a uniform if you’re training factory employees to work on new equipment. And if you provide training for medical staff, the best clothes will be scrubs or other appropriate hospital clothing.
In general, the outfit should be simple and not too eye-catching, but neat and complementary to the artistic image.
When it comes to presenting on camera, it’s better not to wear:

You also need to keep accessories simple. Things like sunglasses, watches, and jewelry should complement the image and not distract the viewer’s attention.
Step 7. Install video recording and editing software
The internet is teeming with options for video editing tools. For the search term “video recording software download”, Google returns about 212,000,000 results. So you don’t waste time on searching, chose one of three tools for different types of tasks:
For creating screencasts
If you need to record screencasts quickly, install Free Cam. It’s a free tool that helps to turn a screen capture into a complete training video. You can delete unnecessary parts, remove background noise, and improve audio quality.
For creating online courses
iSpring Suite is an authoring toolkit for creating e-courses. It works as a PowerPoint add-in and allows you to create training courses with interactive assessments, dialogue simulations, and eLearning interactions. You can publish them to a video or HTML5 format to make courses available for studying online from any device, or export them to a SCORM package for easy LMS uploading.
Here is an example of a course created with iSpring Suite:
The authoring toolkit also includes a professional video studio. It allows you to bring together videos, voice overs, and photos, and merge them into a professional video course. This is an example of a training video created with iSpring Suite:

Start your free 14-day trial and explore all iSpring features right now without spending a cent.
Step 8. Record the Training Video
Let’s say you’ve installed the iSpring Suite toolkit and have done all the other prep work. It’s high time to start creating a video. Make sure that everything is ready for filming.
“Prepare everyone involved in detail about your expectations. What they need to do, how the filming process will work — that you will likely need more than one take. If you have time, do a rehearsal (film it just in case it’s spot on).”

With iSpring, you can record two videos at the same time: a screencast and a webcam video. You can show them both together or switch between them. For example, help new hires to master an intricate app by adding your video comments to a screencast-based tutorial.
If you also need to record a voice over, decide on the tone you want, and give the voice artist clear instructions. Before recording, ask them to read the script aloud several times. The narration should sound light and convincing.
“Record the voiceover in short sections and get them to repeat each section at least twice so you have a choice when you edit. Watch the voice artist’s intonation and pronunciation very carefully.”

While creating a video, it’s important to pay attention to both the image and sound quality. Poor audio quality can ruin your video production, and to avoid this, you need to buy a good microphone. To get deeper into how to choose a microphone, check out our guide on screencasting.
Step 9. Edit the training video
After you’ve recorded the video, your work is not quite done yet. You need to stitch it together, and this is all about pacing, removing errors, and embedding additional elements so the video is the best it can be. Using iSpring Suite, we’ll give you an inside look at the entire process.
Clean up your video
It’s not a dealbreaker if you cough or misspeak while recording. With iSpring, you can remove unwanted fragments. You can also remove background noise throughout the entire recording.
Add useful content
Sometimes, you may need to comment on a certain part of the video or give a thorough explanation. You can do this by using the freeze frame option. iSpring Suite also allows you to add a picture, infographics, animation, a text overlay, or a voice over.
Grab your learners’ attention
There are some tricks in video production which will help you attract your learners’ attention. For example, to focus your learners’ attention on an important part and demonstrate things that may be overlooked at normal speed, you can use a slow motion effect.
To highlight a significant point in the video, you can create annotations, graphs, and captions right in the iSpring Suite video editor.

Make your video look and sound nicer
If you are adding images and info slides to your lesson, or want a smoother cut from scene to scene, you need to add transition effects. Transitions can be used to make the pictures ripple into videos, and videos flow back into pictures.
You can also add music to your clip.
“Music ‘moves’ the video along and creates mood. There are lots of free music sites around, but bear in mind that you must never use copyrighted music, particularly from a well-known artist.”

Step 10. Upload the video to an LMS
The video course is ready. Now, it’s time to show it to the staff. You can upload the video to YouTube or Vimeo to make it accessible to all users. However, if you want to make the course available only for your employees, upload it to an LMS.
For example, after uploading a video to iSpring LMS, you can assign it to specific employees and see how far they have progressed.
Final Thoughts
Video-based learning is a simple, cost-effective, and, most importantly, efficient way to train your employees in almost any field of expertise and on any topic. For example, you can create videos to provide product knowledge, onboard new hires, teach how to work with new software, and train employees in essential soft skills.
Do you think adopting video-based learning is a good idea? Download iSpring Suite now and create your first video today!
We would like to express our gratitude to our expert for sharing her knowledge and experience:

Laura Cade, Head of Production at Outtakes/Video Interact
Laura Cade, Head of Production at Outtakes and Video Interact, has been creating films for 13 years. Laura and her video production team make everything from induction and onboarding films to topic based instructional videos, promotional and event pieces, and dramas. They get fascinating insights into all sorts of industries, and are very skilled at keeping out of the way and working quickly.
Create online courses and assessments in record time.


The 10 Best Training Video Software for 2026
Talking Head Videos: A Comprehensive Guide on Video Production
How to Create a Video Tutorial People Actually Want to Watch
Product Demo Videos: Getting Them Right the First Time