Online Course Launch Checklist: Assembling All the Pieces


Launching an online course for the first time can be a daunting experience. It involves a lot of moving pieces: from choosing a topic to putting the content for sale online and growing your audience.
Are you one of those people who stalls due to analysis paralysis? It’s as though you have the vision, but you’re missing the blueprint. Here, we’ll provide you with a detailed online course launch checklist that will help you understand where to start and which steps to take further.
But before we take a closer look at each step, download our Online Course Launch Checklist, which will serve as a quick reference guide after reading the rest of the blog post.
This step-by-step guide is divided into 3 main sections:
- Pre-Launch Phase: Course Creation
- Launch Phase: Putting Your Course for Sale Online
- Post-Launch Phase: Growing the Audience
Pre-Launch Phase: Course Creation
The first thing you need to do is develop and design the content. The following steps are most critical to this process.
Step 1: Decide on the course topic and gather material
This area requires extensive research. Remember, you’re not creating the course for yourself, but for your audience. To maximize value, and therefore sales, you need to be an expert on your chosen topic. If that’s not the case, you can always work closely with subject matter experts for clarification and insights.
You also need to ensure that your problem is actually worth solving. How many people struggle with it? Has the problem been addressed frequently by other sources? If so, you might need to put a unique spin on the topic.
For example, if you’re creating a self-help course on mindfulness, rather than simply covering mindfulness from a general perspective, you can do a course on “mindfulness in the workplace,” “mindfulness during conflict,” or “mindfulness for couples.” Not only will that narrow the focus of your course topic, but it’ll help you define your target audience.
Defining your audience as narrowly as possible is a cardinal step in the course creation process. You need to walk in the audience’s shoes when developing content, selecting styles, and determining your overall mode of delivery. Here’s a list of questions that can help you to take a closer look at the profile of the individuals who are going to be your learners:
- Is your audience mostly located in a specific country?
- What is their gender?
- What is the age range of most of them?
- What is their level of education?
- What are their jobs and positions?
- What are their hobbies?
- Does your audience have any other identifying characteristics?
One direct method to get inside your future learners’ heads is distributing online surveys to gather data about their pain points and knowledge gaps. Social media, online communities, and networking are also excellent ways to garner feedback, insight, and remain apace of industry trends.
If you still don’t know what to teach, check out this article on the 100 best online course ideas in 2020.
Step 2: Develop the course
Now that you’ve chosen a hot topic, it’s time to get down to the nitty-gritty of course creation. In general, there are two main ways to create courses on a course selling platform: internally or externally.
When you make a course internally, you build it right on the selling platform using their native editing tools. However, as you can imagine, such platforms tend to focus on selling. As a result, you’ll most likely be limited to pre-built themes, support for basic multimedia, and low to no interactivity. If you go this route, feel free to skip the rest of this section and move on to the next phase.
On the other hand, if you plan to create an engaging, interactive, and multimedia-rich course, then it’s best to build externally with an eLearning authoring tool like iSpring Suite and then upload the ready-made content to the selling platform.
Such tools allow you to create different kinds and levels of learning content.
You can build a simple informational slide-based course when, for example, you want to share the theory on some issue. Or you can create an interactive course with audio narration, quizzes, and animations to make it even more engaging and increase learner retention.

If you want to record a demonstration video or a screencast on, say, how to use Photoshop, you can also do this right in the authoring tool. The software typically includes editing options, so you can edit the video without any third-party apps. Some authoring solutions also offer capabilities for creating immersive training, such as a tool for making conversation simulations that are interactive exercises imitating a real conversation with a person. Dialog sims can be especially useful if you want to help people master their communication skills.
The best part is that you don’t need to be a tech guru to pull all this off. As for iSpring Suite, it does much of the heavy lifting for you.
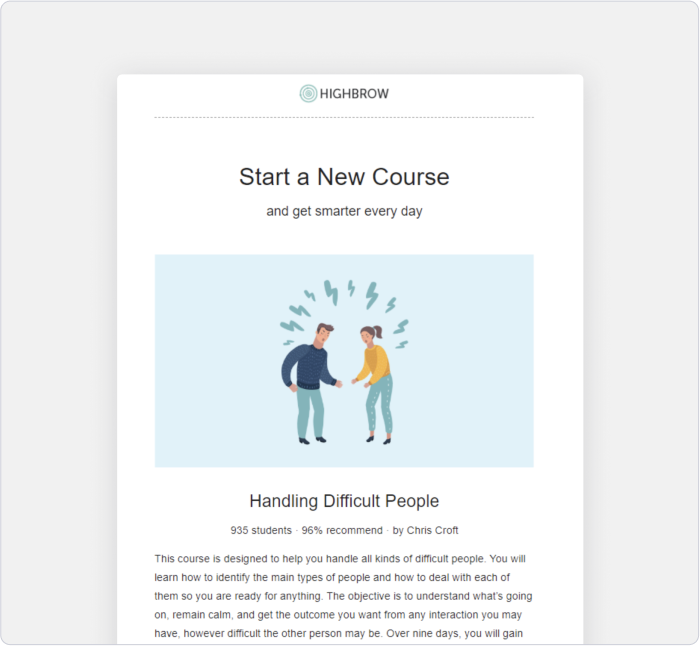
Here’s an example of a course created with iSpring:

With the creative freedom and flexibility they afford, authoring tools definitely provide a greater return on investment. But ultimately, the method you choose will depend on your audience, budget, and the resulting mode of delivery.
Launch Phase: Putting Your Course for Sale Online
The next logical phase of this online course creation process is to actually launch the course and start selling it.
Step 3: Choose a selling platform
The content should dictate which selling platform you choose, and not the other way around. That’s why this step comes after the content gathering and development stage. Not all platforms are created equal, so you really should give it some thought. Here are some key questions to guide your decision-making process:
- I’m going to build my course internally. What are its course-building options? Can I record or embed audio/videos? Build quizzes?
- I’m going to build my course externally. Will this platform support the format of my course (e.g., video, audio, interactive SCORM courses)?
- My audience demographic is that it tends to be on the go. Will this platform support mobile browsing/learning?
- I’ve already branded my business. Does the platform allow for white-labeling or having custom branding features?
- I want to incorporate promotions to incentivize new buyers. Does the platform allow for coupons, discounts, freebies, etc.?
- Down the road, I might need extra features as I scale my business. Does the platform provide plug-ins/integrations to expand functionality (e.g., Zoom, Mailchimp, etc.)?
- I’d like access to detailed analytics about learner activity, marketing campaigns, and sales revenue. Does the selling platform have a robust reporting system?
- I only have basic tech/computer skills. Is the platform intuitive and user-friendly? Does it presuppose coding or programming experience?
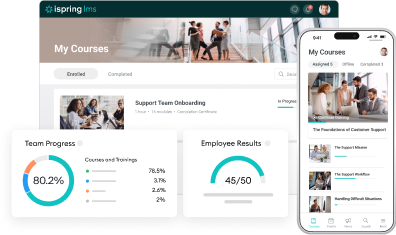
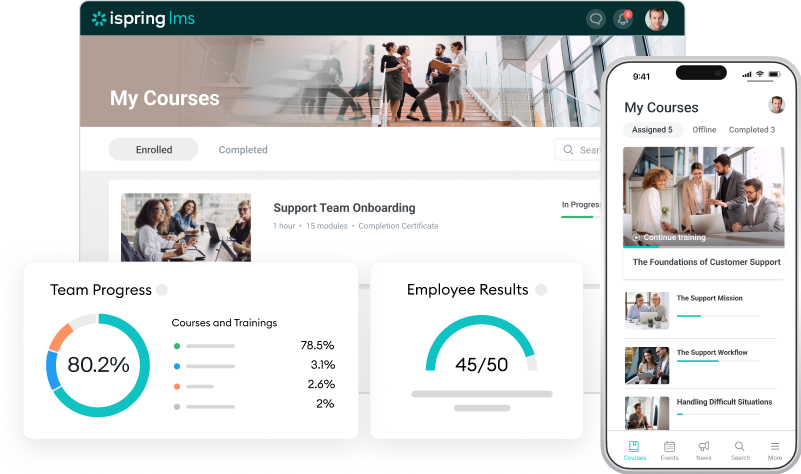
If you’re looking to get your courses up and running quickly and easily, you can try iSpring LMS. This is a state-of-the-art learning platform that allows you to build online courses, add them to a marketplace, and start selling online immediately.

iSpring LMS enables you to create well-designed and highly structured eLearning courses using different content types, like video, presentations, audio, and digital downloads. It also supports SCORM content. You can upload and sell interactive SCORM courses, quizzes, and simulations created in the iSpring Suite authoring tool that comes together with the learning platform. With iSpring’s superior analytics, you can track learner progress, diagnose problem areas with your content, and adjust your training strategy.
Step 4: Create a sales page
The right selling platform will provide an attractive and user-friendly interface, or template, for your sales page. It’s simply a matter of filling in the fields. But these fields won’t necessarily be labeled for you, so you’ll need to be mindful of what you write.
First, your sales page should include a bio describing your course topic and why your audience would be a good “match.” This is best accomplished by placing extra emphasis on the learning objectives that will outline which pain points your course will solve. And guess what the audience cares about the most? What you can do for them! Thus, your sales page should clearly outline Point A, what you assume your audience already knows, and Point B, where they want to go. The distance between both points represents the audience’s knowledge gap(s).
However, there’s one important thing that often determines whether they even read your bio and course description and that is the appearance of your sales page. If you’re launching your first course, your audience won’t have anything to go on besides first impressions.
Let’s say that a series of online searches leads them to your sales page. Your layout is counter-intuitive. The color scheme? Jarring. The font? Hard to read. The images? Low resolution. And instead of sales, the only thing increasing is your page’s bounce rate.
Long story short, if you’re not confident in your visual or linguistic prowess, then enlist professional help. Hire a graphic designer, web developer, and/or copywriter to feel confident of a job well done.
Step 5: Upload the content
If you created your online course externally, then you’ll just need to upload it to your marketplace. Whatever platform you have, by default, each file is treated as a standalone course. But what if you’d like to assemble several files into a learning path? Some, but not all, platforms enable this feature.
For example, iSpring LMS lets you create and title chapters for each predefined “juncture” in the learning path. Moreover, these junctures can be used to track user progress, set course completion dates/conditions, unlock access to the next chapter, and even issue certificates! If you’re a training center or business that needs to manage multiple trainees, these features will definitely come in handy.
Step 6: Decide on the price
Since you’re reading this article, it’s safe to assume that you’re an emerging, rather than established, course creator. That’s great! But it also means you have to be realistic when setting your price. There’s nothing wrong with aiming high, but let’s not be too ambitious from the get-go. Once people are certain or have corroborated that your business provides value, they’ll be more forgiving of above-market rates.
That notwithstanding, when you price yourself too low, you do a disservice to yourself and your customers. Not only will your customers doubt the quality of your product, but they’ll miss out on a high-value opportunity.
So, how do you avoid overcharging or undercharging? Just do some research. Look online for comparable offerings and see what they’re charging. Keep researching until a general pattern or range emerges. Once it does, stay within the extremities of the range. As you continue to launch online courses, hone your craft, and/or establish yourself as a thought leader, you’ll be able to set prices to the beat of your own drum.
To delve deeper into the financial issue, read our detailed guide on how to price your online course.
Post-Launch Phase: Growing the Audience
This final phase is somewhat misleading. The post-launch “phase” isn’t actually a phase so much as it is a continual process. In other words, if your aim is to generate increasing amounts of passive income, then you’ll have to constantly be on the lookout for ways to grow your audience. You might have to alter or adopt a new marketing strategy, dismantle and rebuild your sales funnel or, worst-case scenario, rebuild your course from the ashes.
Step 7: Promote your course
There are ample ways to promote your course. Here’s a list of some common and effective methods:
Email marketing campaigns
Email marketing campaigns are not only easy and relatively hands-off (since they’re often automated), but they have a higher response rate than social media sites like Facebook, Twitter, or Instagram. Plug-ins like MailChimp or ConvertKit automate the process with drip campaigns and email notification triggers, such as “Welcome” or “Get Started” emails for new registrants.
Of course, an effective email marketing campaign requires an email list. So try collecting emails and promoting your product by offering incentives like discounts, freebies, and bundles. You can also collect emails when conducting surveys (during step 1 of the pre-launch phase).
Emails can contain product information, provide incentives for purchasing your courses, etc.
Blog posts
Create a series of blog posts to expand your visibility and reach. Whether your blogs are hosted on your site, selling platform, or on high-traffic websites via affiliate marketing, they provide an opportunity to demonstrate your knowledge and passion. This helps to eliminate any “first impression” hurdles when building brand trust.
Research SEO keywords and determine which searches are popping up the most. This will help you target your audience more precisely. If you’re writing for a high-traffic website, include backlinks so interested readers can easily find out more about you and your course.
Moreover, you can widen your email marketing campaign by letting readers subscribe to your blog posts.
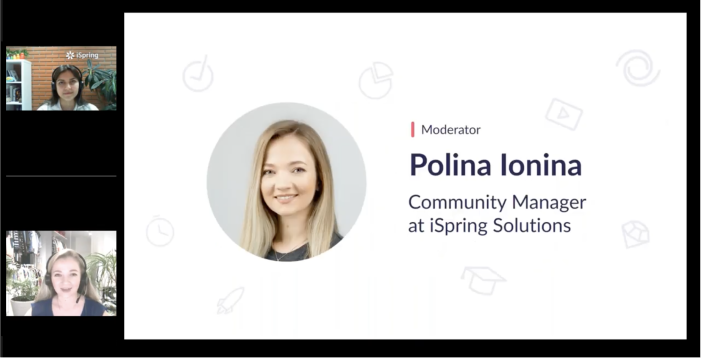
Webinars
As with blog posts, webinars can help expand your viewership and provide an opportunity for you to demonstrate your knowledge. Not everyone responds well to reading long “blogs” of text. But an engaging webinar with an animated speaker and captivating visuals usually does the trick. And as with most webinars, you can collect their emails/contact information prior to granting access.
A good webinar provides value to the audience without asking for anything in return.
So, you could use your webinar as an incentivizing add-on or freebie for new customers. That way, you not only heighten the perceived value of your course, but you make your customers feel valued.
And instead of having to juggle multiple subscriptions, some platforms like iSpring LMS integrate with webinar services like Zoom, thereby providing an all-in-one solution.
YouTube
Why not? It’s free and pretty much the only platform that rivals the size and traffic of Google (YouTube is the second-largest search engine). So to market your courses, consider starting a YouTube channel.
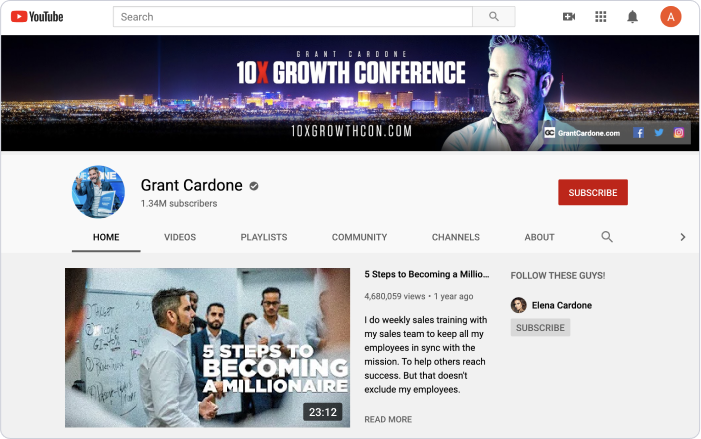
Your channel should provide valuable content that drives interest in your courses.
Better yet, you could simply scour YouTube for similar or related posts and reach out to the OP to see if you can work out a deal. You might enter into an affiliate marketing arrangement where the OP shares your links, provides call-outs, and/or you mutually promote each other.
Social media
Facebook, Instagram, Twitter, and LinkedIn are all-powerful mediums to promote your course and brand. You can post relevant, thought-provoking content while providing backlinks for interested viewers. You should also consider spearheading or joining online communities to network with people of shared interests. LinkedIn is especially handy for targeting professional audiences.
Note that, if you start/administrate a social media group on your topic of interest, it also helps position you as a thought leader or subject matter expert.
Step 8: Monitor analytics
In step 1 of the launch phase, where you choose your selling platform, we mentioned that one of the most essential features is a detailed, accurate, and robust reporting system.

Reporting in iSpring LMS
Without a strong reporting engine, it would be hard to gauge the success of your online course. The whole process would look like an opaque and enigmatic machine, making it hard to pinpoint the source of any drawbacks.
In general, there are two categories that these problems can fall into:
- Course content
- Sales strategy
Accordingly, your reporting system should elaborate on learner activity. Are they spending too much or too little time on certain parts of your course? Where do they seem to be underperforming? By observing their activity, you’ll maximize its efficacy and bolster your overall success.
But of course, it’s hard to analyze learner activity without an audience in the first place. So, start with your sales analytics! They give insights into which courses are hit or miss, as well as the overall effectiveness of your marketing campaigns. Long story short, if it’s growing your audience, do more of it. If not, do less.
Main Takeaways
This article serves as an online course launch template that you can refer to. We’ve laid everything out so you can tackle each step, one phase at a time.
- In the pre-launch phase, pare down your topic and find a unique angle that provides value. This makes it easier to define your audience and thus make sound decisions.
- Your audience should be at the forefront of the decision-making process when developing your content and determining the method of online course delivery.
- During the launch phase, you’ll need to take time choosing a sales platform that both supports your course content and aligns with your future business goals.
- Your sales page should be visually appealing with a bio that emphasizes learning outcomes (i.e., what you can do for your audience).
- The post-launch phase involves continuously growing your audience base to increase revenue, garner a wide range of feedback, and continuously improve.
- You can promote yourself inexpensively via several mediums, including email marketing campaigns, webinars, and social media.
- Having access to accurate and exhaustive analytics across both learner and sales activities is paramount to growing your audience base.
What phase are you in on your online course launch journey?
If you’re ready to launch your course and start making money right away, book a free demo of iSpring LMS.
for your mission-critical project