How to Embed PowerPoint in a Website: A Guide for Course Creators


You built a beautiful, interactive PowerPoint course — the kind with quizzes, clickable paths, and even a voice-over that doesn’t sound like a robot. But when you try to embed PowerPoint presentations on your website? Boom — half the features vanish like socks in a dryer.
This article shows you how to embed your course to keep all interactions alive, ensuring it works across devices, and giving you full control over access and branding. I’ll walk you through how to embed a PowerPoint in a website via an HTML5 file using WordPress as an example. This method also works with any website builder. No coding skills required.
What You’ll Need
Estimated time to complete: 1-2 hours.
Knowledge level: Hosting and HTML basics will make the process faster, but we’ll explain everything along the way.
An HTML5 export solution: In this article, I use iSpring Converter Pro (a PowerPoint add-in) to convert my PowerPoint presentation to an HTML5 file. Unlike other converters, this tool allows you to export a presentation right from PowerPoint.
After test-driving various converter software, I found iSpring for converting PowerPoint to various online content. That’s when I chose iSpring 10 years ago. The software was totally fine for transforming my slide-based presentations into online courses. I didn’t need to come up with anything else — I only needed my existing presentations, and the rest just required a few clicks.
Moreover, it’s made for course creators, which means:
- All possible types of interactivity are preserved, including video, audio, hyperlinks, buttons, and SmartArt objects.
- Access to web content protection features (watermarking, password protection, time-based access, domain restriction).
- Converted presentations adapt to various devices and screen sizes (no blurriness on mobile devices).
How to Embed PowerPoint into WordPress as HTML5
Step 1. Export your PowerPoint course as HTML5
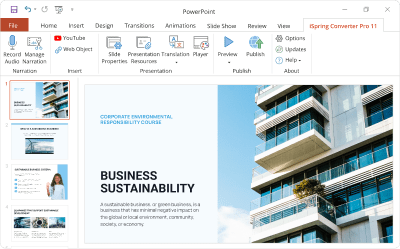
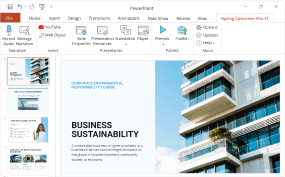
Download iSpring Converter Pro for free and install it on your computer. Open your PowerPoint presentation. You’ll see the iSpring Converter Pro 11 tab on your PowerPoint ribbon. Go to this tab and click on the Publish button.

Then, select My Computer. Here, you can configure the output options if needed:
- Customize a player. Choose between the 3 display modes: the universal player, the simultaneous display of slides and a presenter’s video, or displaying only the course slides.
- Adjust the size and quality of your PowerPoint presentation slides, including image, video, and audio compression.
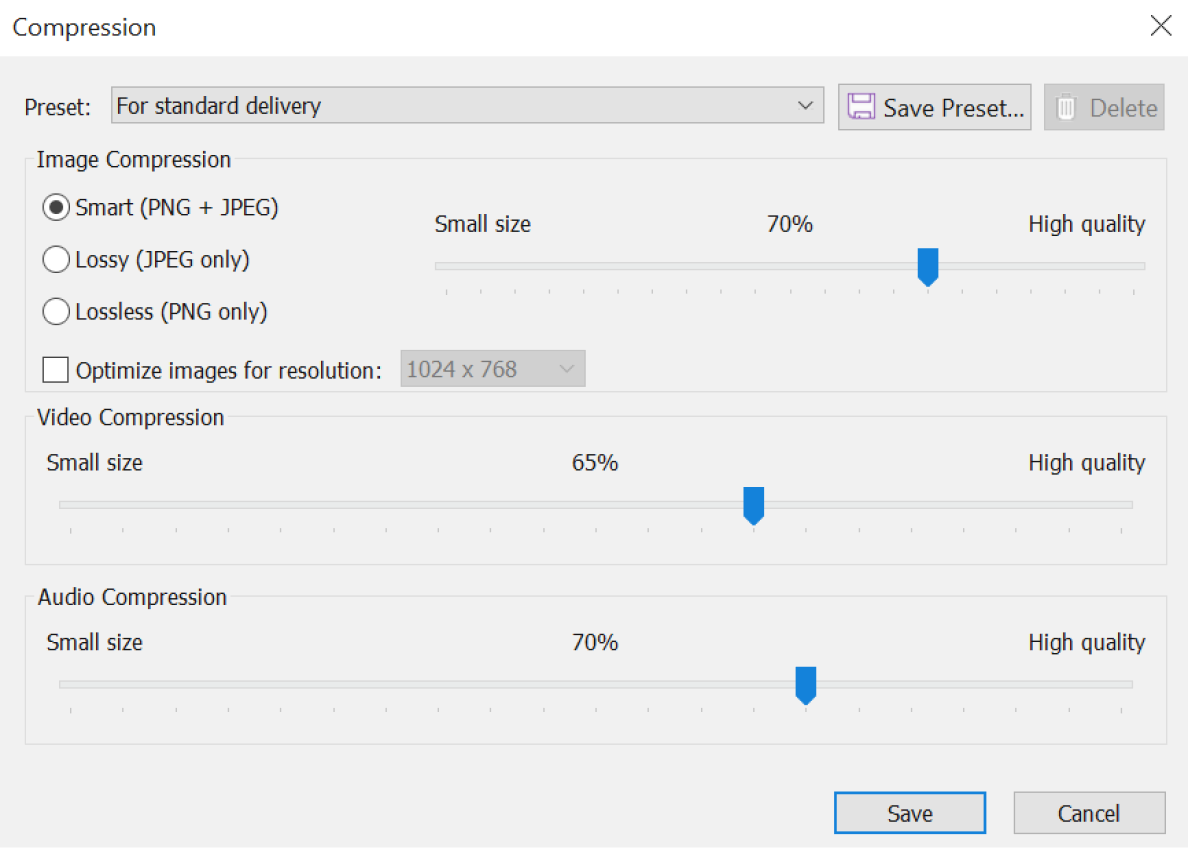
Quality settings in iSpring Converter when publishing PowerPoint as HTML5
- Set up protection parameters.

Protection parameters in iSpring Converter when publishing PowerPoint as HTML5
Too much to read? Get a summary from AI
Also, you can activate the Accessibility mode for users with visual impairments. This mode is a parallel version of the PowerPoint presentation that:
- Simplifies layout, enhances contrast, and works with screen readers.
- Supports keyboard navigation for all interactive elements.
- Provides access to audio and video transcripts.
After you’ve set up everything you need, click on Publish. This creates a folder with all PowerPoint presentation files (HTML, JS, media, etc.)
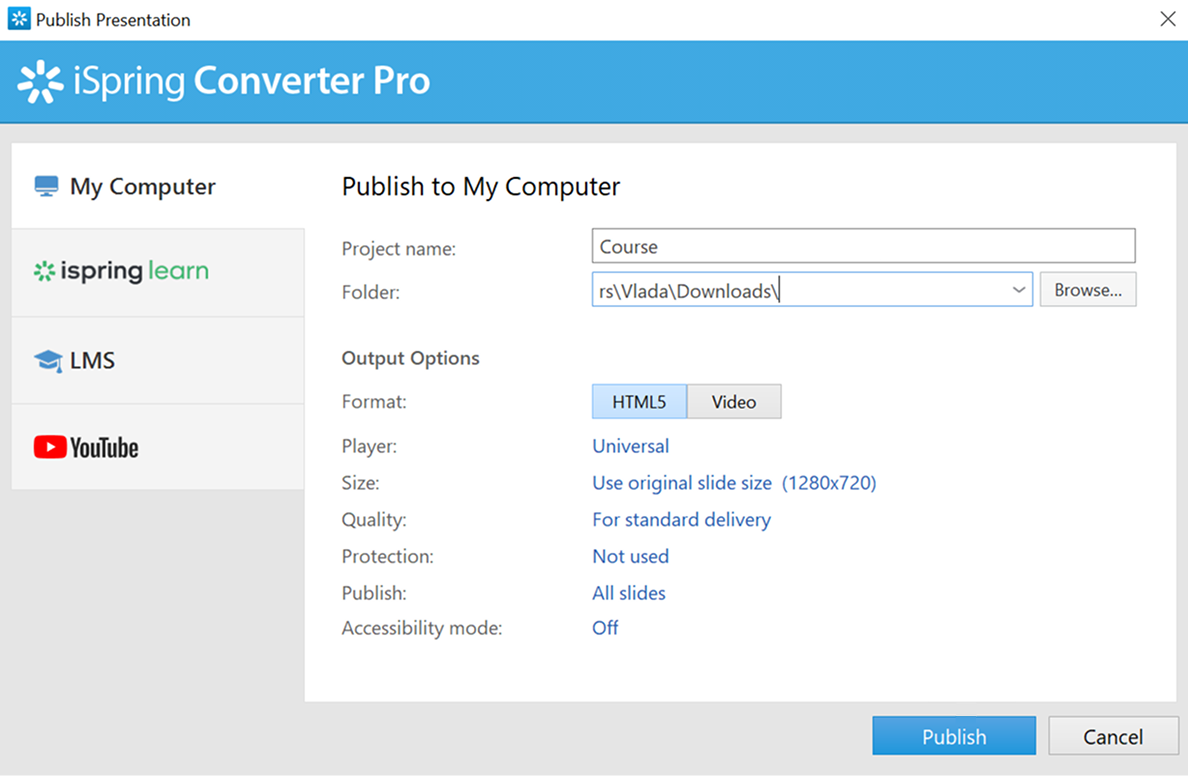
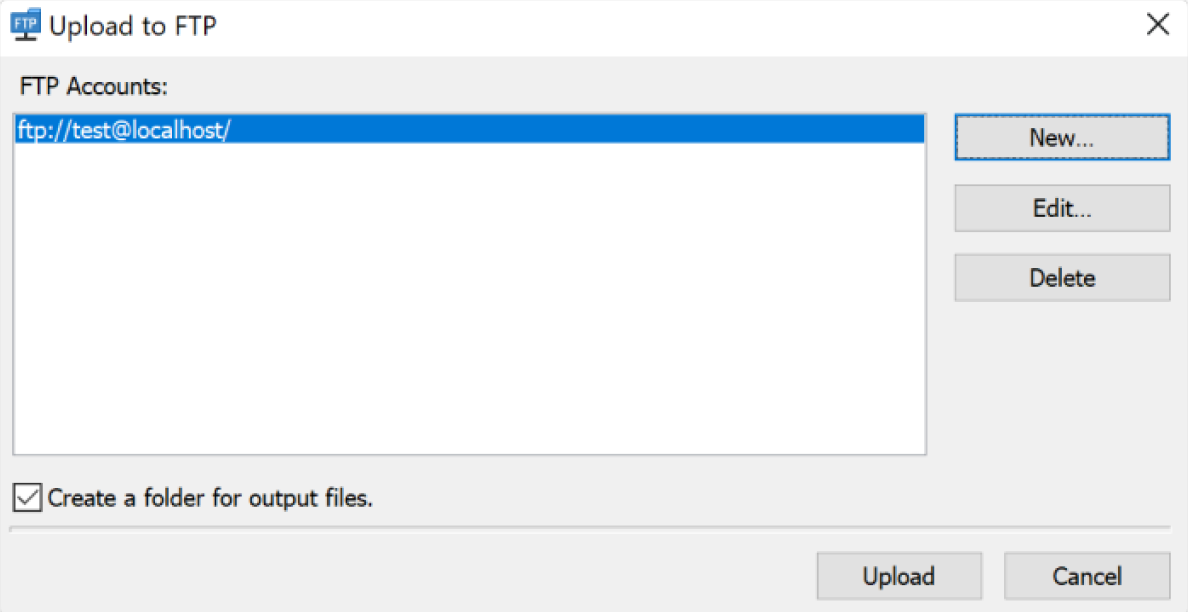
When publishing has completed, click on FTP in the opened window.

Step 2. Upload the HTML5 package to an FTP Server
FTP (File Transfer Protocol) is an automatic method of transferring files from a local computer to a web server.
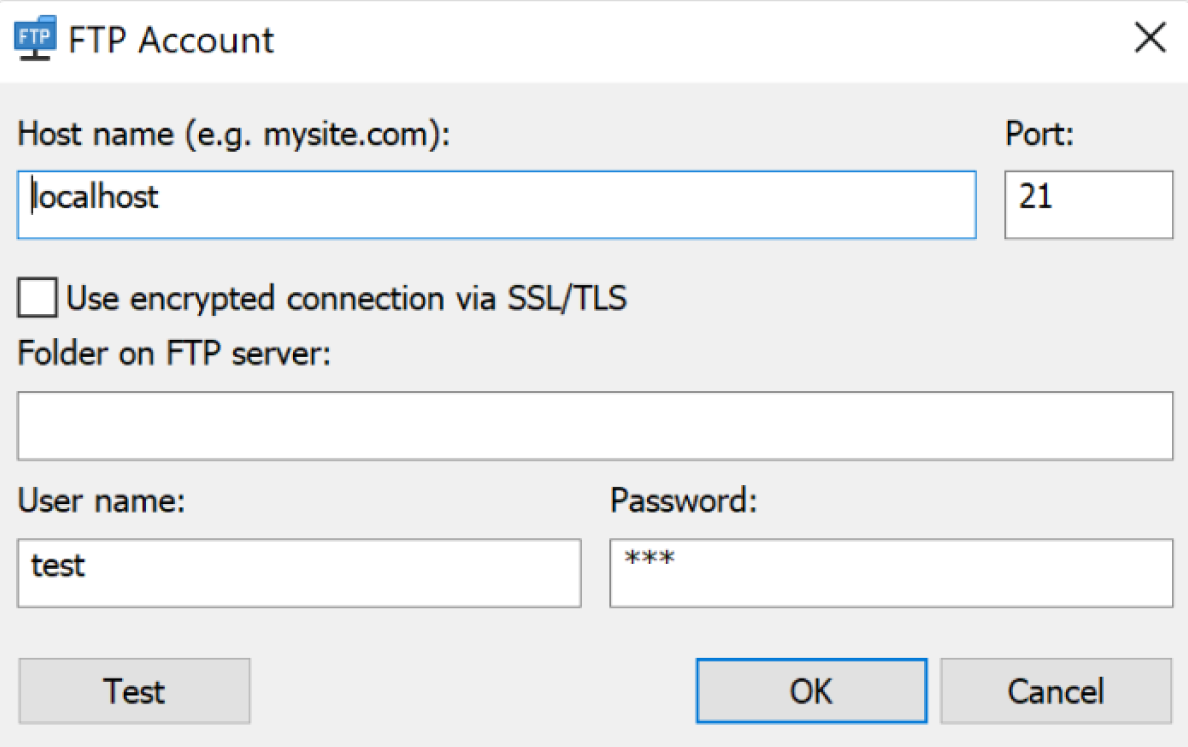
You now need to upload the HTML5 package to your FTP server. First, create an FTP account. Click on New. Enter your host name — it’s often your domain name. To confirm that the transfer has occurred, log in to your hosting account (e.g., Bluehost, SiteGround, Hostinger), go to FTP settings or cPanel, and copy the “FTP server” or “host name.”
Change the port number if necessary. 21 is for standard FTP connections. You’ll find the necessary port in the same FTP settings that are provided by your host.
Enter the folder name on the FTP server if you want to target a specific location. Leave it blank, and the files will go to your site’s root folder. To find or create folders, use your hosting service’s File Manager or reach out to their tech support.
Next, I recommend checking the box for the encrypted connection via SSL/TLS if your hosting provider supports FTPS (File Transfer Protocol Secure).
Then type in the user name and password.
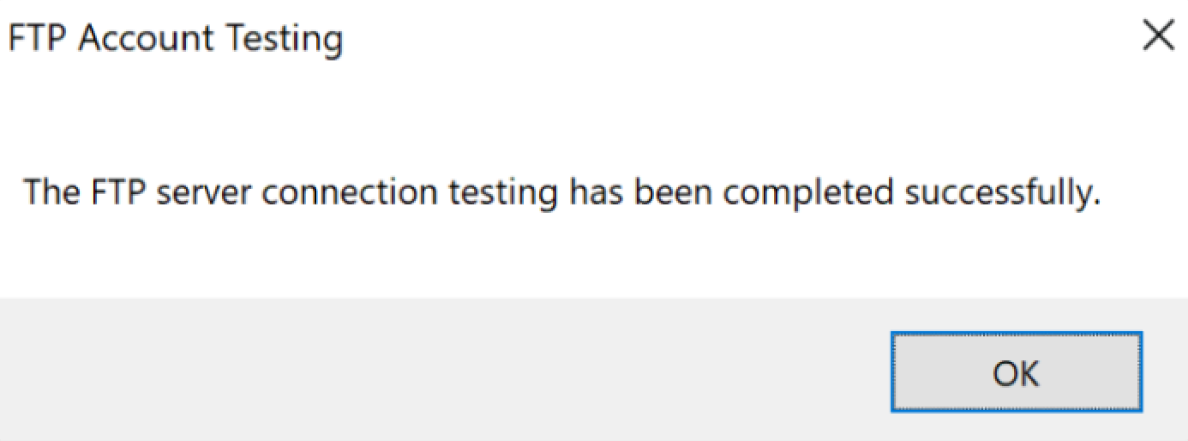
You can click on Test to make sure the connection works. If it does, you’ll get a success message. Now click on OK.
When you return to the Upload window, click on Upload. iSpring Converter will upload all the source files of your converted presentation directly to your server.
Step 3. Embed the link to your converted HTML5 presentation on your website
To locate the link to your converted HTML5 presentation, check the guidelines from your hosting provider. You can usually find them by an online search “[Your Hosting Name] get file URL.” Here is an example from Bluehost.
Now embed the link in <iframe> tag:
<iframe src=”http://HTML5 PRESENTATION ADDRESS” width=”800″ height=”600″ scrolling=”no” />
iSpring Converter maintains the PowerPoint width-height ratio to prevent distortion during conversion. So, you’ll insert the values of your slide size:
- If your PowerPoint was in standard 4:3, then use: Recommended: width=”800″ and height=”600″
- If your PowerPoint was in widescreen 16:9, then use: Recommended: width=”960″ and height=”540″ or 1280×720
- If you want your presentation to adapt to different screens and browsers, choose “Fit course to browser window” in iSpring Converter and set width=”100%.”
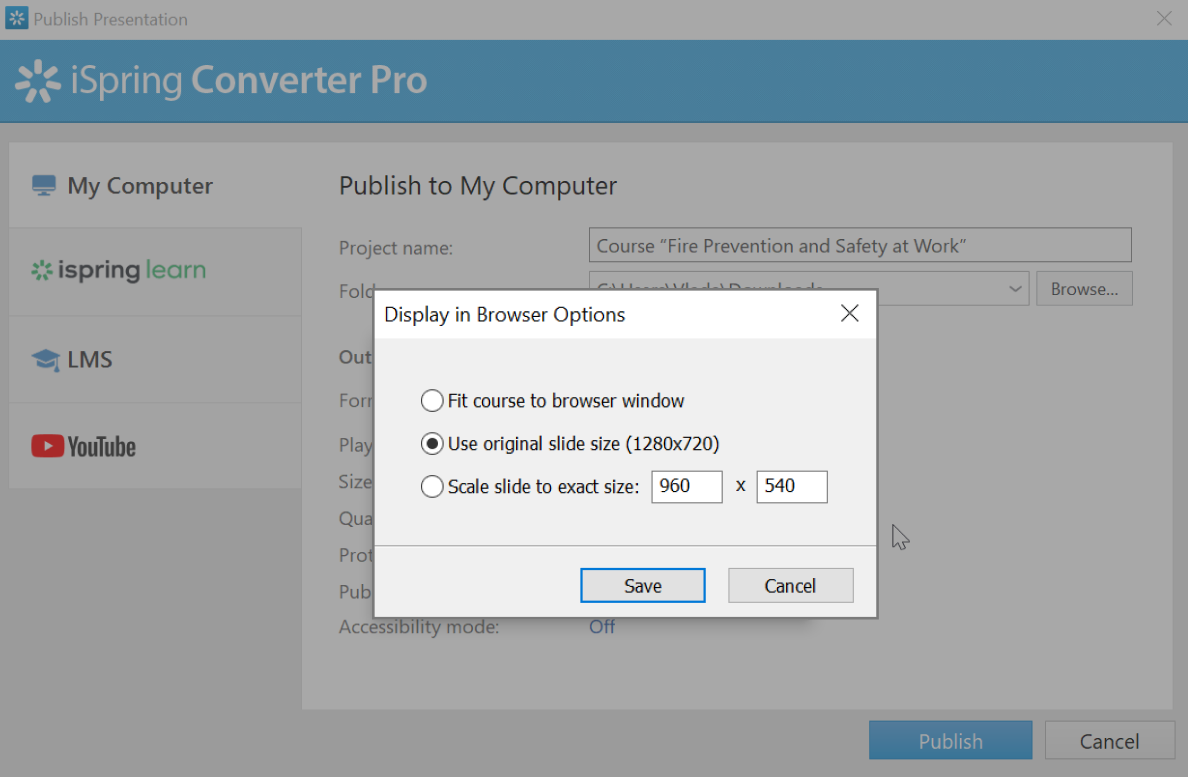
Size settings in iSpring Converter when publishing PowerPoint as HTML5
You’ll need to set custom sizes if the page layout is non-standard — for example, when the block where the presentation appears doesn’t span the full screen width.
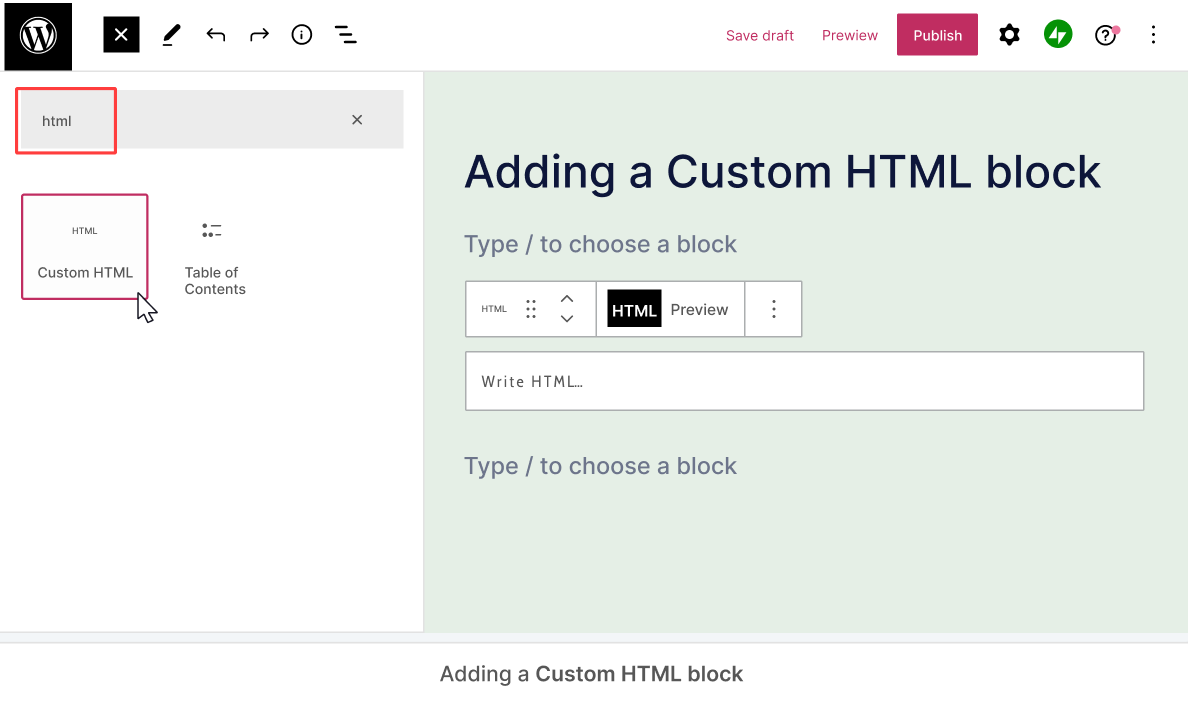
Open the webpage where you want to add the PowerPoint presentation.
Add a custom HTML block and paste the HTML code you just prepared. Then save or publish the page.
Great! The most technical part of the process has been accomplished.
Step 4. Test your successfully embedded PPT course
Before sharing your course with your audience, walk through this checklist to confirm that the course runs as expected.
- Use Incognito mode in a browser to preview the course as a student would (not logged into WordPress).
- Check your course load when you visit the page.
- Click through the slides to test interactions, quizzes, animations, and media.
- Open the course on different devices.
- Ensure that the access and protection settings work.
To update your original presentation, repeat the process and overwrite the same folder on the server. There’s no need to repeat Step 3 of the process if the filename stays the same.
Conclusion
Good job! I hope your PowerPoint presentation works flawlessly. You can always approach iSpring support if needed. The team has earned lots of customer service awards (Gold Globee®, TMN Choice, etc.) and is known for responsive, helpful support.
FAQ
Here are answers to common questions that course creators have when exploring embedding presentations into a website.
How large can the PowerPoint file be before the page slows?
It depends on your server’s capacity and settings, as well as what other elements are on the page. When testing the PowerPoint presentation, you’ll see if it makes sense to split it into smaller modules.
What are the options for tracking the embedded course?
You can track the embedded PowerPoint course using an LMS WordPress plugin and a plugin that handles SCORM and xAPI content. If you need tracking, publish the PowerPoint presentation not as HTML5 but as a SCORM or xAPI package. With iSpring Converter Pro (a rather essential tool), you can convert to this format too.
Can I embed a PowerPoint presentation without converting it?
Yes, when you embed PowerPoint in WordPress (for example), it has multiple plugins for this task, such as the Embed Any Document plugin. However, since the operation of this plugin depends on third-party cloud services (Google Docs Viewer and Microsoft Office Online), it has its own limitations, such as not supporting video/audio playback and animations/transitions in the embedded documents.
Create online courses and assessments in record time.

How to Add a Hyperlink to a PowerPoint Presentation (PPT)
PowerPoint Add-ins and Plug-ins: 13 Essential Picks for 2026