How to Make a PowerPoint Photo Slideshow


Creating a photo slideshow in PowerPoint is easier when you know where to start. This guide will show you how to build a polished PowerPoint presentation with pictures, transitions, and music, using the tools you already have. By the end, you’ll know how to make your entire presentation look great and play smoothly without spending excessive amounts of time or fighting with Microsoft PowerPoint.
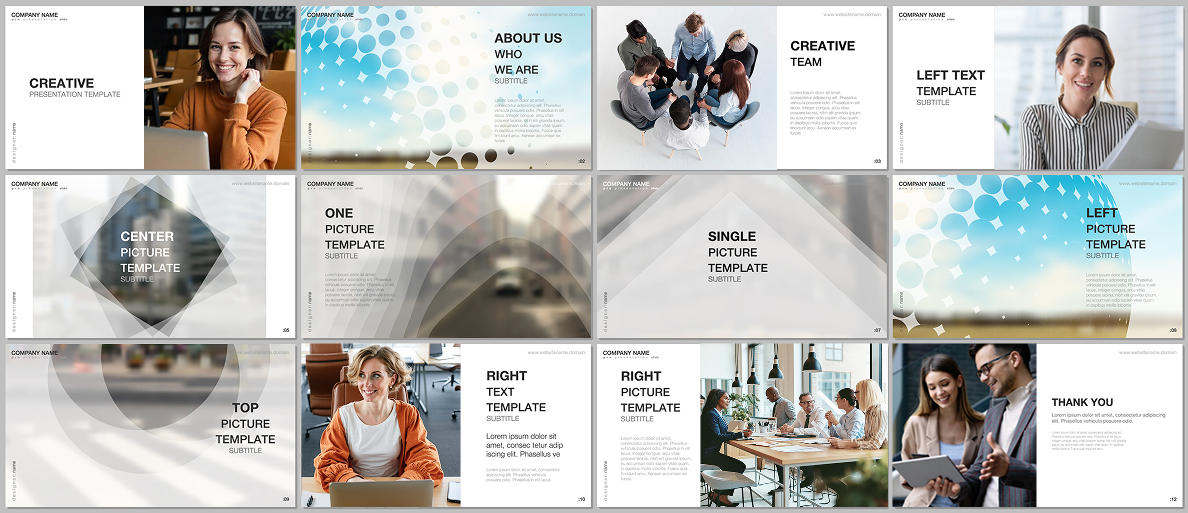
We’ve also prepared a PowerPoint photo slideshow template for you. It will help you get started quickly by providing a ready-made structure with optimized slide layouts, consistent design, and areas for your photos and text.
What You Need to Get Started
| Tool/Asset | Why You Need It | Details |
|---|---|---|
| PowerPoint (2016+) | To create, edit, and export the slideshow | Works on Windows or macOS |
| Images/videos | To build your slideshow content | JPEG, PNG for images; MP4 for videos |
| Audio file (optional) | To add background music or narration | MP3 and WAV formats supported |
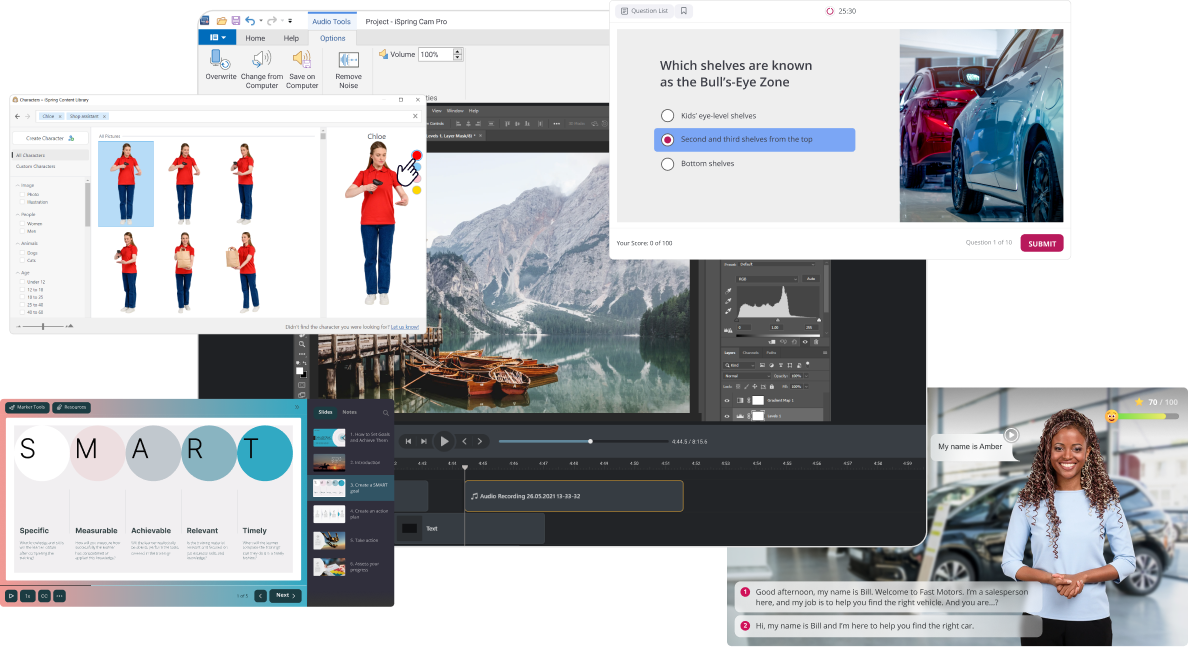
If you want to skip manual syncing or design headaches, authoring tools like iSpring Suite can speed things up significantly with ready-made templates and smart audio syncing. It’s an intuitive PowerPoint add-in — you’ll work in a familiar environment and won’t need to master new software.
iSpring Suite includes:
- A built-in audio and video editor.
- Timeline controls to sync voice-overs or music.
- A library of ready-made templates, characters, and slide designs.
You still create your own content, but the tool helps you build cleaner, more professional results in less time. This is especially useful if you are working on training materials, event slideshows, or anything that needs to look polished. It helps everything run smoothly without the usual technical headaches.
How to Create a Photo Slideshow in PowerPoint
In this part of the guide, you’ll learn how to add slide transitions, music, and carousels and export the final video.
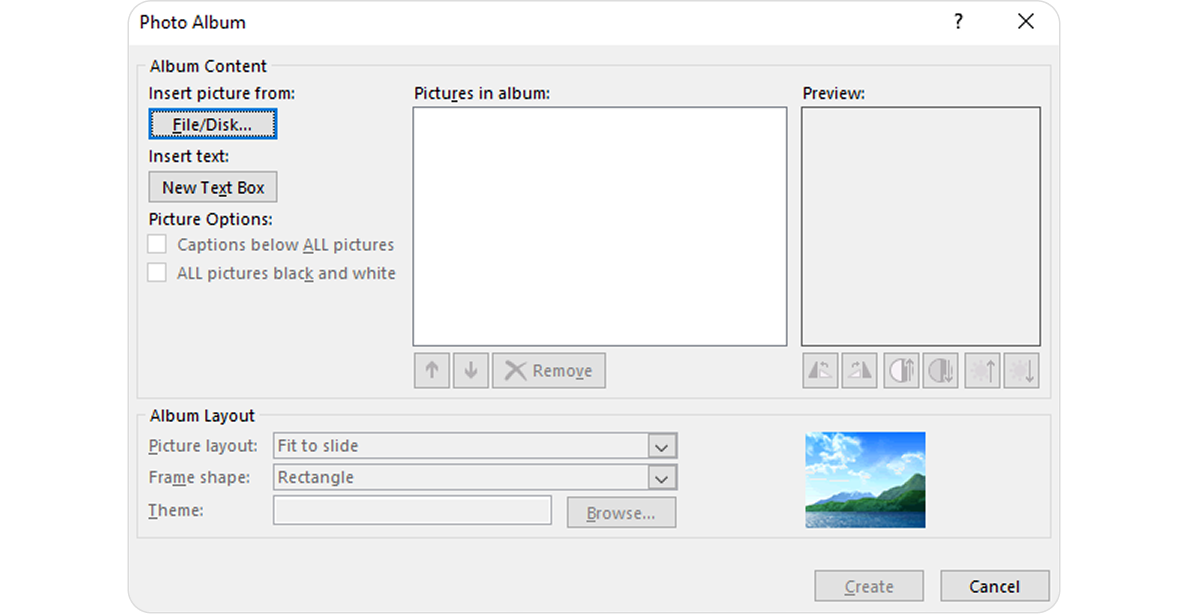
Step 1. Insert pictures into your slides
You can insert images one by one or all at once. If you use the Photo Album feature, PowerPoint will automatically create a new slide for each picture.

- Open PowerPoint and start with a blank slide.
- Click on Insert > Photo Album > New Photo Album to add multiple images, or use Insert > Pictures for individual images.

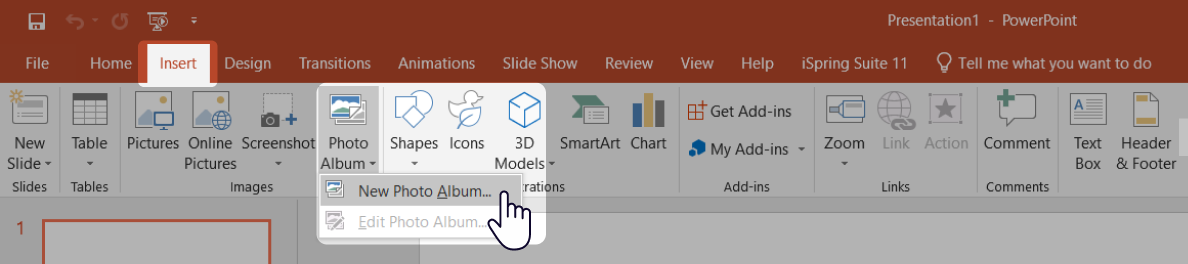
- Add images from your folder, arrange them in the right order, and hit Create.

4. Or for stock images, go to the Insert tab and select Online Pictures to find your desired image from Microsoft’s library.

Pro tip: Use high-resolution images (at least 1920×1080) to avoid pixilation on larger screens. Even a blank slide can be enhanced with just a well-placed image box for a minimalist look.
Too much to read? Get a summary from AI
Step 2. Add transitions between slides
Transitions will add a smooth segue from one slide to the next.
- Go to the Transitions tab and choose a transition effect like Fade, Push, or Morph.

- Apply one transition to all slides or customize the transition for each slide. Adjust timing under Duration. You can apply the same transition to all slides using the Apply to All button or mix and match for variety.

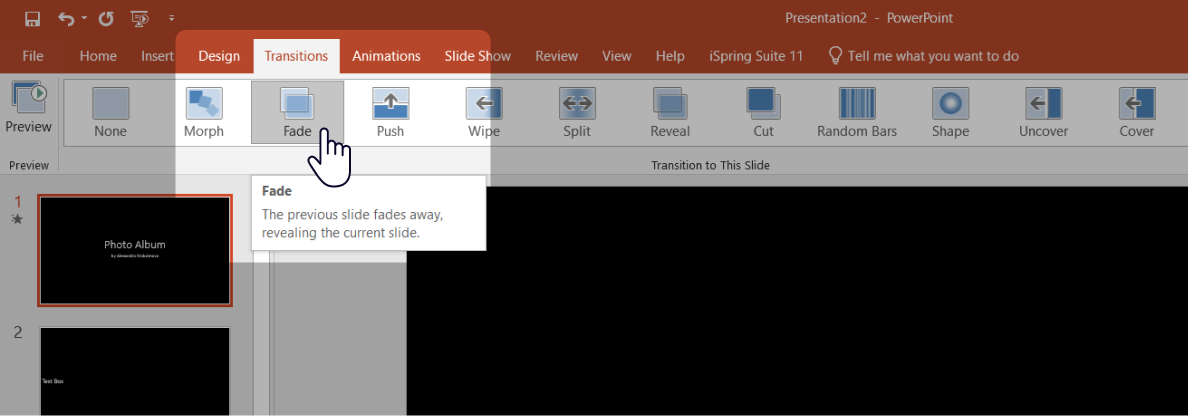

Pro tip: Stick to one or two styles for a cleaner, more professional look.
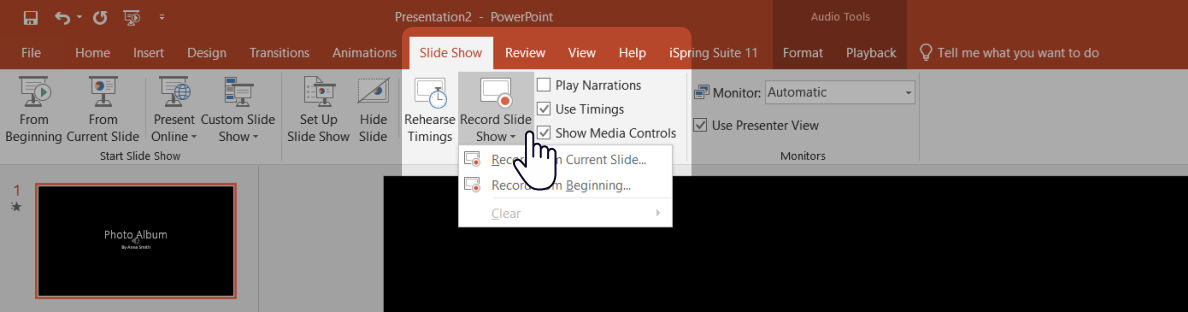
Step 3. Add music or voice-over
- Click on Insert > Audio > Audio on My PC.


- Select an MP3 or WAV file and set playback options: start automatically, loop until stopped, hide audio icon during show.


Pro tip: For a voice-over, record your narration slide by slide using Slide Show > Record Slide Show.
Pro tip: Use MP3 or WAV files for best compatibility and always test the volume level before exporting.
Step 4. Customize slide timing and playback
- Open the Transitions tab > uncheck On mouse click > check After, and set timing in seconds (e.g., 00.05.00 seconds).

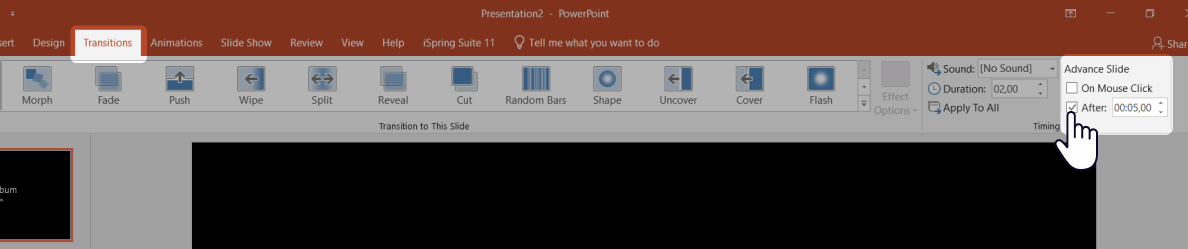
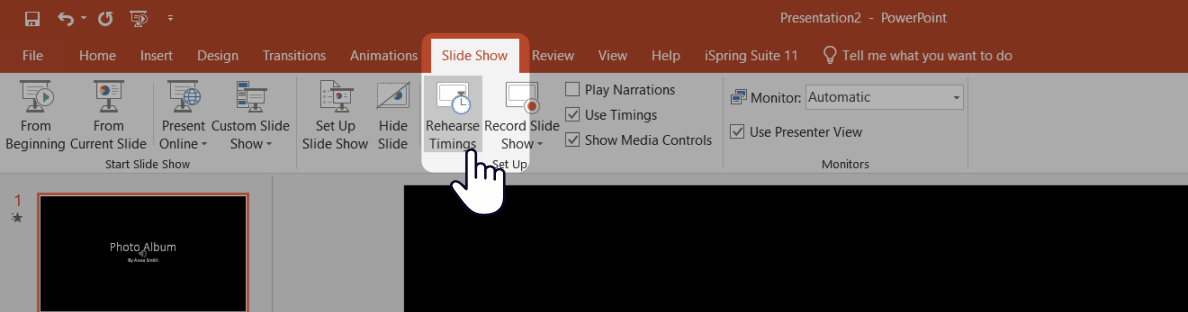
- Use Rehearse Timings under the Slide Show tab for custom pacing. If you recorded narration, the timing may already be synced, but you can adjust it in Slide Show → Rehearse Timings.

Pro tip: Keep each slide on screen just long enough for viewers to take in the visuals. Around 3–5 seconds is a good duration.
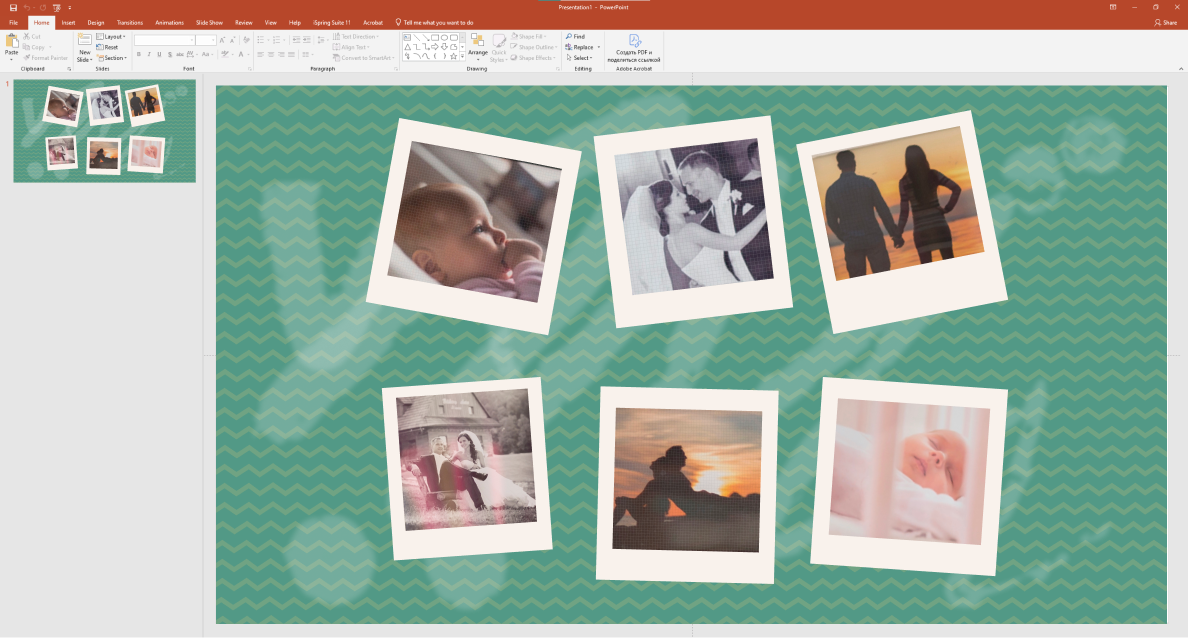
Step 5. Create a picture carousel on one slide
Do you want multiple photos on a single slide that change automatically? Use animations.
- Add multiple images to a single slide and use Animations → Appear, Fly In, or custom motion paths.
- Add triggers to advance the slide on click or auto-play with a delay.

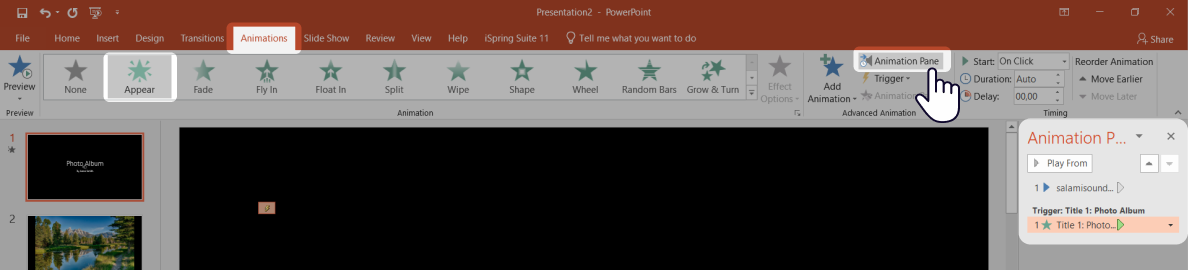
Pro tip: You can combine animations with triggers or buttons for interactive slideshows.
Step 6. Format the background and export your slideshow as a video
Before exporting, consider using Format Background to establish a consistent look for all slides, so your photos stand out better. Then, export the slideshow as a video.
- Go to File > Export > Create a Video.

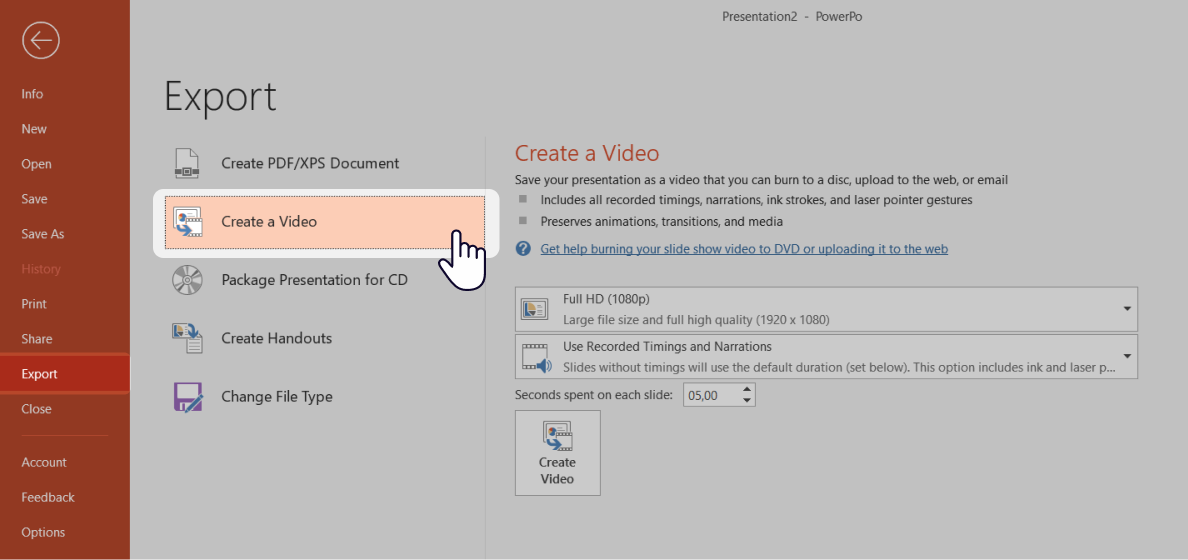
- Select the video quality (Full HD is recommended).
- Set the seconds that will be spent on each slide or use recorded timings.

4. Click on Create a Video.
Pro tip: The MP4 format works best for sharing online or sending to others. For smoother playback, keep animations and effects simple.
How to Speed up the Process with iSpring Suite
Creating a slideshow can take hours. A PowerPoint-based authoring tool like iSpring Suite helps shorten the time that needs to be spent by providing:
- Templates with built-in design logic for faster slide creation.
- Automatic audio syncing that matches narration or music with your slides.
- An intuitive editor for trimming, adjusting, and polishing video and sound.
- Animated characters and visuals that add a professional touch and make your content more relatable.

Here’s how iSpring Suite compares to standard PowerPoint:
| Feature | PowerPoint Only | PowerPoint + iSpring Suite |
|---|---|---|
| Slide creation | Manual setup | Ready-made templates |
| Audio syncing | Trial and error | Auto-sync with narration/music |
| Visual polish | Basic transitions | Professional effects and characters |
| Workflow | A need to switch between tools | All-in-one in PowerPoint |
| Ease of use | Steep learning curve | Beginner-friendly with helpful prompts |
| Best for | Personal slideshows | Training, eLearning, polished decks |
Tips for Designing a PowerPoint Photo Slideshow
Even a technically perfect slideshow can fall flat if it doesn’t look good. These quick design tips will help make your picture slideshow look polished and cohesive.
Stick to one style
Use consistent fonts, font sizes, colors, and layouts across all slides. This makes your slideshow easier to read and more enjoyable to follow. PowerPoint’s Design Ideas feature (under the “Design” tab) can give you layout inspiration without overthinking it.
Use empty space
Avoid clutter — an image box with some white space looks more professional. Give your photos some breathing room: try not to pile them up. It makes your presentation feel less chaotic and more intentional.
Choose a color palette
Limit yourself to 2–3 key colors. You can pull them from your images using tools like Coolors or Adobe Color.
Add subtle text labels
If needed, use short captions, dates, or bullet points to guide your viewer, but keep them brief and clear. Avoid long paragraphs or crowded lists. One idea per bullet usually works best.
Keep animations simple
Don’t overdo it with dramatic effects. A gentle fade or slide-in usually looks more professional than spinning or bouncing images.
Real-World Use Cases for PowerPoint Picture Slideshows
A good PowerPoint picture slideshow can teach, inspire, and even spark emotion, but only if done right. Here’s how different people use slideshows to make an impact, with tips to implement.
For teachers and trainers
Would you like to explain a difficult concept or guide people through a process? Create a photo-based walkthrough with actual examples instead of walls of text. Add slide-by-slide narration to explain context and avoid confusion.

Tip: Divide your lesson into chapters using section headers or a consistent title slide. This helps learners follow the flow, especially if you export the slideshow later as a video lesson.
Try this: Use the Rehearse Timings feature in PowerPoint to sync slides with your voice naturally. After that, you won’t need any post-editing.
For families and event organizers
Photo slideshows can be the emotional core of a celebration, from birthdays to retirement parties.
Tip: Mix group photos with personal quotes, inside jokes, or audio messages from loved ones.
Try this: Start with a title slide that includes a date, event name, or message. End with a group photo and soft music, which creates a natural close.
For bloggers and content creators
Want to turn photos into content for YouTube, Instagram, or TikTok? A well-paced photo slideshow can be made quickly and shared with ease.

Tip: Use the Morph transition for a modern, smooth feel. Add quick captions or voice-overs to tell the story behind each image.
Try this: Export your PowerPoint slideshow as an MP4 and trim it in a free video editor (like Clipchamp or CapCut) before uploading.
For small businesses and teams
Slideshows are a smart way to pitch your product, share client success stories, or visually recap a project. A few strong images, paired with clear takeaways, can go further than a traditional report.
Tip: Use Photo Album to quickly add multiple photos and arrange them. Stick to one slide layout and one font for a cleaner look.
Try this: Create a reusable PowerPoint picture slideshow template for your team to speed up internal updates or client demos.
Bonus tip: plan before you build
Regardless of the purpose, your slideshow will turn out better if you map it out first. Even a quick sketch on paper helps. Decide how many slides you need, which photos go where, and how you’ll move from one idea to the next. Use consistent slide layouts to keep everything aligned, especially when using multiple slides with a similar structure. This also makes it easier to add background music or a voice-over later, since you already know the pacing. Planning saves time during editing and helps you avoid last-minute fixes to your PowerPoint presentation.
Final Thoughts
PowerPoint gives you everything you need to build a picture slideshow that works. Whether you start with a blank slide or a template, you can add smooth transitions, background music, and even create photo carousels — all within the same interface. Whether you’re making something personal or professional, PowerPoint has you covered. And if you want to work faster and get that polished look, tools like iSpring Suite are there to help. Try iSpring Suite free for 14 days and see how quickly your slideshow comes together.
FAQ
How can I make a photo slideshow in PowerPoint?
Use the “Photo Album” feature: go to Insert > Photo Album > New Photo Album, select your pictures, and click on Create.
How can I make a PowerPoint photo album slideshow play continuously?
Go to Slide Show > Set Up Slide Show, then check the box for Loop continuously until Esc.
How can I add photos to a PowerPoint slideshow?
To add individual images, go to Insert > Pictures. To add multiple photos at the same time, use Insert > Photo Album > New Photo Album.
How can I put the same picture on every slide in PowerPoint?
Use the Slide Master: go to View > Slide Master, insert your image on the master slide, and it will appear on all of the slides in your presentation.
Create online courses and assessments in record time.


How to Make a Video Presentation in PowerPoint
PowerPoint Add-ins and Plug-ins: 13 Essential Picks for 2026
How to Create Flashcards in PowerPoint Using Trigger Animations
How to Record Yourself on Video Using Microsoft PowerPoint: A Full Guide