The 11 Best Timeline Software in 2026

A timeline is great for putting ideas, events, and facts in order. They are used widely in helpful tutorials, product designs, customer service, case studies, etc. Digital timelines are easy to create – you only need to have the proper software at hand. However, your purposes for making a timeline may vary, and so does the software. Do you want to make an interactive timeline to engage learners or manage your project? Or are you looking for a particular template? Or perhaps you need a tool with greater export and embedding capabilities.
In this article, we’ve compiled a list of the best timeline makers in five categories:
- Tools for interactive timelines in education
- Project planning tools
- One-stop-shop timeline makers
- Free timeline makers
- Timeline apps for smartphones
Check them all out and find the one that suits you best.
TL;DR
The article explains how timeline makers help visualize events and organize top tools into categories: interactive timelines for education, project planning, all-in-one solutions, free tools, and mobile apps. It lists the best timeline makers, including iSpring Suite AI, Sutori, Tiki-Toki, Lucidchart, Office Timeline, Preceden, Venngage, TimeGraphics, TimeToast, SimpleMind, and EdrawMind; describes their key uses and features; and gives tips for creating effective timelines.
The 3 Best Interactive Timeline Software for Educational Purposes
These timeline makers enable you to craft not just a timeline but an entire interactive presentation. This approach to timelines enhances education by introducing interactivity and engagement. Learners can click on specific points on the timeline to reveal slides that contain greater detail. Below are three recommended timeline software options for students, educators, and course developers.
Also read → How to Convert PowerPoint to MP4 Video on Windows and macOS
1. iSpring Suite AI
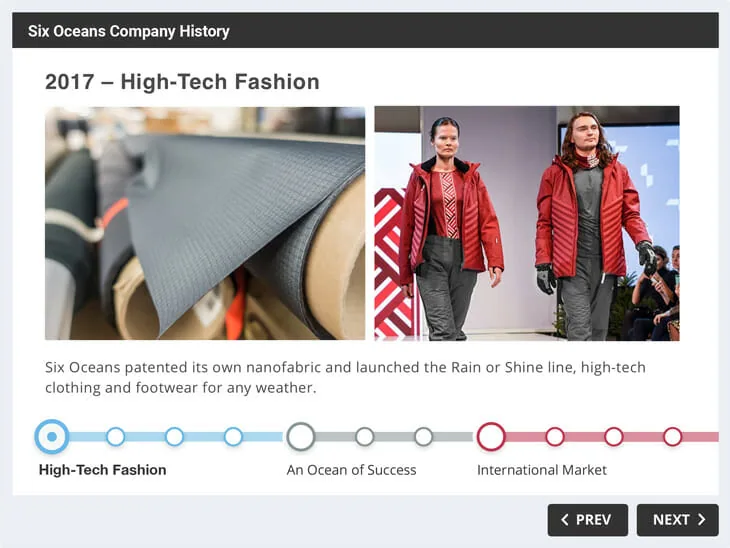
iSpring Suite AI is an all-in-one authoring toolkit for educators and instructional designers. As well as being able to create intricate timelines, you can also design entire courses, quizzes, role-plays, video lectures, and more.
iSpring Suite allows you to add an extensive selection of interactions, one of which is the timeline. With this interaction, you can add a custom number of periods and events, and customize the visuals and interactivity.
Pros
- Interactions created in HTML5
- Mobile-ready timelines
- Unlimited events grouped in multiple periods
- Insert audio, video, images, and hyperlinks
- Built-in audio recorder
- Interactions can be exported as SCORM to an LMS
- Options for protecting content
- Besides English, 9 other languages are supported
Cons
- Only compatible with Windows
- Doesn’t offer vertical timelines
Pricing: $1290/year
Check out iSpring Suite and start creating amazing timelines right now.
2. Sutori
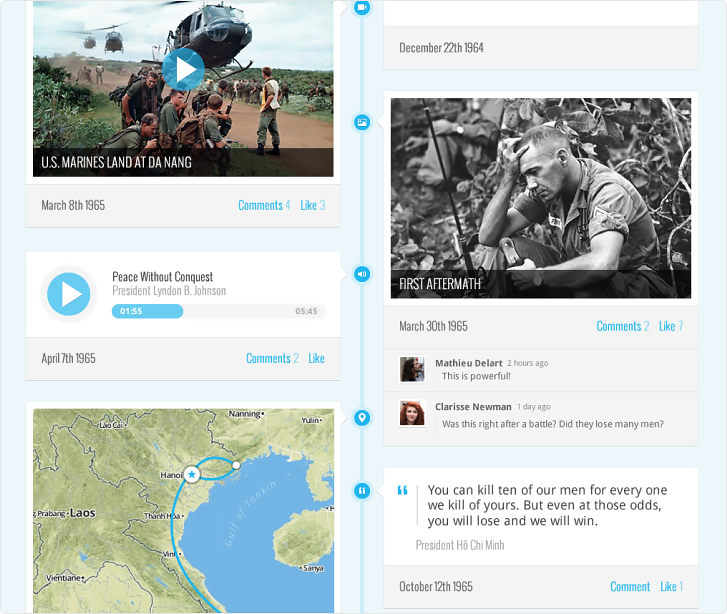
Sutori is a web-based timeline creation tool designed to aid teachers and students alike in making interactive timelines for educational success. The software is simple and professional looking, all while being confined to a web browser.
Pros
- Timelines can be downloaded as PDFs and printed
- No advertisements or watermarks in the free plan
- Add quiz questions, images, video, audio, hyperlinks, and forums
- Can be embedded into WordPress sites
- Multiple users can edit the same project simultaneously
Cons
- As each event is a webpage, large projects can be difficult to manage
- New events need to be linked to others manually
- Not designed with commercial use or project managers in mind
Pricing: $99/year (Free version also available)
3. Tiki-Toki
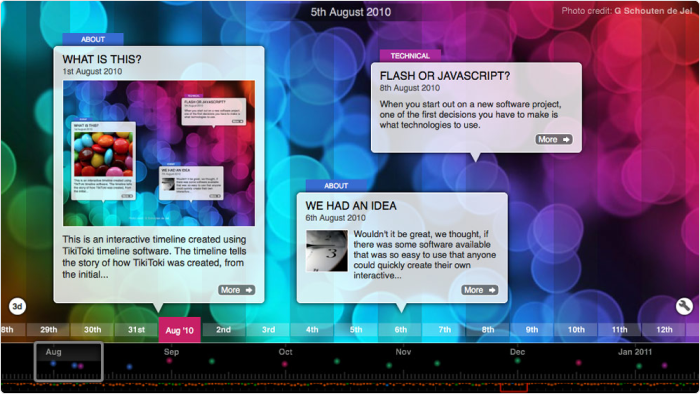
Tiki-Toki is a custom chronology generator that specializes in making history come to life in 3D. This online tool is great for use in schools and can be used very easily by both teachers and students. While the app is simple and visually impressive, its options for customization are limited.
Pros
- Visually impressive with 3D elements
- Date ranges and color-coded categorization
- Customized background imageCustom URL for sharing
- your project
- Custom plans for teachers and students
Cons
- Only one project is available on the free plan
- Text-based style not suited for multiple uses
Pricing: $150/year (Free version also available)
The 2 Best Timeline Software Makers for Planning
These tools are commonly used by project managers and feature planning capabilities that facilitate team collaboration on visual data. They offer users enhanced ways to employ timelines in a business context, such as showcasing project timelines, and refining how ideas are presented to colleagues.
4. Lucidchart
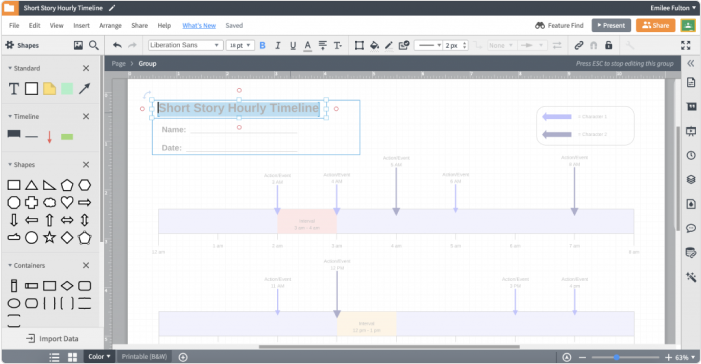
Lucidchart is an online software that, as well as making Venn diagrams, mind maps, and flowcharts, can be used to create timelines. The tool is intuitive with its drag-and-drop functionality and offers a wide range of integrations. Lucidchart projects can be shared on Slack, Microsoft Teams, Excel, Jira, and applications such as OmniGiraffe and Viso.
Pros
- Drag-and-drop functionality
- Little to no learning curve
- Integrates with business communication and project management tools
- Intuitive and real-time collaboration
Cons
- Cannot export as PDFs
- Small number of pre-made templates
Pricing: $8/month (Free version also available)
5. Office Timeline
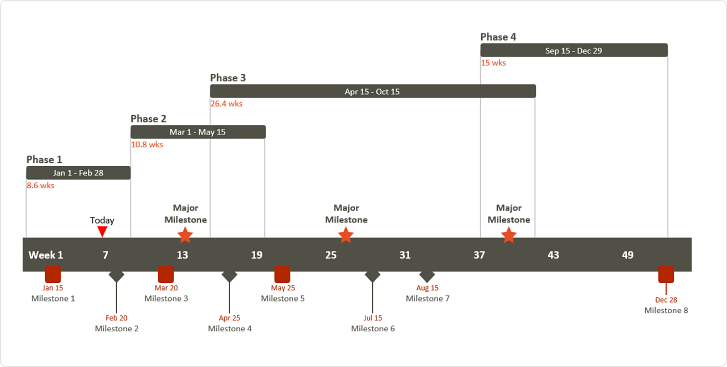
Office Timeline is a project management software that’s excellent for business communication. It offers two tools: an online timeline maker, and an offline PowerPoint add-on. The online platform is user-friendly, with multiple templates and export options, while the offline option provides an automatic Gantt Chart feature that uses data from an MS Excel spreadsheet.
Pros
- Download projects as PPT, XLS, or PDF documents and send them via email
- Integration with MS Project, Wrike, and Smartsheet project management tools
- No advertisements or watermarks in the free version
- Online and offline functionality
- 39 different templates
- Allows corporate branding
Cons
- The free version of the offline tool only has 3 templates
- No custom URL for sharing
- Lacks functionality for complex projects
- Online and offline tools are separate products
Pricing: $149 for each product
The 2 Best One-Stop-Shop Solutions
Sometimes it makes sense to opt for a tool that can cover a number of different functions and be the go-to platform for all of your timekeeping needs. We selected our top picks for the best online timeline generators that offer great customization and visual design for a wide range of applications.
6. Preceden
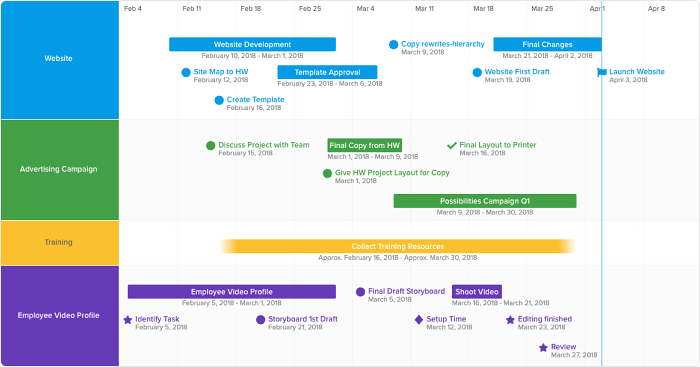
Preceden is an online timeline editor with a simple drag-and-drop system for creating a wide range of chronological presentations with ease. The product offers both a free and premium version, which supports a range of customization features and export options.
Pros
- Export projects as PNG, CSV, XML, or PDF files
- No advertisements or watermarks with the free version
- Ease and variety of customization
- Projects can be made private
- The premium plan offers unlimited projects
- The premium plan includes priority support
- A generous list of upgrades and add-ons with the premium plan
- Date ranges are supported
Cons
- The free version is limited to 1 project with 10 events
- The free version blocks many features
- Projects cannot be embedded into WordPress
Pricing: $120/year (Free version also available)
7. Venngage
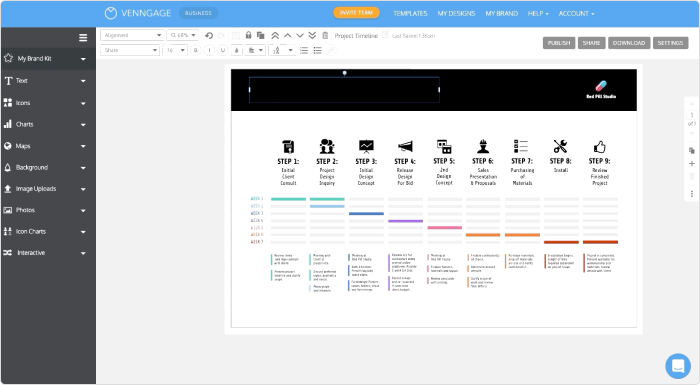
Venngage is an online infographic design tool that can be used for a wide range of functions, but one of its most useful applications is a timeline maker. Even if you have no design experience, this tool makes it easy to create visually stunning graphics from a wide selection of templates. You can also add a selection of media and customize the design before exporting.
Pros
- Hundreds of ready-made templates or create your own template
- Drag-and-drop interface for easy and rapid design
- Over 40,000 items in the content library to enhance visual design
- Projects can be downloaded as HD, PDF, or PNG files, or shared via link
- Collaborate on projects with others
Cons
- The free plan is limited to 5 projects and exports
- The free plan has limited export options
- Significant cost of $49 for the Business plan
Pricing: $120/year (Free version also available)
The 2 Best Free Timeline Tools
8. TimeGraphics
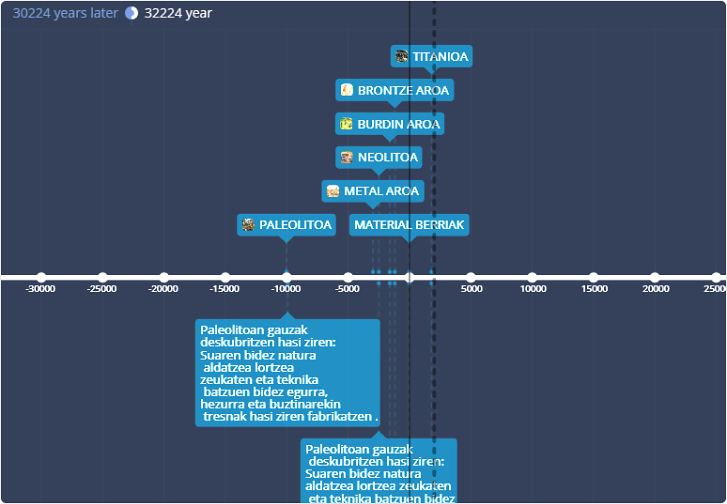
TimeGraphics is a web-based free timeline builder that integrates with a number of Google services, such as Google Analytics and Google Sheets. One of its other standout features is the option to embed various interactable elements from other sites.
Pros
- Export your projects as PDF, PNG, PPT, or DOC files and embed them on your website
- No advertisements or watermarks
- Projects can be published as public or private and support SEO indexing
- Google Services integrations
Cons
- You can only create 1 project
- Supports up to 18 events and 7 media links
- Only 1 template
9. TimeToast
Timetoast is a very simple project timeline tool that’s quick to use and allows you to export your projects as images directly embedded into your website. This is a handy feature for simpler or slower sites. TimeToast is a little lacking in the customization department, but if you like their minimalist design, then you really can’t go wrong.
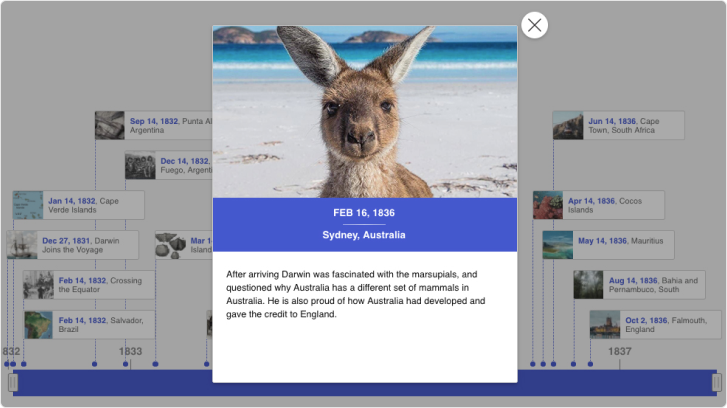
Pros
- Download projects as JPG, GIF, or PDF files
- No watermarks or advertisements
- Embed projects as images on websites
- Events can contain images, text, and links
Cons
- Few customization options
- Events already added are not 100% editable, so you need to create new events
- No technical support
The 2 Best Timeline Software Apps for Mobile
Making digital content on the go has become a mainstay in the modern world, and this is no different when it comes to making timelines. There are options for both Android and iOS phones for creating, editing, and sharing. We selected 4 of the best timeline-making apps for mobile.
10. SimpleMind
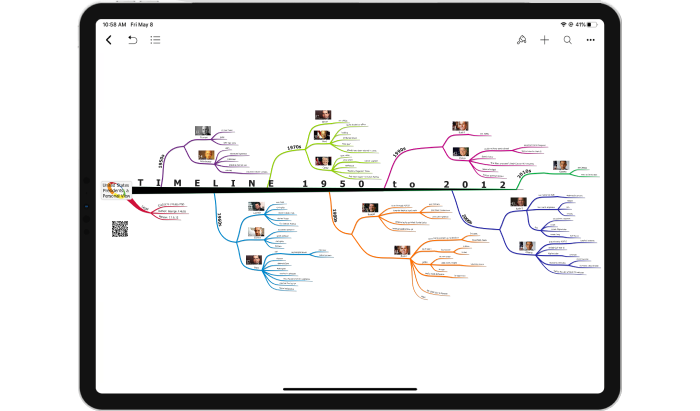
SimpleMind is an innovative mind-mapping tool that provides a selection of style sheets and templates that allows you to create a wide range of interactive diagrams. The app has a free and a paid version, but both are capable of creating fantastic-looking timelines for project management or education.
Pricing: $10.99
11. EdrawMind
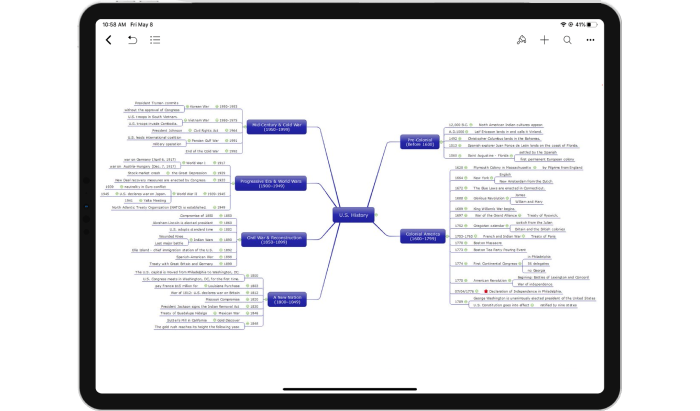
EdrawMind is an app from Wondershare that makes it easy to create professional-looking data layouts. You can use the app to design timelines that are scalable and have different connection styles, images, and summaries. Your projects can be exported as images or PDFs, and it has integration with Dropbox.
Pricing: $59/year, $118 one-time purchase
4 Tips on How to Create a Timeline
When you decide on a tool to make your timelines, it’s time to think about their structures and how you will present the information.
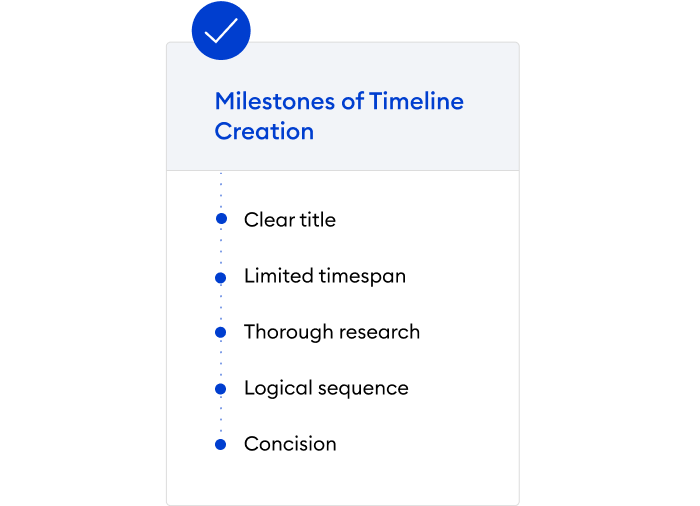
Whatever type of timeline you make, working on it starts with a clear conceptualization. You need to complete these four steps to get from idea to realization:
1. Define what you’ll cover with your timeline. Set timeframes for it and come up with a clear, eye-catching title.
2. Consider how detailed it will be. Research the data and prepare it carefully.
3. Plan the layout of information ahead of time. Arrange the facts or notions in sequence. Ensure that you follow a logical order.
4. Make your timeline look neat. The texts should be short and concise.
Following is the technical side of timeline creation. We’ll show how to make it in iSpring Suite and use a historical timeline as an example. Check it out!
FAQ on Timeline Software
How can I create a project timeline using Gantt charts in the timeline tools?
Most interactive timeline makers, such as Office Timeline, GanttPRO, Instagantt, Lucidchart, and Venngage, offer features that allow the creation of a project timeline using Gantt charts. These tools allow you to plot tasks, durations, and dependencies on a timeline, providing a clear visual representation of your project.
With the drag-and-drop interfaces that many of these tools provide, you can adjust and organize your tasks quickly. This makes it easy to update your project timeline as needed.
Is there any timeline software that supports date ranges for long-lasting events?
Yes, this is a fundamental feature for creating detailed and accurate timelines. Any interactive timeline software (at least Tiki-Toki, Timeline JS, Office Timeline, and Preceden) typically supports date ranges for events.
Conclusion
Timelines are an easy and effective way to illustrate a series of facts, events, or ideas and understand how things change over time. There are several types of timeline software that enable smooth creation and sharing. Some of these tools are free timeline makers, accessible online (a web tool), or mobile apps, which might be useful for making timelines quickly. Others are perfect for interactive timelines in education and training. Some timeline makers focus on project management and take data visualization to the next level. We hope our research will help you choose the best software for your needs.
Which timeline program would you like to add to this list? Feel free to share in the comment section below!


