What’s new in iSpring Suite
Manipulate Time in Your Video Courses

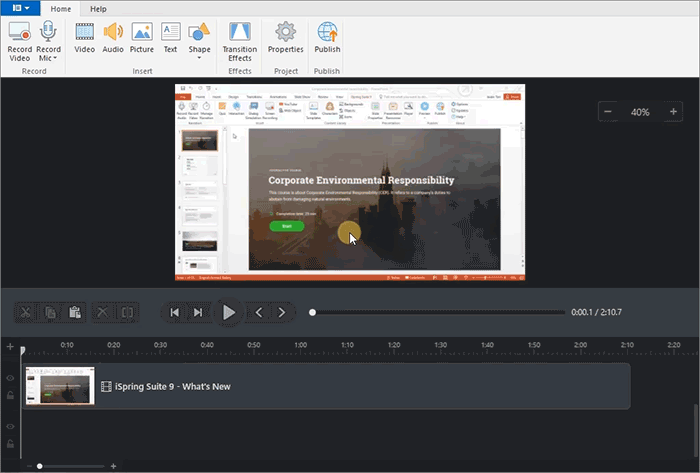
Now, with the iSpring Suite video studio, you can change the video speed, add a freeze frame to a video course, and separate the sound from the picture. Let’s have a closer look at all the new features.
Slow down and speed up video
Sometimes, you need to slow down a video to focus the viewer’s attention on an important part, and demonstrate things that may be overlooked at normal speed. For example, you can create a slow motion effect to show how to access an inconvenient location during car repair.
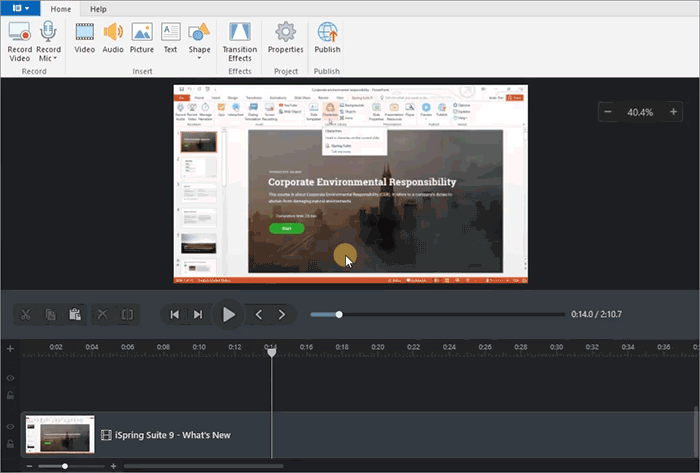
To slow down a video in iSpring Suite, right-click on the video track, select Change Speed, and drag the required fragment on the timeline.
Plus, you can speed up a scene that doesn’t need further explanation, like when Photoshop is rendering graphics.
Add a freeze frame
Sometimes, you may need to add a long explanation to a certain part of your video. Now, you can freeze the frame and share your comments.
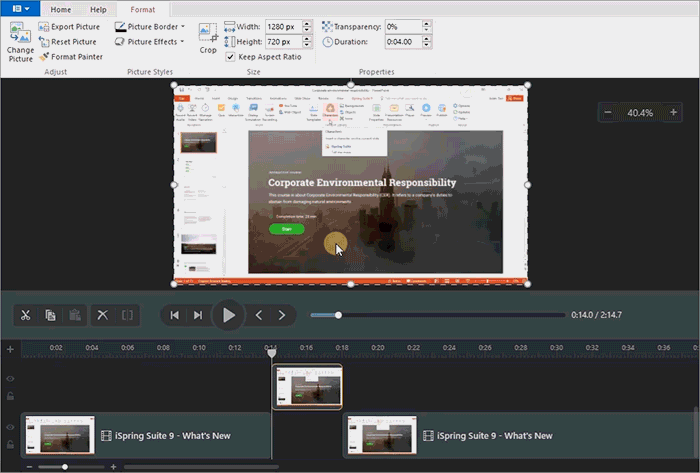
A freeze frame is a fragment that “freezes” on the screen at the right time, as if it has been put on pause. Use it to highlight a significant point in the course, or add an animation, a textual comment, or a voice-over.
To make a freeze frame in iSpring Suite, right-click on the required fragment and choose Insert Freeze Frame.
You can even add an infographic or a text to the picture to include more information about the topic. You can also replace a freeze frame by any other picture.
Mix audio and video tracks
This feature helps you quickly edit any videos which you may have already received from an SME or a customer.
In previous versions, when you uploaded a ready-made video to iSpring Suite, the audio track was tied to it, so all edits were made simultaneously; now, you can split the sound from the picture in two clicks.
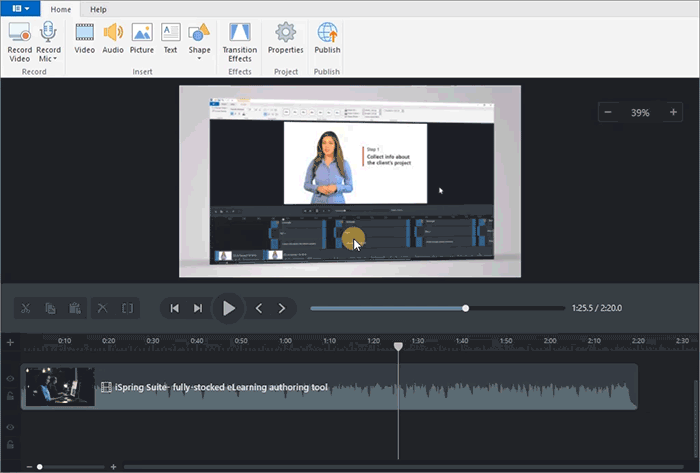
Work with video and audio tracks separately without losing important information. For example, you can cut out ambient noise and add effects to your voice-over track without touching the video.
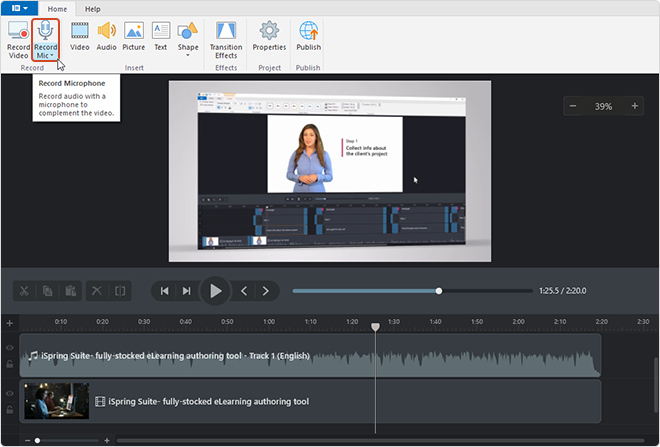
If the quality of the original audio doesn’t work for you, you can completely re-record it. To do that, just use the Record Mic option on the video studio toolbar.
Plus, you no longer need to open your voice-over text in a separate window while recording — just copy and paste it in the narration area.
This update is available for free to all users with an active Maintenance Plan. Email us to find out if you’re eligible.
