Black Belt In Negotiations: How to Improve Your Employees’ Skills with Dialogue Simulations

The art of dialogue is the ability to speak the language of an interlocutor. Just like any other skill, business communication can be learned. In eLearning, for this purpose we use interactive dialogue simulations.
A dialogue simulation is an interactive exercise that actually imitates a real conversation with a person: a customer, a staff member, or a colleague. It helps people master communication skills without any risk of scuttling a deal or damaging relations with a client.
You can see how simulations work in The Matrix. A key character connects to a computer program and learns how to jump from one roof to another. Actually, he falls, but it doesn’t kill him — it was just part of the training.
Each dialogue I make is based on a real business case from my practical experience. Learners are required to face a challenge in real time: correctly present a product, assign a task to a subordinate, or calm down an angry customer.
The main feature of a dialogue simulation is its branching scenario, where each decision has consequences. Everything works like in real communication between two people: say something rude, and you’ll anger the other person; be polite, and he’ll smile back at you.
I’ve created the dialogue simulation below with iSpring Suite.
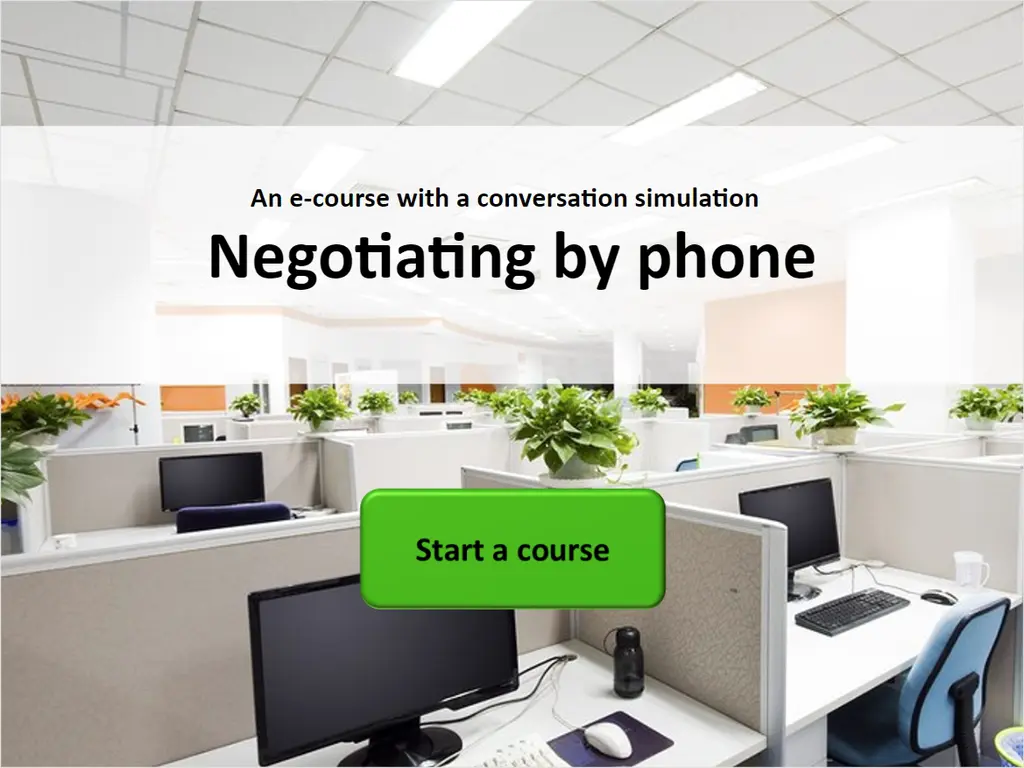
This simulation teaches bank employees to manage conversations, ask questions correctly, overcome objections, and invite clients to an office. Would you like to create a similar simulation? Here is a step-by-step guide.
Step 1. Decide Whether You Need a Dialogue Simulation at All
Why do you want to create a dialogue simulation? “Just for a change” is a bad answer.
The goal of a simulation is to teach employees to speak clearly and to the point, and to practice in a safe environment, so that in a real situation they can act confidently and make no mistakes.
If the purpose of the course is just to inform about regulations, familiarize with a new job, or motivate to work, a dialogue simulation is excessive. It’s enough to add a character with speech bubbles to the course.
But if you need to teach a new salesperson to present the product efficiently, an interactive simulation will help to achieve this goal.
Step 2. Think Over the Structure and Script
Before you start filling slides with characters and writing lines, go into the structure. The most convenient way to do that is to create a mind map. Plan how to start a conversation, how to develop and finish it, and where to give feedback.
Personally, I prefer creating mind maps with XMind.
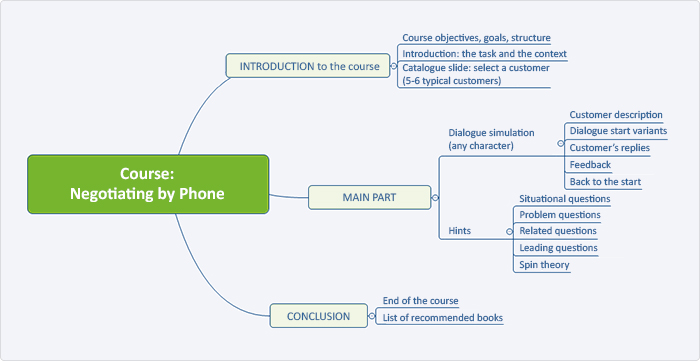
Mind map for the course on telephone negotiations
To make the training vivid, take a real case from your business as a starting point. This can be, for instance, sales algorithms or complaint handling. Real examples will inspire higher engagement in the learning and increase its value. Prepare a detailed conversation script with correct and incorrect phrases beforehand. This can be done in any text editor.
Also, think of the branching: create two, three, or four scenarios depending on the user’s actions. For example, if the seller incorrectly responds to an objection, the client replies with a new objection; but if the seller does everything right, he’ll make a deal.
When I begin to write a dialogue, I create the ins and outs of the ideal branch first, meaning how the ideal user would answer. Then I look where there can be other branches, where they lead, whether a user can return to the right path, and in what cases.
N/B: It’s necessary to tell users about the aims and objectives before a dialogue simulation starts. This way they will understand what they need to pay attention to, and what result is expected from them.
Also, describe the character learners will have to “communicate” with, and define his or her personality and the setting. This will help learners understand the subject matter faster.
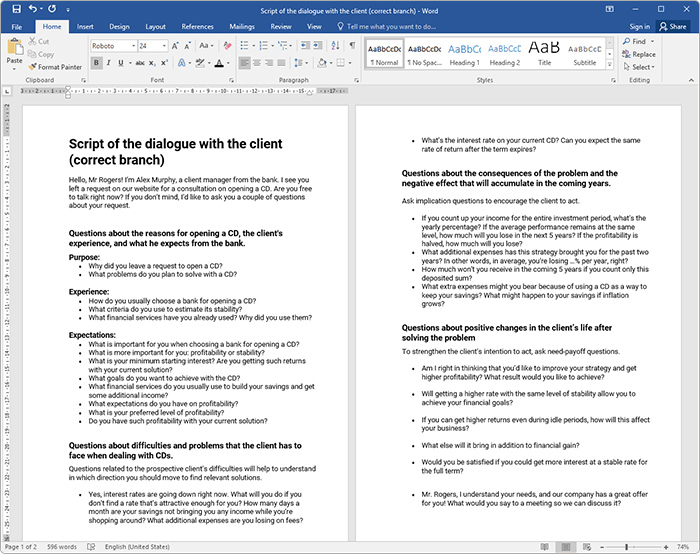
My script for the simulation in the course on telephone negotiations (download sample)
Step 3. Select a Dialogue Simulation Type
Most likely, you’ll have a large script after completing the second step. Now you’re thinking: “How do I fit it into the course?” Now, it’s time to decide on the format of the simulation.
There are two types of dialogue simulations:
- Simple simulations help to test or practice one skill, for instance, an algorithm for overcoming objections. You can add such an exercise after the theoretical content to improve memorization.
- Complex simulations train several skills at once. For example, a course on negotiations with clients can include one extensive simulation where learners practice different techniques: establishing contact, identifying needs, presenting the product, overcoming objections, and closing the deal.
Keep in mind the goals and objectives of the course when choosing the type of simulation. Do you really need a 3D simulator, or is a small dialogue enough? Can the rest of the information be presented with texts, videos, and interactive diagrams?
Step 4. Create a Dialogue
To make a dialogue simulation, you can use the simulation tool in iSpring Suite. With it, you can design branching, choose a background and a character for each scene, add voice overs, award points for correct answers, and deduct points for wrong ones.
One course can contain any number of dialogues, but even the shortest dialogue consists of four parts.
Learn more How to Create Conversation Simulations with iSpring

Introduction
People aren’t going to spend their time on something that doesn’t help them work faster and better. That’s why I articulate the value at the very beginning: what topic will be discussed and what can be learned.
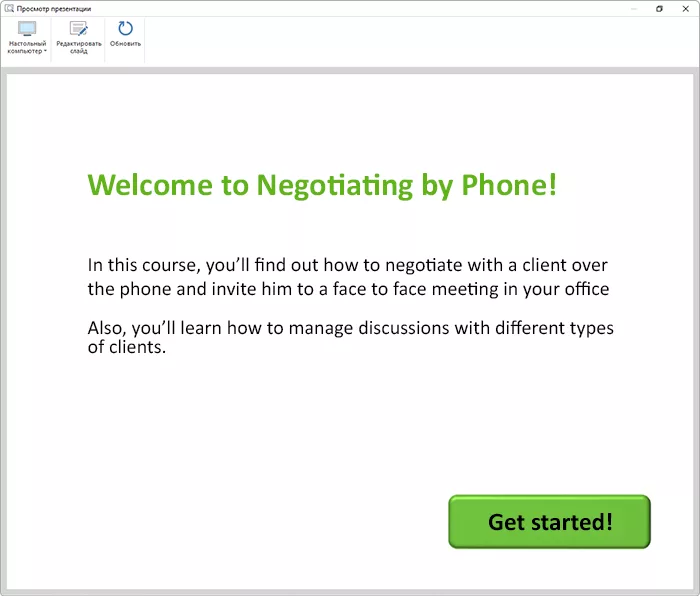
Add a start button. It’s important for learners to start the dialogue on their own, when they’ve read all the information and are ready to begin training.
N/B: Keep in mind that in a dialogue with a customer, the first phrase usually belongs to the seller. He is the initiator of the dialogue.
The Character’s Lines
The characters of your dialogue are not just .png files, not cardboard cutouts, and not training specimens. They are people. They shouldn’t always be happy, speak politely, and have perfect grammar. Their speech should reflect their opinions, emotional states, prejudices, fears, and desires.
The main challenge in writing the dialogue is to make it sound natural. Don’t use words or phrases that you wouldn’t use in real conversation. That’s why it’s a good idea to read your text aloud before copying and pasting it into the course. Does it sound difficult? Rewrite it. And don’t be afraid to streamline the text, as in real life, people don’t always say everything they think.
The character’s speech sounds awful

Natural human speech
To make it more true to life, use real photos of your employees, record short videos with real people, or voice the text.
The Learner’s Lines
The choice of an answer is a key element of a simulation, as it defines further development of its plot and ending. Consider these four rules when creating answer choices:
- The optimal number of choices is three: one is correct (the key), and the rest are false (distractors).
- The answers shouldn’t differ from each other too much in length, detail, and reasoning. The correct answer shouldn’t be obvious.
- A complicated key with simple distractors is a bad match. Learners will guess it at once, as people tend to choose smart-looking answers.
- Avoid too informal or humorous phrases. Distractors should look plausible.

It’s too obvious that the first answer is false
Feedback
Without feedback, a dialogue simulation is just a fun interactive game. Add feedback and you’ll get a serious training tool.
In short simulations, hints and tips can be given right after the answer to each question. Learners will read the explanations and correct the mistake right on the spot. This option is great for learning at a beginner level.
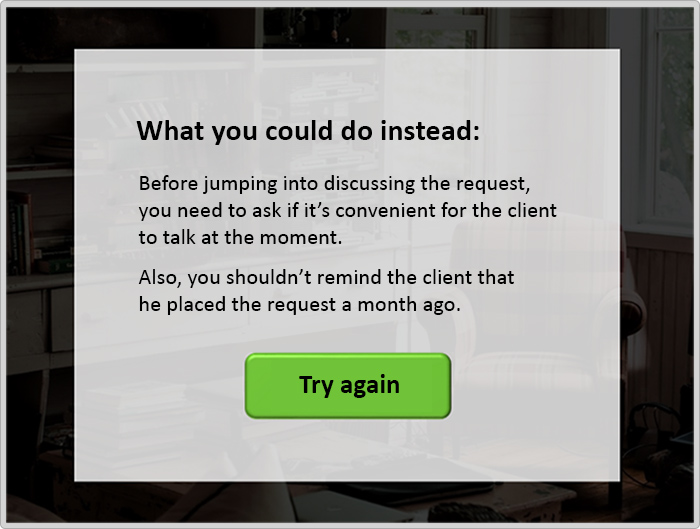
This simulation was made for beginners; that’s why there’s an explanation after each incorrect answer
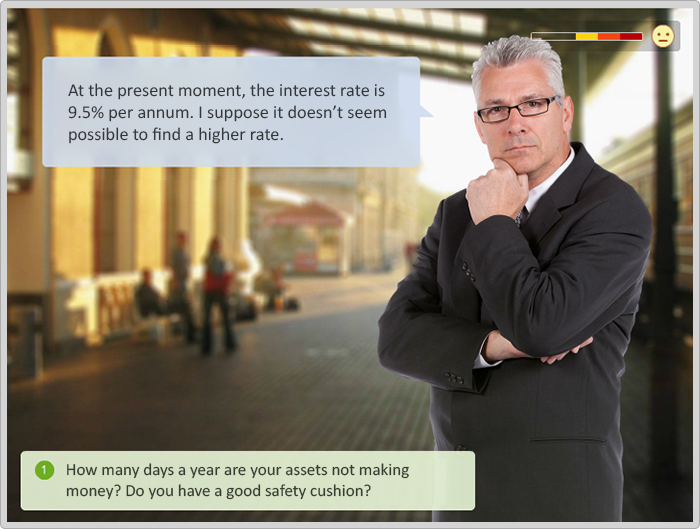
To let learners know if they’re on the right track, add an emotion meter to the simulation. In this case, the character gets angry each time the learner makes a mistake.

The emotion meter shows that the character is happy, that means the learner has chosen the right answer.
After the exercise, give learners detailed feedback on the entire dialogue: how to speak correctly and what phrases are better not to use. This will help them retain knowledge and avoid similar mistakes in the future.

On the last slide of the dialogue, you can also give some recommendations on how to improve the results or forward learners to a page with useful information.
Gamification
Gamification in eLearning is using gaming principles to achieve specific learning goals. In other words, gamification turns boring tasks into interesting ones, unwanted into desired, and complex into simple.
There are a number of ways to gamify a dialogue simulation: points awarded for right answers, various characters, locations, and branched scenarios. All of those help to engage users in learning.

There are four clients, four scenes, and four locations in this dialogue simulation
Learn more Tips for Getting the Most out of Scenario-Based Training Simulations
Step 5. Test the Dialogue Simulation
Before assigning your brand-new dialogue simulation to all the employees in the company, perform a pre-flight check. The quality assessment group may include a stakeholder and representatives of the target audience. Carefully select the people who will revise the simulation.
If you’re testing an e-course on the basics of business negotiations, then don’t include experienced employees in the assessment group. Let beginners test it, otherwise the judgement will be biased. For the pros the exercise will be too easy, while beginners may stumble many times.
The assessment group will help you estimate the quality of the material, eliminate errors, and make the content as useful to learners as possible.
Create online courses and assessments in record time.


