How to enable annotations in iSpring Cam Pro 9
Version 9 of our redesigned screen capturing tool iSpring Cam Pro is not just about recording the computer screen. Now, you can create full scale video tutorials with additional webcam capturing or pre-recorded videos.
Text annotations for every click
In addition to the already familiar mouse cursor highlighting, each click can be accompanied by annotations. iSpring can automatically add hints to options selected in dialogue boxes and drop-down menus, as well as to keyboard input and to mouse right and left clicks highlighted in different colors. Each time you click a button or press a key, iSpring creates an annotation you can later edit; e.g., customize texts, shapes, or duration. Plus, you can manually add an annotation to any piece of your video.
How to record a video tutorial with annotations in iSpring Cam Pro
iSpring Cam Pro 9 will records all annotations and mouse movements automatically. When the recording process is finished you can choose to include the annotations or not include them.
-
On the iSpring Suite 9 ribbon, click Screen Recording.

-
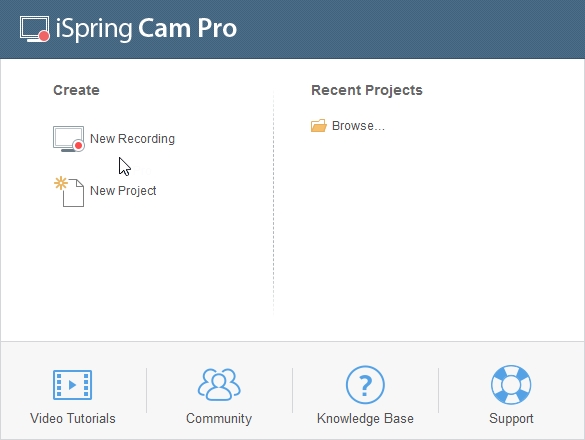
To start a new screencast, click New Recording.
-
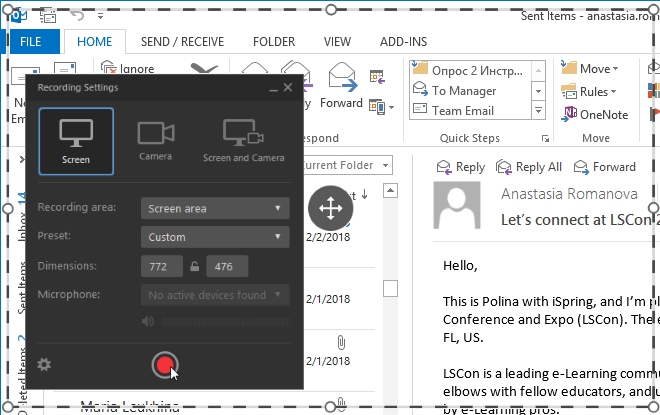
Select the area you want to record and click the Start Recording icon.
Then, iSpring will capture all the mouse and keyboard actions and adds annotations to the screen recording.You can customize the look and feel of the annotations after the recording process is complete.
-
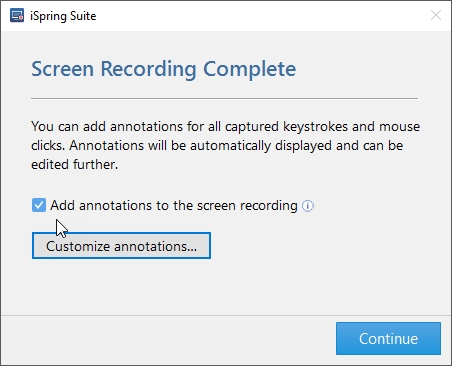
To finish your recording, press the F10 key. When the recording process is finished, a dialogue window will pop up. There, check Add annotations to the screen recording and click Continue to include annotations to your screen recording.
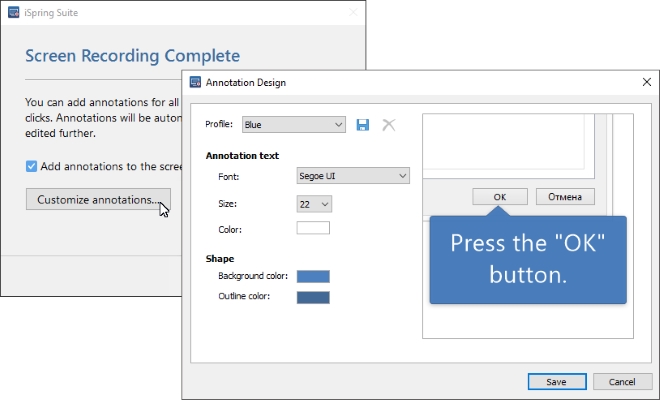
If you include annotations to your screen recordings, you can customize their look. To customize the annotations’ appearance, select Customize annotations… In the Annotation Properties window, select one of the pre-set color schemes or create a custom one. Click Save.
Then, in iSpring Cam Pro Video Studio, you can change the duration of each annotation, their text, shape and style.
Resolving issues
I’ve enabled annotations, but they aren’t visible in the recorded project.
To correctly record annotations, you have to run iSpring Cam Pro 9 as an administrator on your PC. If your screen recording is intended to be a part of a PowerPoint-based course, run PowerPoint as an administrator.
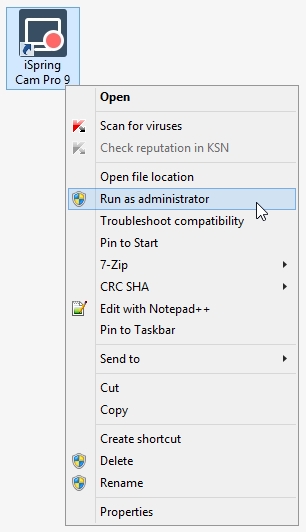
To run an application as an administrator, right-click on the application shortcut and select Run as administrator.
iSpring Cam Pro does not record annotations for some clicks or adds incorrect titles to them.
This issue can happen when you’re trying to capture actions from an application which is not Section 508 compliant. The Section 508 amendment to the Rehabilitation Act of 1973 requires that every visual element of every option inside an computer application have a text description which can be accessed by special assistive technology such as screen readers and refreshable Braille displays. iSpring Cam Pro creates annotations by using these text descriptions.
Please enable annotations, and then manually add any hints which haven’t been recorded.
Related Articles