How to add a SCORM course into Administrate LMS
Administrate is a more complex system than a regular LMS, because it is a blended solution that includes the CORE Training system and an LMS. To utilize Administrate, you would upload courses and manage students in CORE, and take courses on the LMS side.
The Administrate system beautifully supports SCORM 1.2 and SCORM 2004 course formats with a great extra advantage: you can track detailed question results. Most systems don’t provide this feature for SCORM activities.
If you don’t know how to author learning courses with iSpring, check out the article on how to create a SCORM learning course with iSpring.
When you have a .zip package in the right learning format to upload, follow this tutorial, which is divided into two parts.
Working in Administrate CORE system
Here we will add a course, upload a course item (SCORM), create a student, and assign a course.
The CORE system has the following URL https://[your-company-name].administrateapp.com/
Add a course in CORE
-
1
Log into your Administrate CORE as an admin or course author.
-
2
Select Events → Course Templates from the top menu.
-
3
Click the New Course button at the top right corner.

-
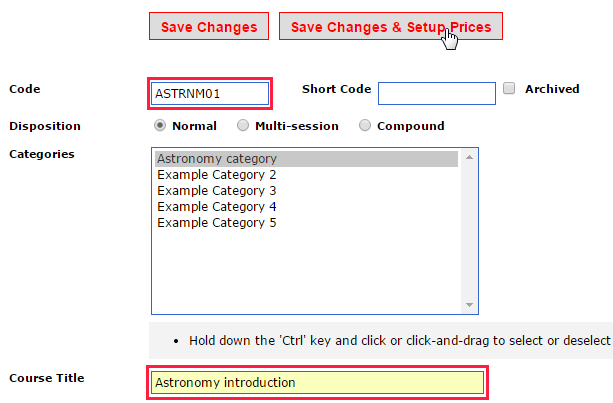
4
Give it a Code name and a regular name by filling out Course Title. Then click Save Changes & Setup Prices because it’s necessary to set up a price for the course.
-
5
Click the Add new link on the right and set 0 or another value.

-
6
Then, when you have a course template, create an Event. Go to Events → Events from the top menu.
-
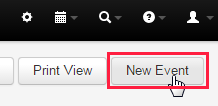
7
Click New Event at the upper right hand corner.
-
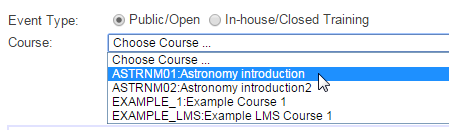
8
Choose your course on the event scheduler page.
-
9
Set a date and time for this event and check the checkbox LMS. Then click Add.

-
10
Then go back to the Event list. Click Events → Events at the top menu.
-
11
Click on the code name of your Course template.

-
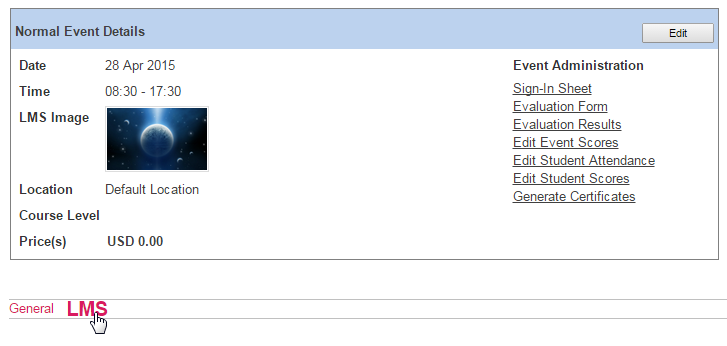
12
Select LMS below the event details.
-
13
Scroll down to Course Content and click Upload New on the right hand side (or click Import Existing, if you already uploaded this file before).

Note: When you add a SCORM course, its Type will be automatically determined as a Quiz and will submit the learner’s score to the system. Another available type for SCORM content is Presentation; this learning item will not have grading capabilities. We recommend setting Quiz type for all iSpring courses (quiz, presentation, presentation + quiz).
-
14
Choose a course item file. It can be a SCORM 1.2 or SCORM 2004 .zip package. Click Upload File.
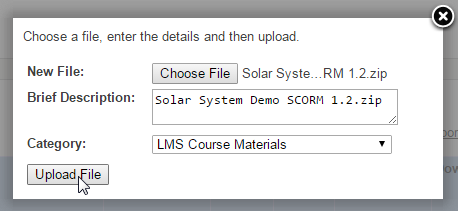
Tip: Give your .zip file a name that contains the word “SCORM” so you can easily distinguish it from other resources. SCORM files are not automatically labeled by Administrate when you look at the list of files.
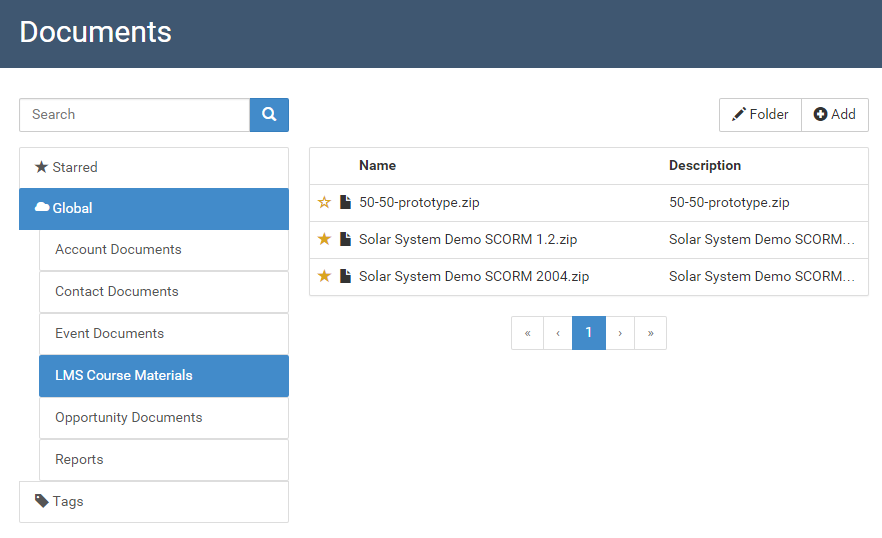
Note: After you upload a file it will be placed in the common repository so it can be used in other courses as well. Go to the top menu Team → Documents and manage your files. You can also add files right from there.
Add a student in Administrate CORE
-
1
Let’s add learners to see the course. Go to the top panel CRM → Accounts.
-
2
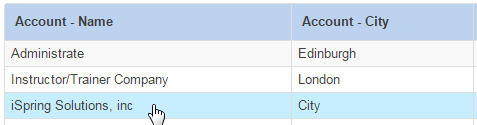
Click on the account of your company.
-
3
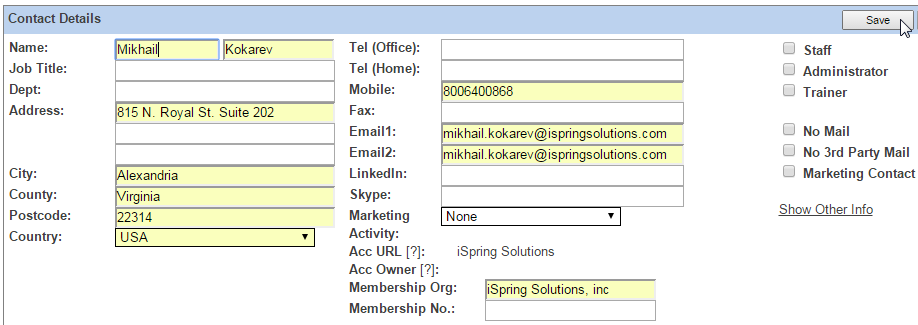
Scroll down to Contacts and click New on the right hand side.

-
4
Enter contact details and click Save.
-
5
Go back to the Event View (where we added the Course Content). Go to Events → Events and select an event. Click Add Student where it says Students.

-
6
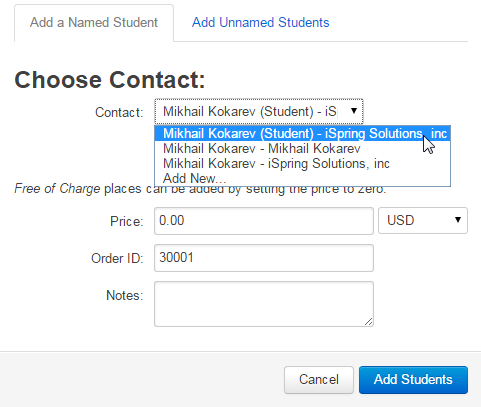
Start typing the name of the student and then select.
-
7
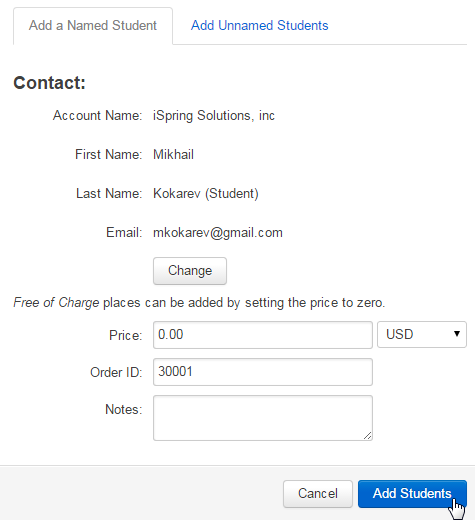
Make sure that everything is correct and click Add Students.
-
8
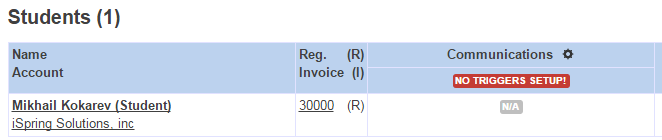
Check that the student is added.
Administrate LMS
The LMS is a client-side utility for learners. To login to the system, use the following URL: https://[your-company-name].administratelms.com/
-
1
Log in as a student who has been assigned a course.
-
2
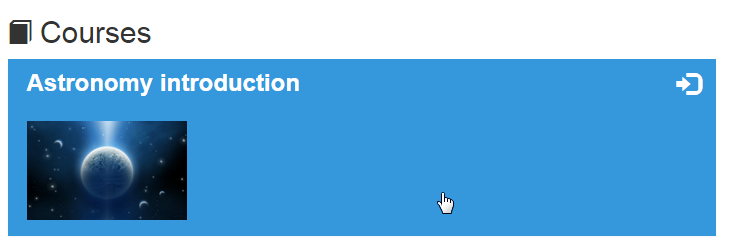
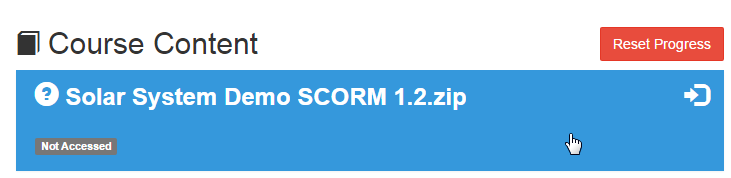
Find the course where you see Courses.
-
3
Click on the course item.
-
4
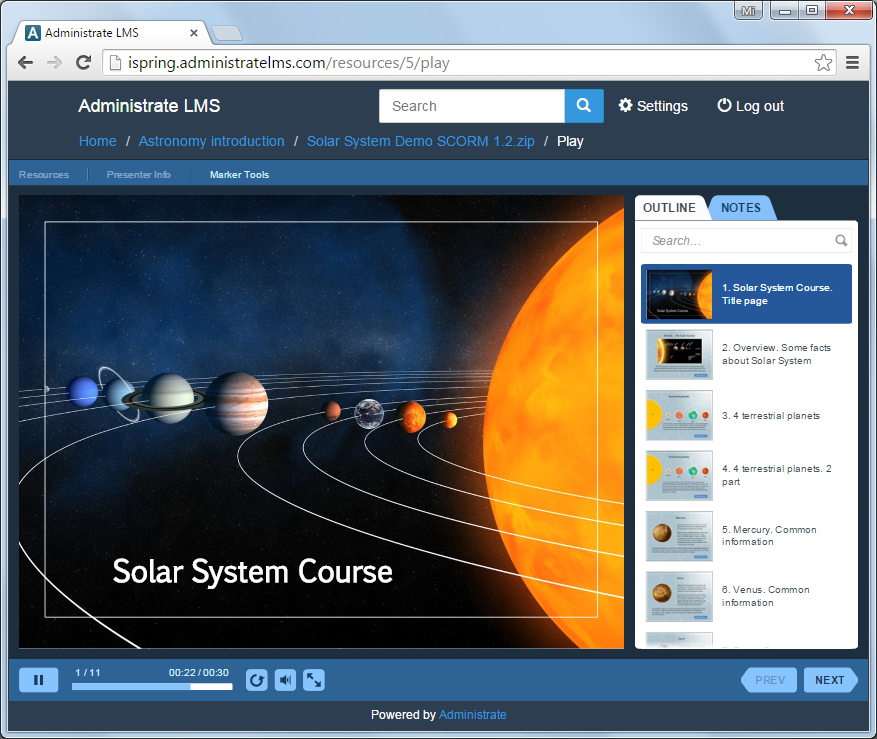
Then click Start.

-
5
Here you go.
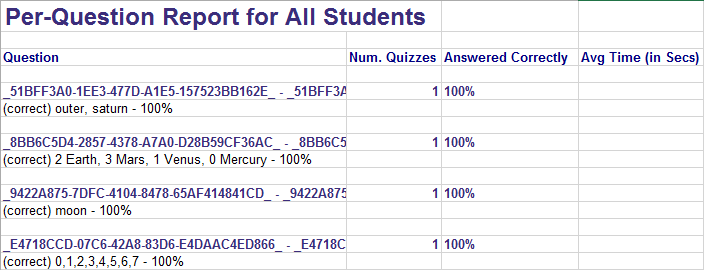
The course progress will be captured. If you need detailed results for the quiz, you can generate a question breakdown report.
SCORM 1.2 question details:
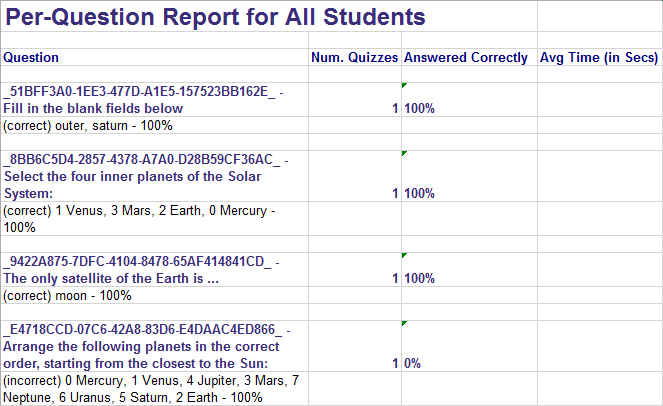
SCORM 2004 question details:
Related Articles