How to Add a SCORM Course into LMS365
LMS365 has gone through compliance tests with iSpring learning courses and we can now confirm that it supports SCORM uploading and reporting. Check out how to create a learning package with iSpring.
Just follow this tutorial on how to get your SCORM package into LMS365:
- 1 Make sure that you are an administrator and have rights to create new courses.
- 2
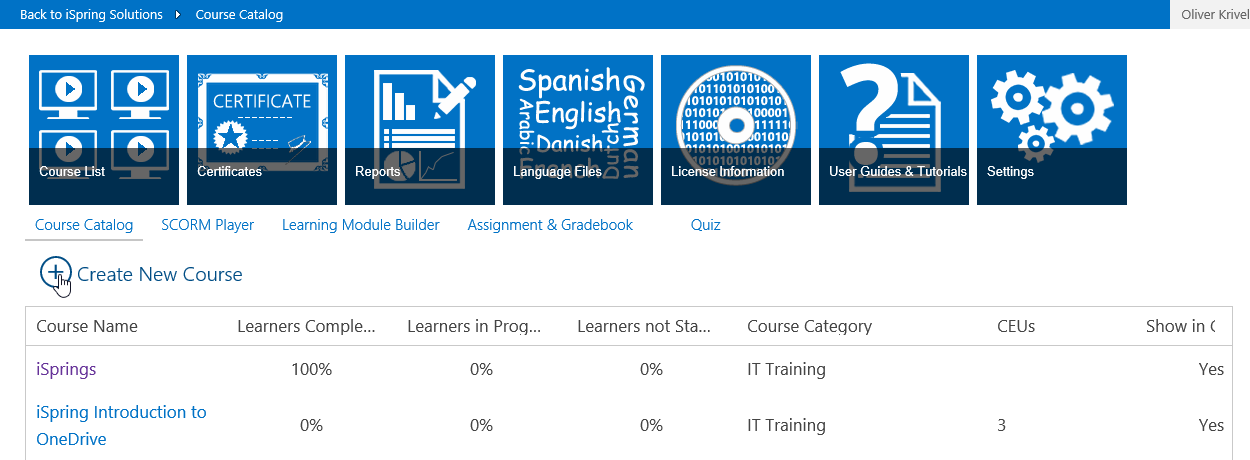
Click Course Catalog to view a list of content items.

- 3
Click the Gear icon on the ribbon.

- 4
Click Create New Course if you want to allocate a SCORM package to a new course.
- 5
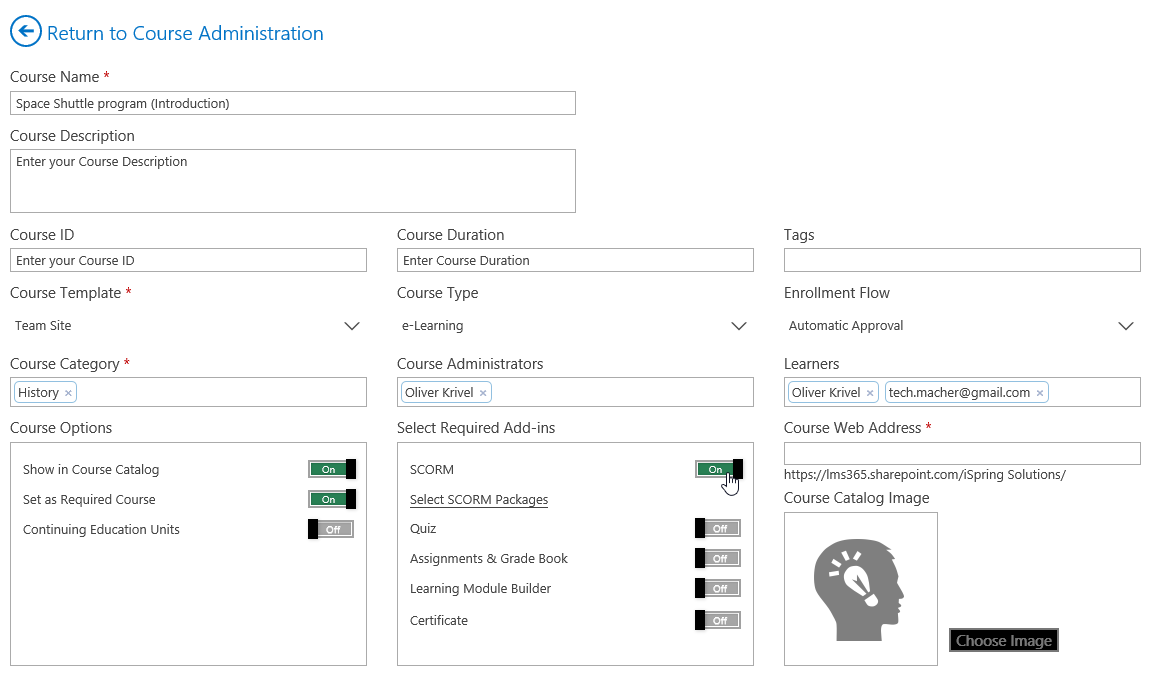
Next configure course properties.
- 6
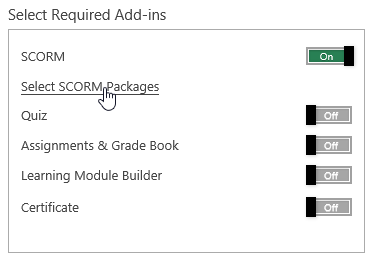
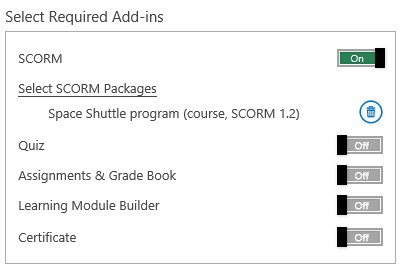
On the Sel ect Required Add-ins panel, enable SCORM and click Select SCORM Packages to proceed with upload.
- 7
Under the list of content items, select Upload.
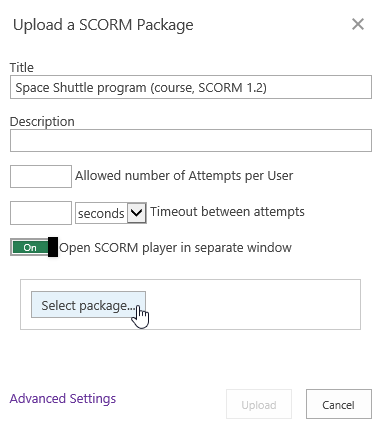
- 8
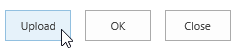
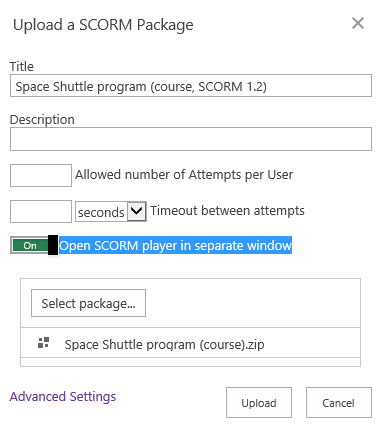
Enter a package name, configure the launch settings (we recommend opening courses in a separate window) and click Select Package… to start searching for a file on your computer.
- 9
Click Upload again to add the selected SCORM package.
- 10
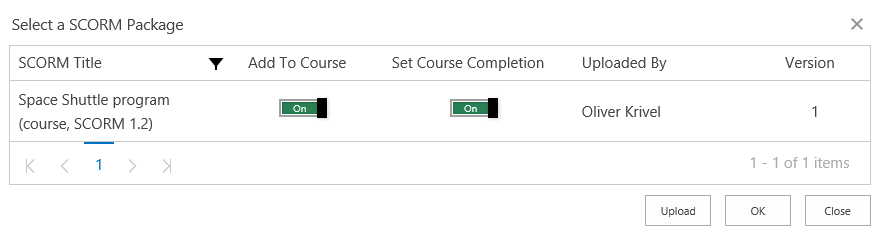
The uploaded package will be seen in the list of content items. Add the uploaded file to a new course by dragging toggles, as demonstrated in the picture below.
- 11
The package will be shown on the Select Required Add-ins panel on the course properties page.
- 12
Click Create at the bottom-left corner to start course building.
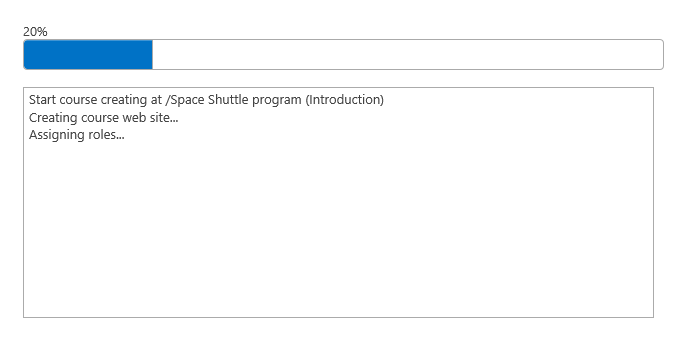
- 13
After the course has been created, select the next step fr om the list.
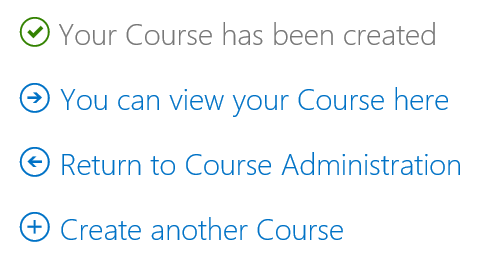
- 14
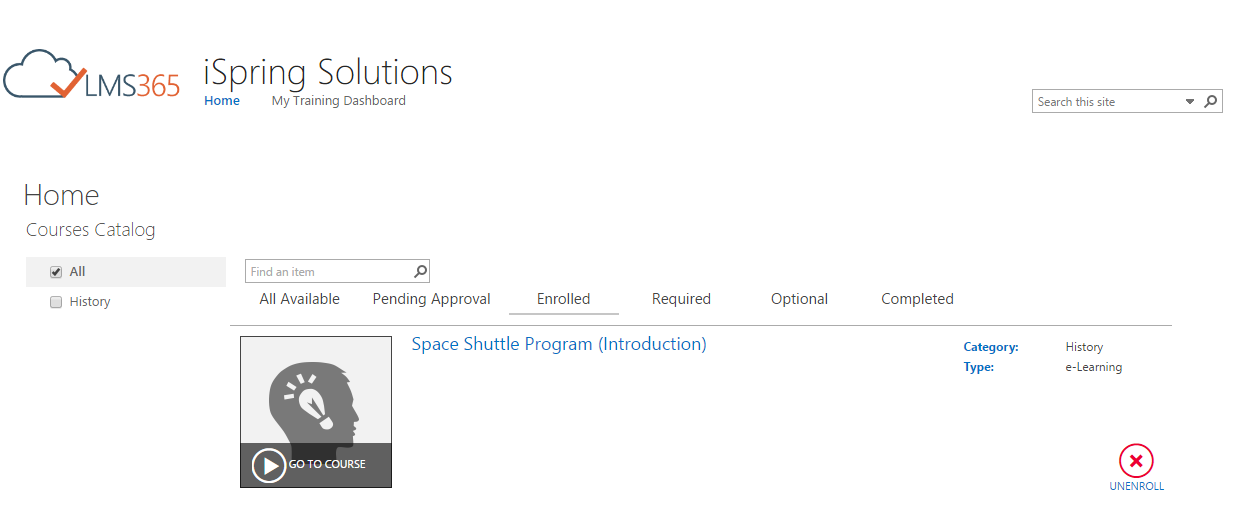
The course will be available in Course Catalog and My Learning Modules.
- 15
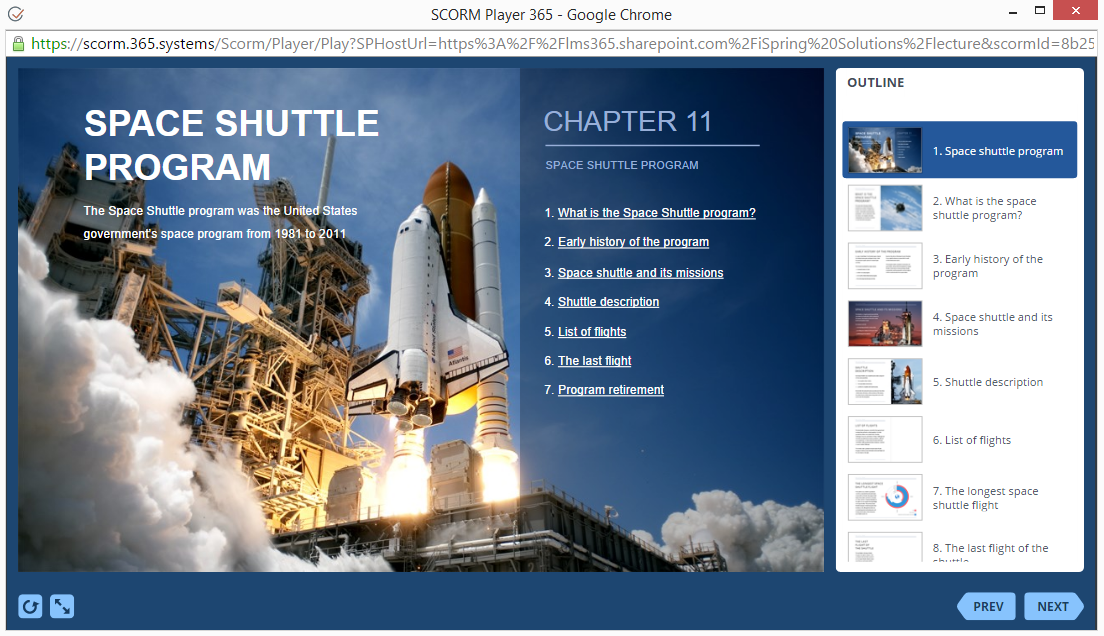
Here is a sample course launched in a new browser window.
How to export reports
- 1 Make sure that you are an administrator and have an access to the SCORM Player features.
- 2
Switch to SCORM Player and select Reports on the ribbon.

- 3
Configure filters to create reports for courses or learners.

- 4
Click Excel icon and save the generated file.

- 5
Here is a sample report for a user.

- 6
Here is a sample report for a course.
