Signing in to the Account
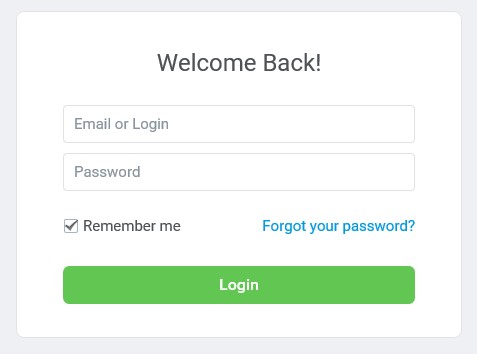
There are two ways to access an iSpring Learn account:
- With an email and password
- With a login and password
As a result, there’s no more need to add a nonexistent email if your company uses an authorization with login.
Both login and email are unique for every user, which means there can’t be two identical logins for users with different emails, or two identical emails for users with different logins.
Any user’s login, including that of the Account Owner,* can be edited on the user’s page.
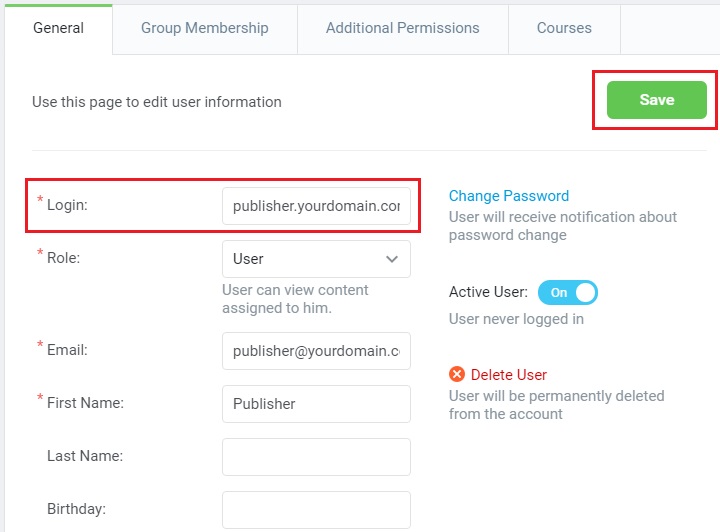
When an Administrator changes a student’s login, the latter receives a notification email.
*The Account Owner’s login can only be changed by the Account Owner himself.
How a Login is Created
For existing users
You don’t have to create a login for every user manually. The system automatically generates logins for existing users by transforming the @ symbol in their email address into a full point.
For example, a user with the email new.student@gmail.com will get the following login: new.student.gmail.com.
When you create a new account in iSpring Learn, the system already has a few standard users (Account Owner, Publisher, and User). Their logins are created automatically.
For new users added by email
If you add new users by email, their logins are created automatically too. A new user gets access details with a welcome email. By default, the part of the email address before the @ symbol is used.
For example, if you add a user with the email new-student@gmail.com, s/he will get the following login: new-student.
In case a login has already been registered, the system will add a serial number to it.
For example, if you would like to add a user with the email new-student@gmail.com, but there is already a student with the login “new-student”, then your new user will automatically get the following login: new-student1.
For users imported from CSV file
If you prefer to work with CSV files, then use one of the following ways to edit logins.
- If you use a CSV file saved on your computer, then you will need to edit it. To do that, add a Logincolumn on the left, and switch the Email and Password columns. This is how the template will look:
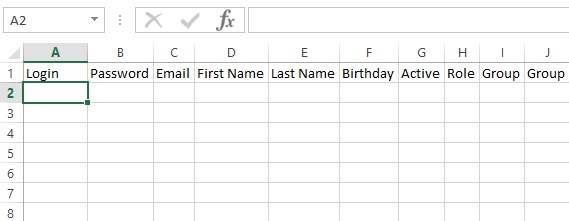
The Login column should be filled for existing users. New users may either get logins automatically or from an Administrator.
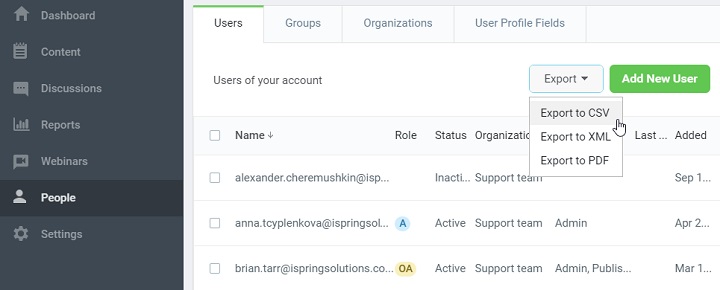
- You can export your user list to CSV, and use it to renew data for existing users or to add new ones. The downloaded template will already contain logins for all the existing users.
Once your CSV file is ready, you can import it back into iSpring Learn.
Choosing User Identification
The Account Owner and Administrators can choose whether a login or an email will be the main method of identification. To do that, go to the Settings menu and switch to the Administrator Portal tab.
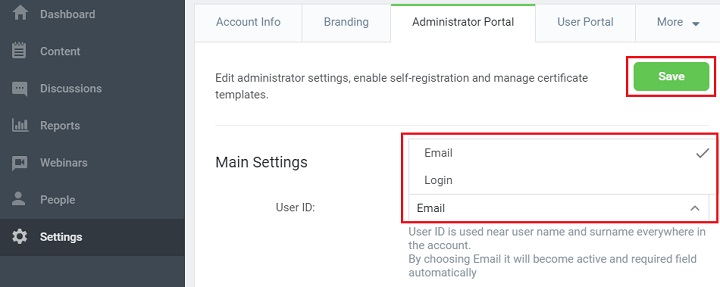
The chosen ID (login or email) will be displayed in the user list.
If you choose identification by email, then it will be compulsory for registering a new user. If you choose Login, then you can make the email field optional for both manual registration and self-registration.
Note that if a user doesn’t have an email in the system, s/he won’t get service emails. An email address is also necessary for restoring a forgotten password.