Once you are done editing your book, upload it online to iSpring Cloud hosting and sharing service from the iSpring Flip interface.
This option is available only if you launch iSpring Flip separately from iSpring Suite. If you publish a book from the iSpring Flip app included in iSpring Suite, upload to iSpring Cloud will not be available.
Learn how to manually upload a book to iSpring Cloud if online publishing cannot be completed because of an antivirus program or a proxy server error.
To upload your book to iSpring Cloud:
- First, click the Publish button on the iSpring Flip toolbar.

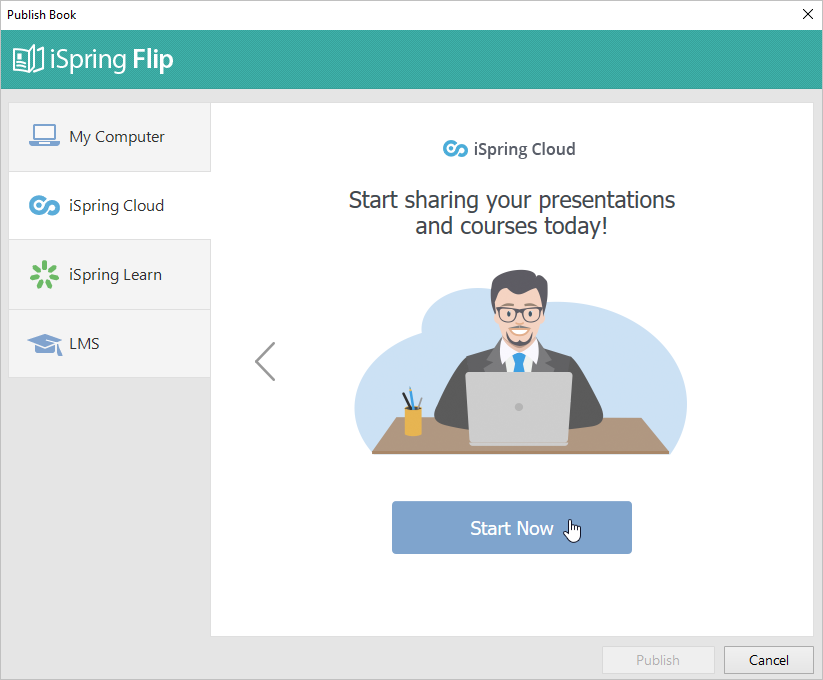
- In the Publish Book window, choose the iSpring Cloud tab. Flip through the picture gallery and click Start Now.
- Next, sign up for a free trial account. Enter your email, name, and phone number, and click Create Account.

- If you already have an account, click the Sign in link at the bottom.

- Enter your existing iSpring Cloud account details (email and password) and click Sign In.
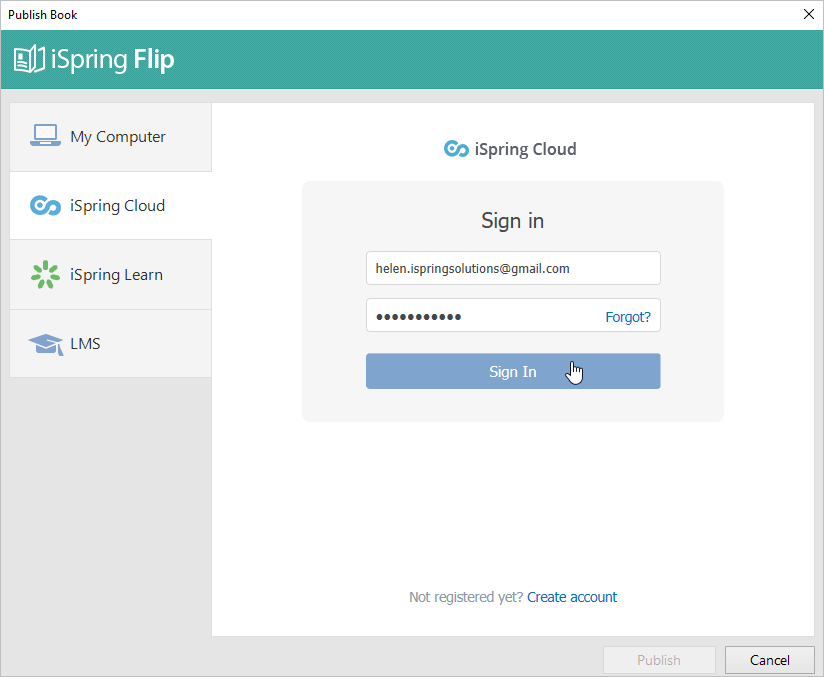
- When you enter your account details, iSpring validates this data, and you will see your email address in the Account field.

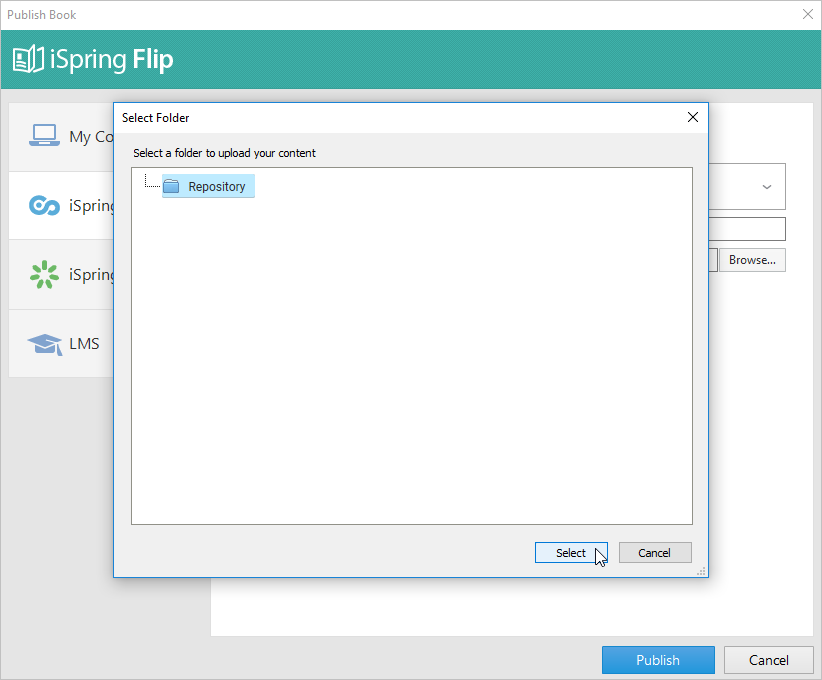
- Enter your book title and choose the destination folder. Click Browse... on the right of the Destination folder field and select the folder to upload your content to.

- By default, your book will be uploaded to the general content list (Repository).
- You can change the quality, security, and availability output options of the book.

Finally, click the Publish button.

In the window which will open up after the publishing process is done, click View Book to open your flipbook in the iSpring Cloud interface.

On the book’s page in your iSpring Cloud account, you can click Share to get the short link to the book and send it to your co-workers or learners.
