Publishing Content Directly to a SharePoint Library
In this article we’ll show you how to publish content created with iSpring products directly to a SharePoint Library. When published, you can also insert iSpring-generated content into SharePoint pages.
Note: Directions in this article are written for users of SharePoint 2010. Older versions of SharePoint may require different steps.
Mapping a SharePoint Library as a Network Drive
First, you will need to map a SharePoint library with shared documents in your computer as a network drive.
Note: You may need assistance from your SharePoint administrator to do so. Only Designers are allowed to upload Flash and HTML5 files to SharePoint 2010. You may need to ask your system administrator to grant these permissions. The rest is easy.

- Open Windows Explorer.
- Click Computer to open the list of hard disk drives.
- Click Map network drive.
- In the Drive list, choose any available drive letter.
- In the Folder box, type the full path to the SharePoint Library.
e.g. //SharePoint server name/shared_documents_library_name
https://SharePoint_server_web_address/shared_documents_library_name - To connect every time you log on to your computer, select the Reconnect at logon check box.
- Click Finish.
Your computer is now connectedto a SharePoint Library.
Publish Content to the Mapped SharePoint Library

Now, when you publish content with iSpring:
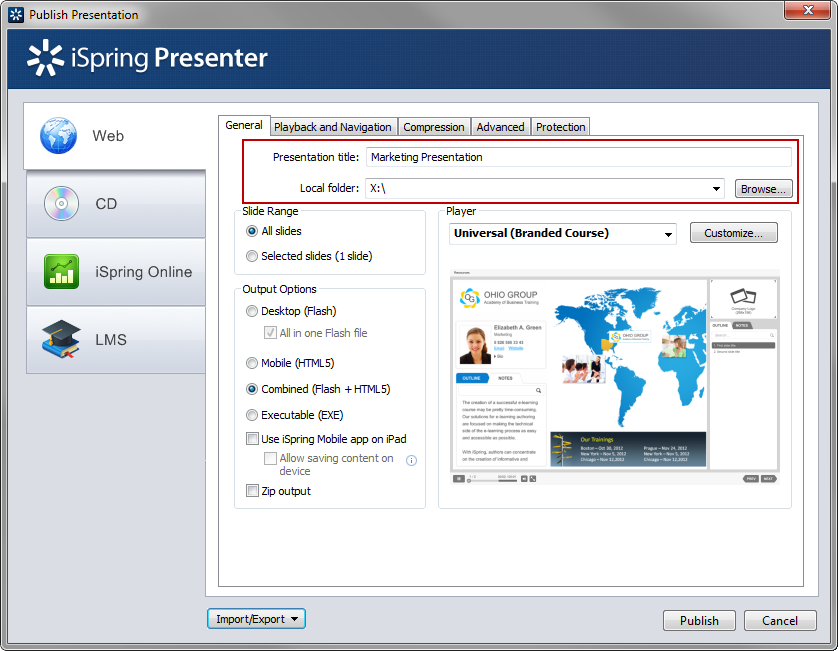
- Choose the Web tab.
- Click the Browse… button and select the mapped SharePoint Library from the list of drives.
- Click Publish.
Your content will be published directly to your SharePoint Library.
Inserting iSpring Content into SharePoint pages
Now that you’ve published your content to SharePoint, you may want to insert it into your SharePoint pages.
To insert iSpring content into a SharePoint page:
- Open a page where you want to insert iSpring content.
- Click Site Actions and choose Edit Page from the menu.
- Open the Insert tab.
- Click the Web Part button.
- Choose Media and Content in the Categories list.
- Choose Page Viewer in the Web Parts list.
- Click Add.
- Click the open the tool pane link.
- Now select the Web Page radio button.
- Insert the link to the index.html file in the folder with the published iSpring content, which is located in your SharePoint library.
- Open the Appearance tab.
- Specify the height of your inserted page with iSpring content.
- Click OK.


