How to add a new character in TalkMaster
iSpring TalkMaster (Simulation) allows you to add your own characters and backgrounds to make dialog simulations more realistic and engaging. For example, use photos of your workplace and colleagues to put the learner in a familiar environment.
Adding a character is divided into two steps:
-
1
Adding a character’s picture from a file. Every picture, added to the library automatically becomes a character. It already can be used in the dialog scenes but has just one state. To reflect another emotion you will need to pick up another character for the scene.
-
2
Adding emotions. Each character can have up to 5 different pictures reflecting respective emotions. You can easily switch emotions throughout the dialog simulation and reflect the interlocutor’s mood.
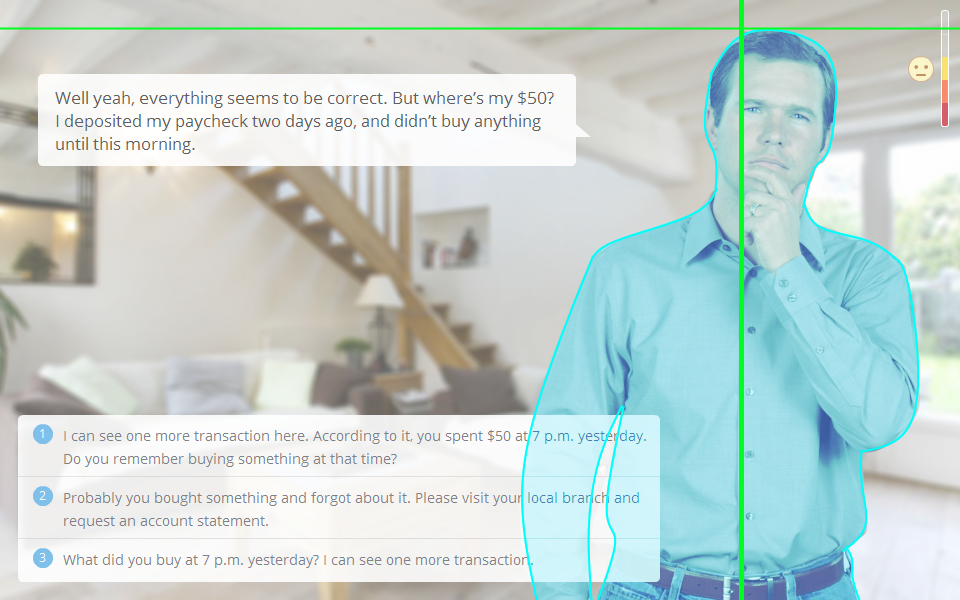
Types of characters
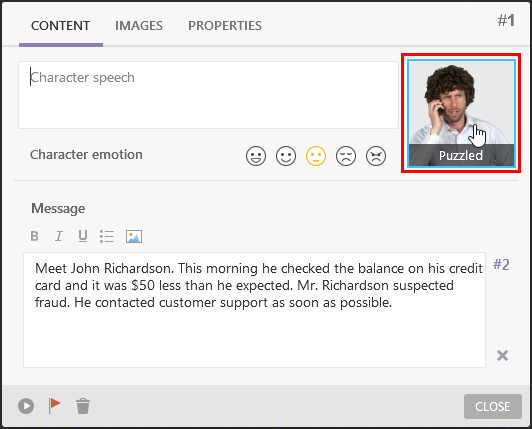
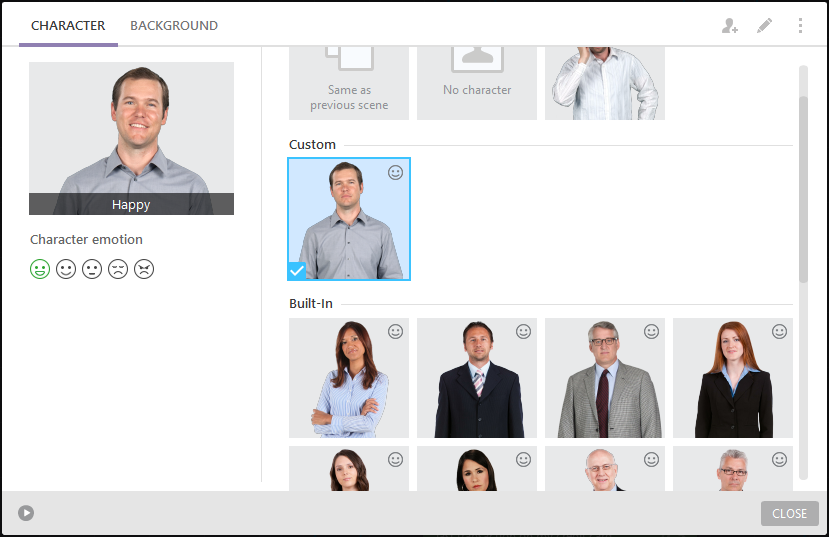
Characters may have 1 or more emotional states. If a character has more than 1 state, the smiley icon lights up at the top right corner.

The guy on the left is a custom character’s picture added from file.
The girl on the right has 5 emotional states.
Add a new character picture
- 1 Create a new scene or edit an existing one.
-
2
Click the Character button to open the character library.
-
3
Click the Add Character button on the upper-right corner.

-
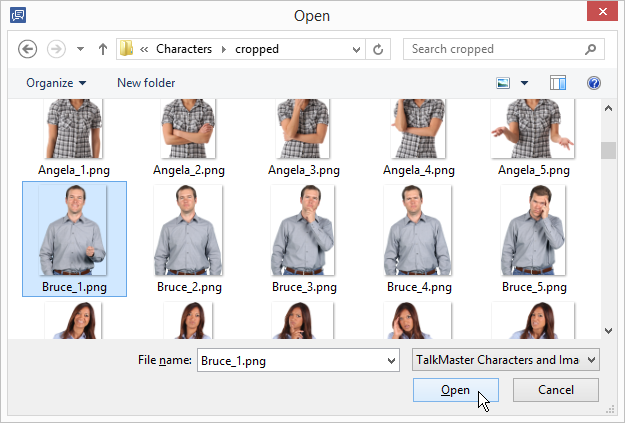
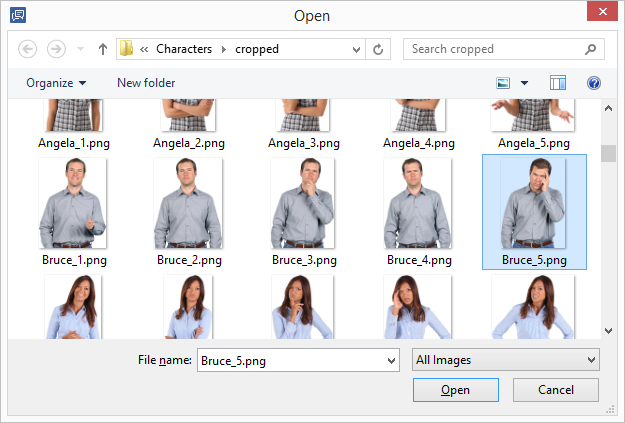
4
Select a character image (or a few) and click Open.
-
5
The current image will be used to represent all emotional states.
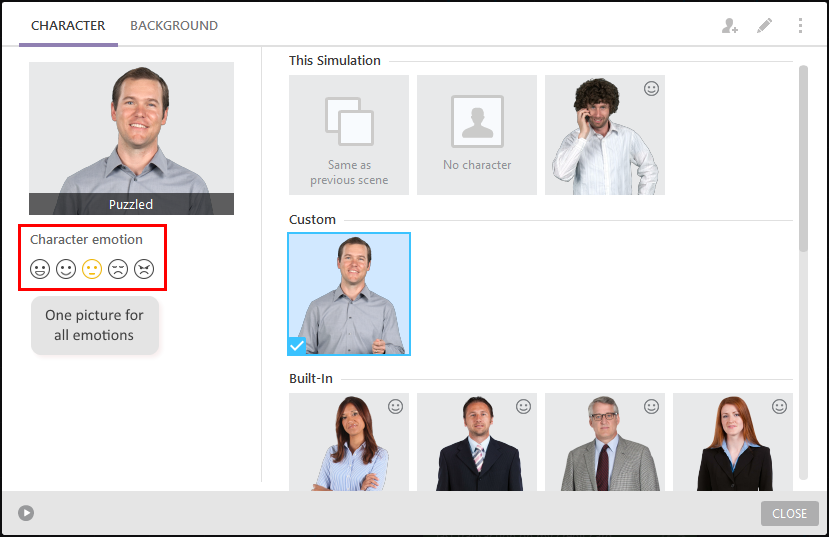
All characters that you add will go to the Custom area. A character doesn’t have a smiley face on the right top corner yet. Now add emotions in this slot.
Add emotions to your character
-
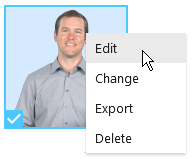
1
Right click the character icon and click Edit or click the button on the top panel
 .
.
-
2
Here, you can switch to different tabs and select the appropriate images for each emotion.

-
3
Go through all emotional states you have and assign the respective picture.
After you make changes and add at least one emotional state, your character will be turned into the full character.
You can preview emotions by clicking on smiles on the left.
All custom characters will appear in the Custom area of the gallery.
Export and import characters
You can also export your entire character with all emotions to import later or share with a colleague. Click Edit -> Export and save the file.
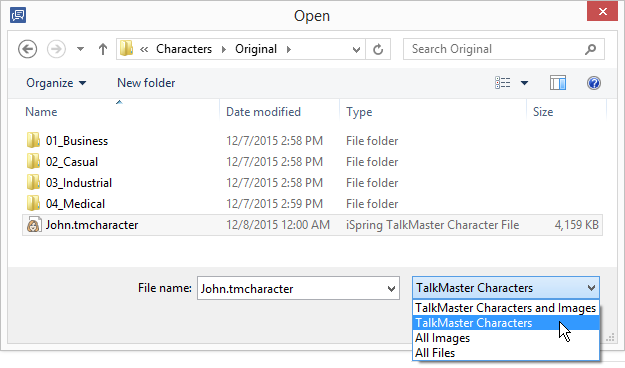
To import your saved character, click the Add character button and find the .talkmaster character file.
By the way, in the Open window you can sort out by the file type: TalkMaster Characters to hide regular images.
Refer to Suite 8 User Manual to read meticulous descriptions of all options regarding adding a custom character:
http://www.ispringsolutions.com/docs/display/talkmaster/creating+a+custom+character
Cutout Photos requirements
We recommend you use cutout PNG images of the upper torso with transparent backgrounds, and that the arms are close to the body for the best fit on all devices.
iSpring automatically positions the character image on the right side. It centers the image horizontally at the one fourth from the right size (25% of screen). There is also the top margin (5% of screen) to give more air to the person.
If you are going to insert the full-size character that stands on ground, please leave some empty space at the bottom of the picture and make sure that the background image looks connected with the person.
Edit in Paint.NET
- 1 Download Paint.NET and isntall.
- 2 Open a cutout .PNG image.
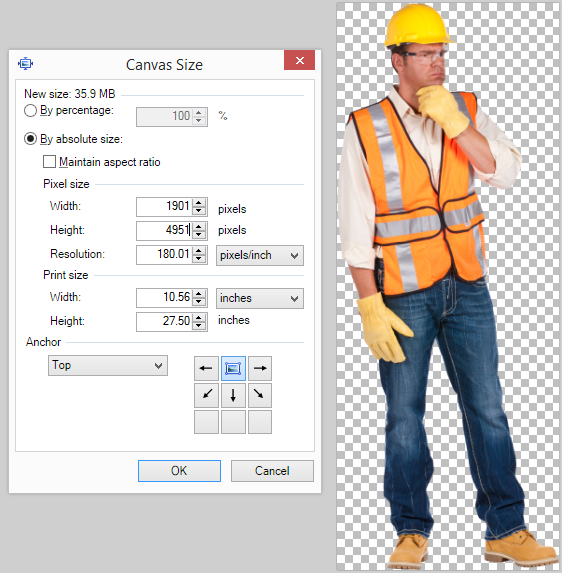
- 3 Press Ctrl + Shift + R to open the Canvas Size window.
-
4
Add some amount to the height and set anchor to the top point.
-
5
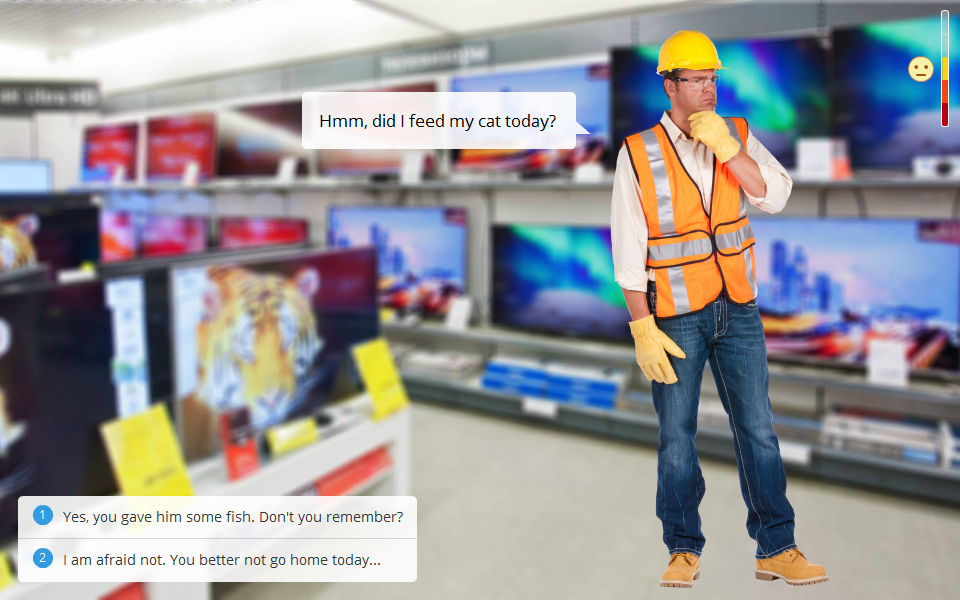
Check out the empty space below his feet and save the image.

-
6
Add the character image to the library and select it on the scene. Pick up the right background and publish the dialog.
Frequently asked questions
Am I limited to just five emotions? Can I add more emotions?
In TalkMaster, Character is a conventional definition to an object with 1 to 5 different states. If the person you are going to use in your dialog simulation features more that 5 emotions, just select all images and click add. Change character as soon as you need to reflect another emotion.

Related Articles