How to Add a SCORM Course into WebCampus LMS
WebCampus LMS has gone through compliance tests with iSpring learning courses and we can now confirm that it supports SCORM uploading and reporting. Check out how to create a learning package with iSpring.
Just follow this tutorial on how to get your SCORM package into WebCampus LMS:
-
1
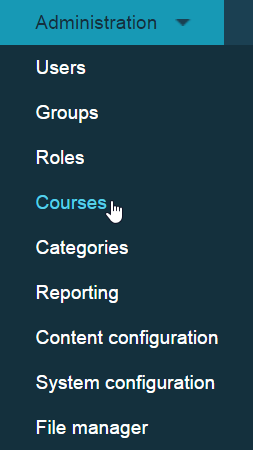
Make sure that you can administrate courses and have Administration on the top ribbon.

-
2
Select Courses in the Administration drop-down list.
-
3
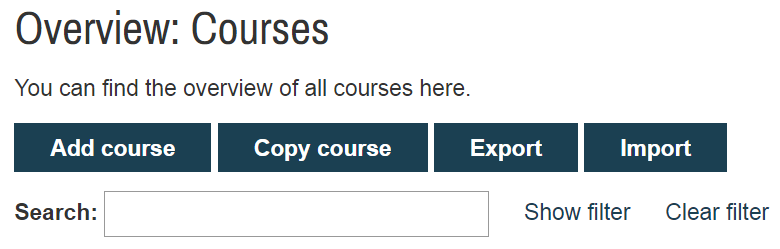
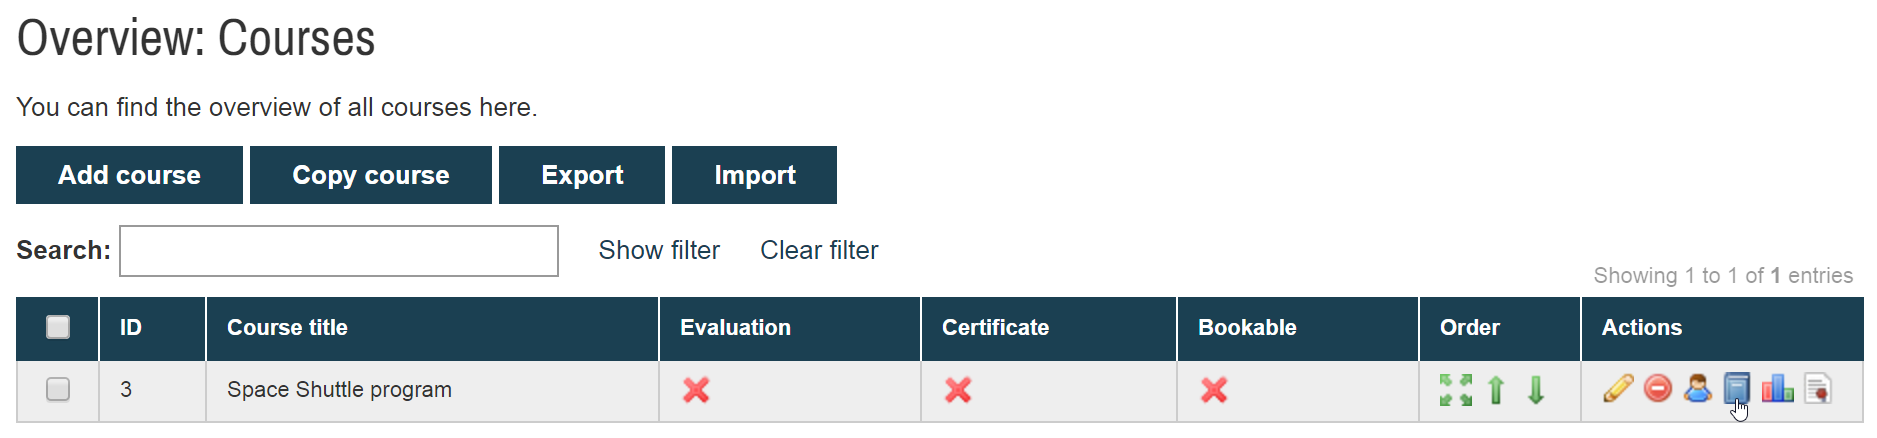
Click on Add course on the Overview: Course window.
-
4
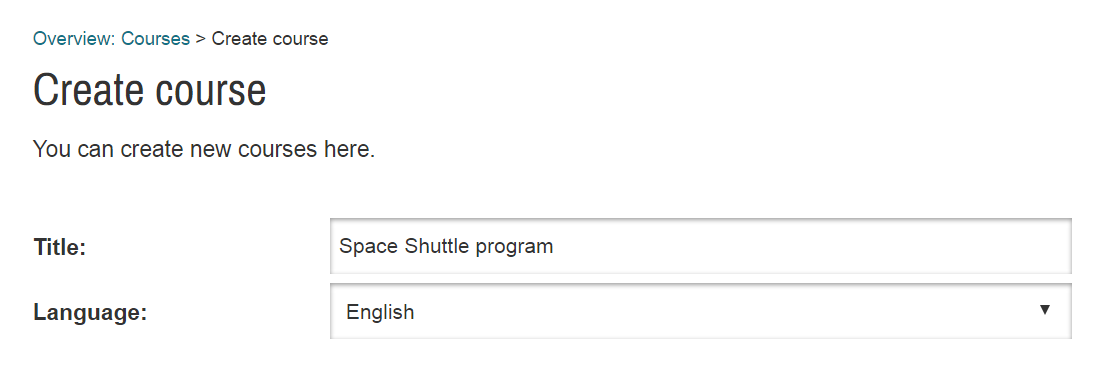
Configure general settings for a new course and save changes.
-
5
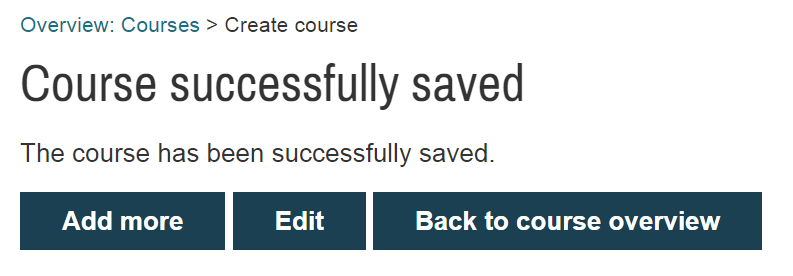
Navigate back to the courses list by clicking on Back to course overview.
-
6
After the course is seen in the Courses window, click on Chapters icon in Actions.
-
7
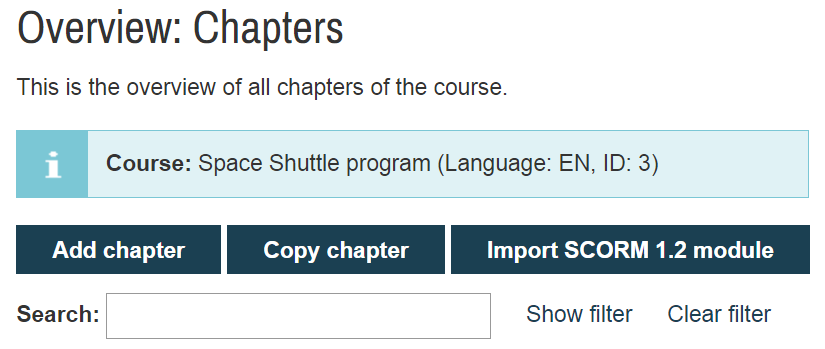
Click on Import SCORM 1.2 module to add a package.
-
8
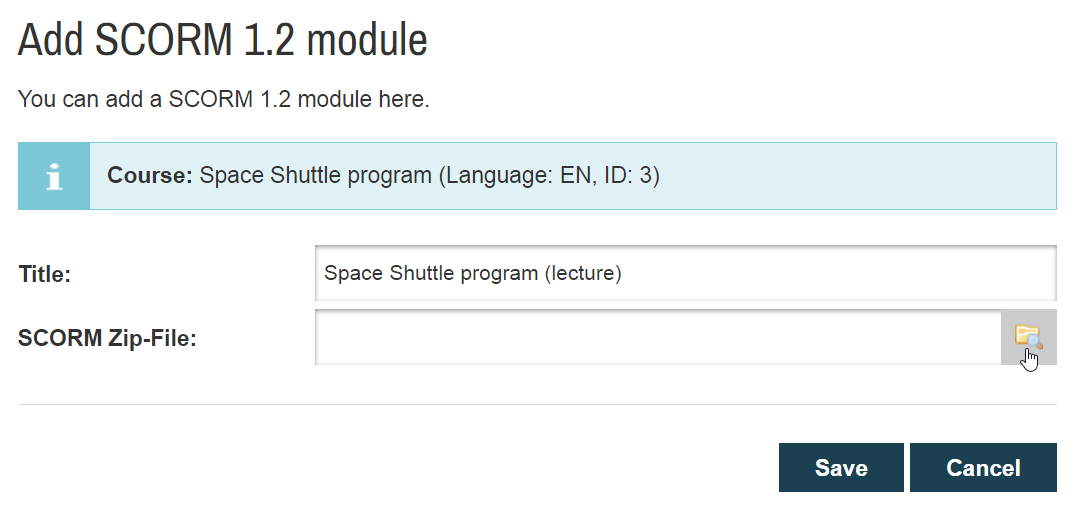
Enter the title and click on Search to import a package.
-
9
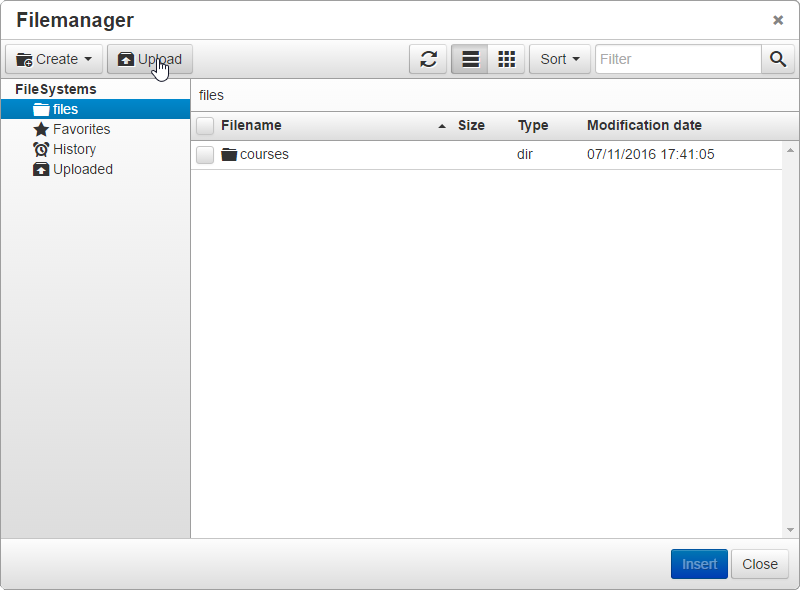
Click on Upload on the ribbon of the Filemanager popup that will appear.
-
10
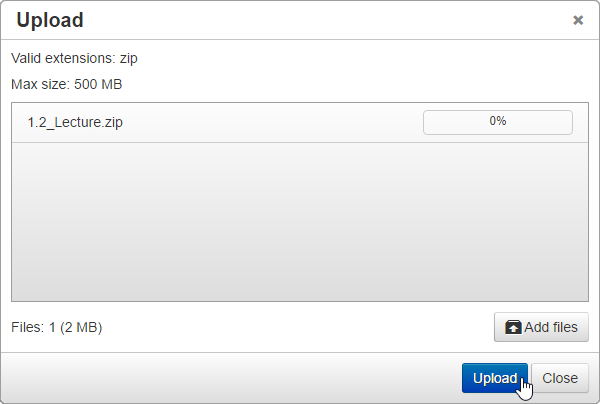
Add a file and click on Upload.
-
11
The package will be seen in the Falemanager window. Click on Insert to allocate the package.
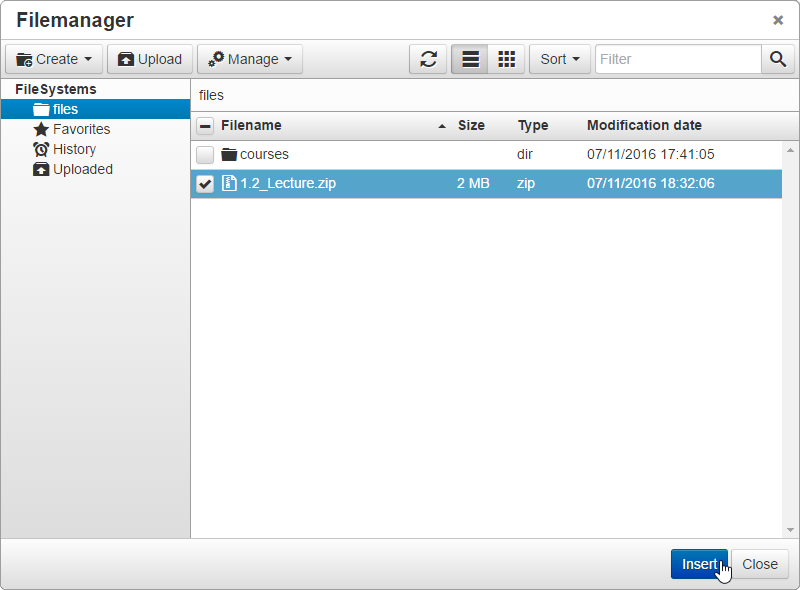 After the package is allocated, close the Filemanager window.
-
12
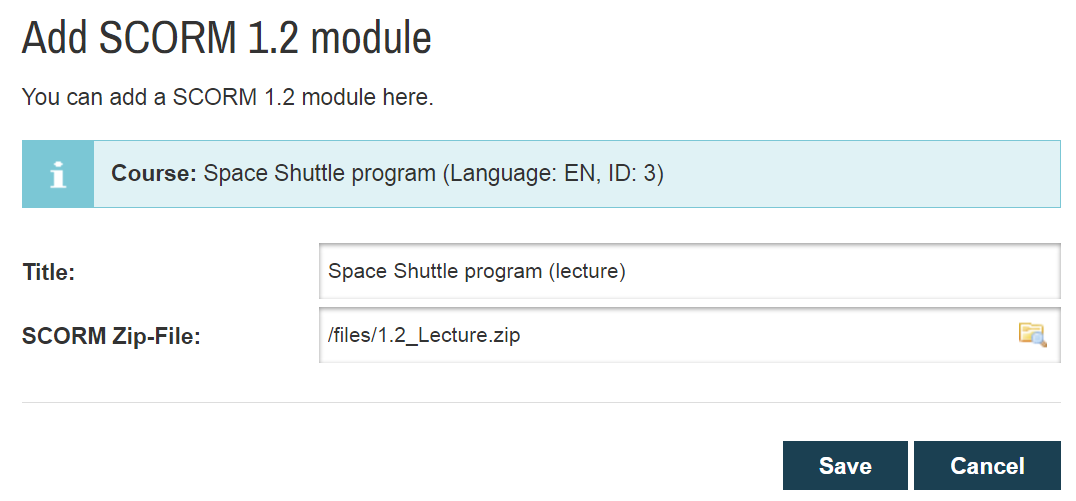
The package will be seen in the SCORM Zip-File field. Click on Save to continue.
-
13
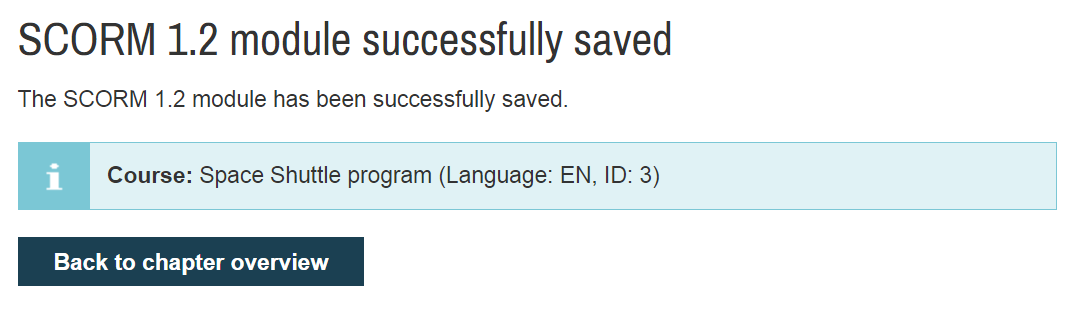
Once the package is successfully imported, you will see a notification. Click on Back to chapter overview to add more chapters and SCORM packages.
-
14
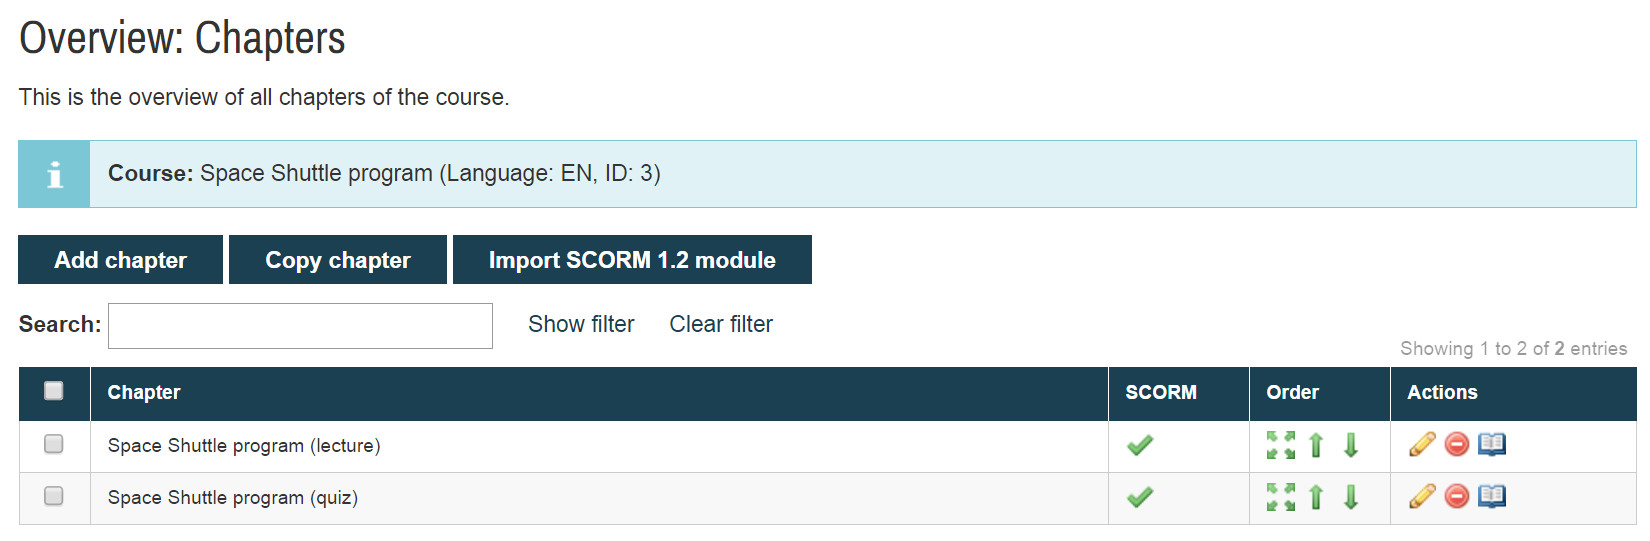
Here is a course with a lecture and a final quiz.
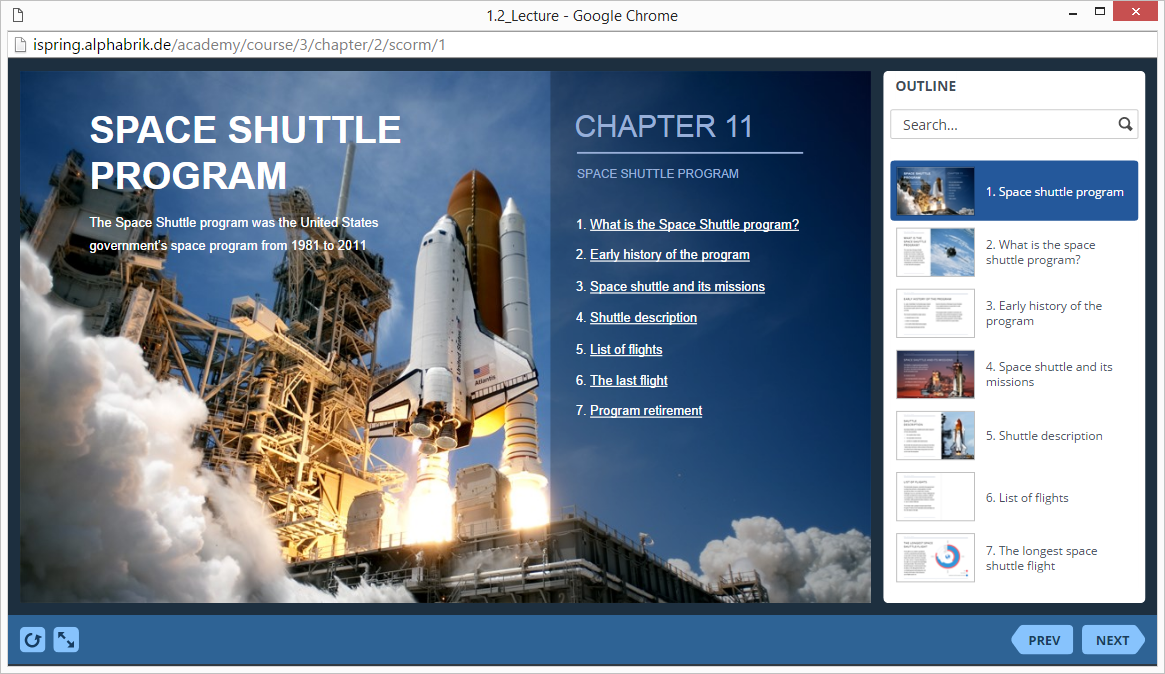
 Here is a course launched in WebCampus:
How to generate reports in WebCampus LMS
-
1
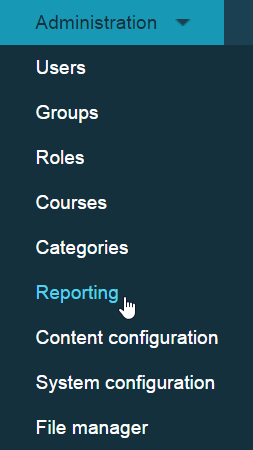
Select Reporting in the Administration drop-down list.
-
2
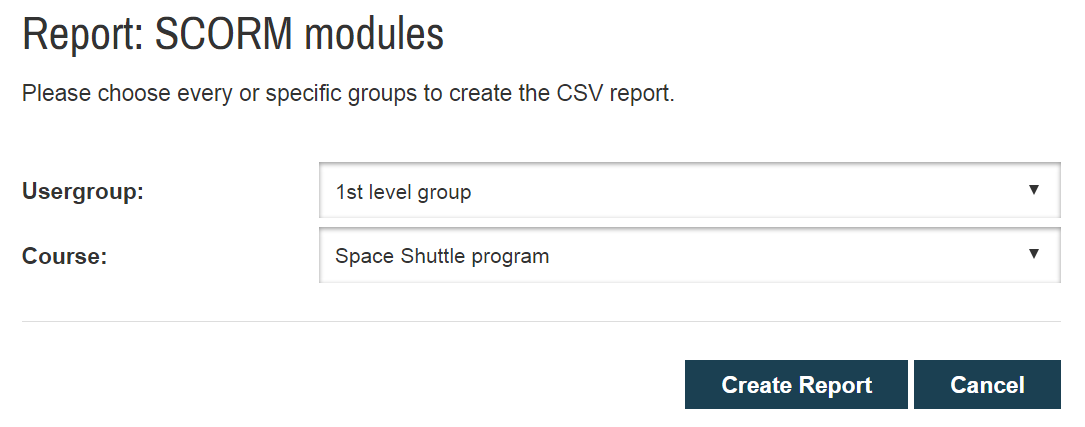
Select SCORM modules.

-
3
Select a course and a usergroup.
-
4
Here is a sample of an exported report.

Related Articles