How to Add a SCORM Course into EduBrite LMS
EduBrite LMS has gone through compliance tests with iSpring learning courses and we can now confirm that it supports SCORM uploading and reporting. Check out how to create a learning package with iSpring.
Just follow this tutorial on how to get your SCORM package into EduBrite LMS:
-
1
Make sure that you are an administrator or an instructor.
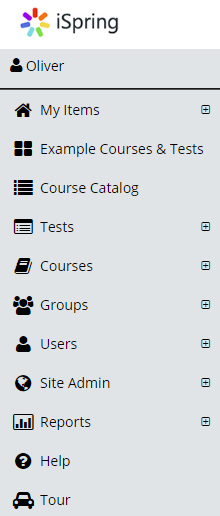
 If you are an administrator or an instructor, you will have access to an extended menu on the left side of the home page.
-
2
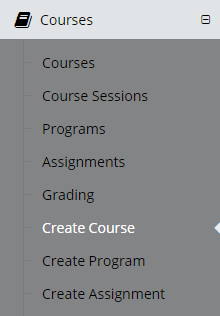
Select Create Course in the Courses drop-down menu.
-
3
Click on New course, and enter a course code and name.
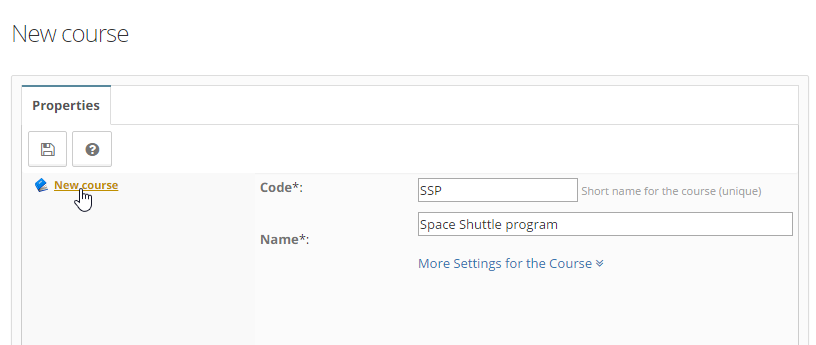 Do not forget to save the changes before you go to the next step.

-
4
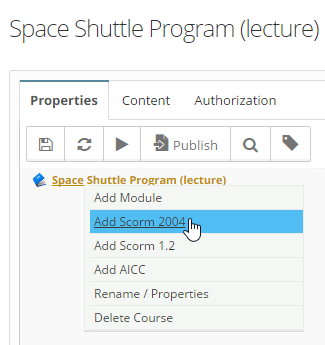
Right-click on the course name and select what kind of content you want to add.
-
5
In the open window, enter the module name and description.
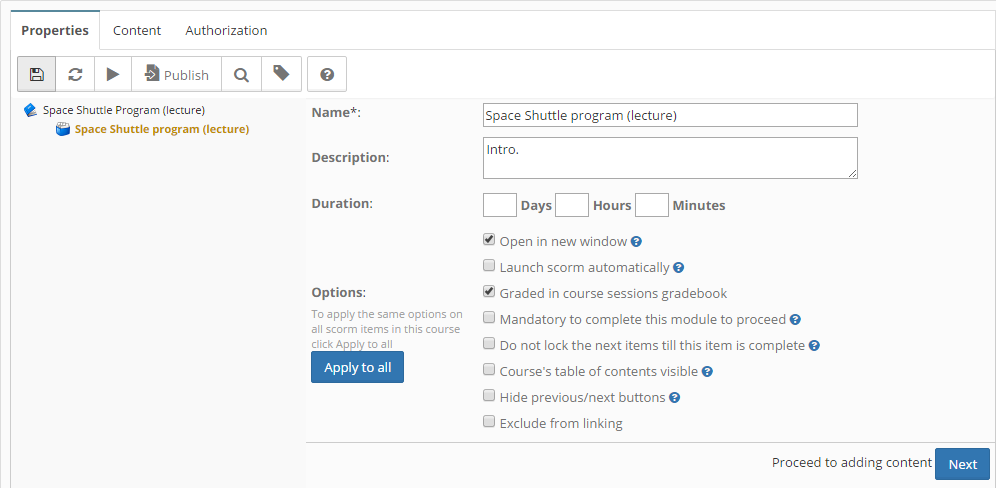 Do not forget to save changes before you click on Next at the bottom. Also, we recommend opening courses in a new window.
-
6
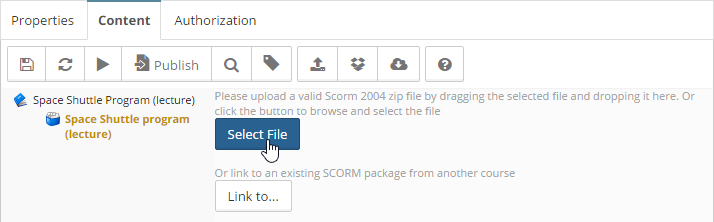
Now click on Select File under the Content tab to proceed with import.
-
7
Choose a file on your computer and click on Upload.

-
8
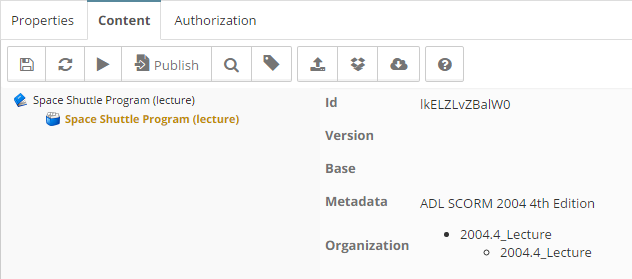
After the course is imported, it will be seen under the Content tab.
-
9
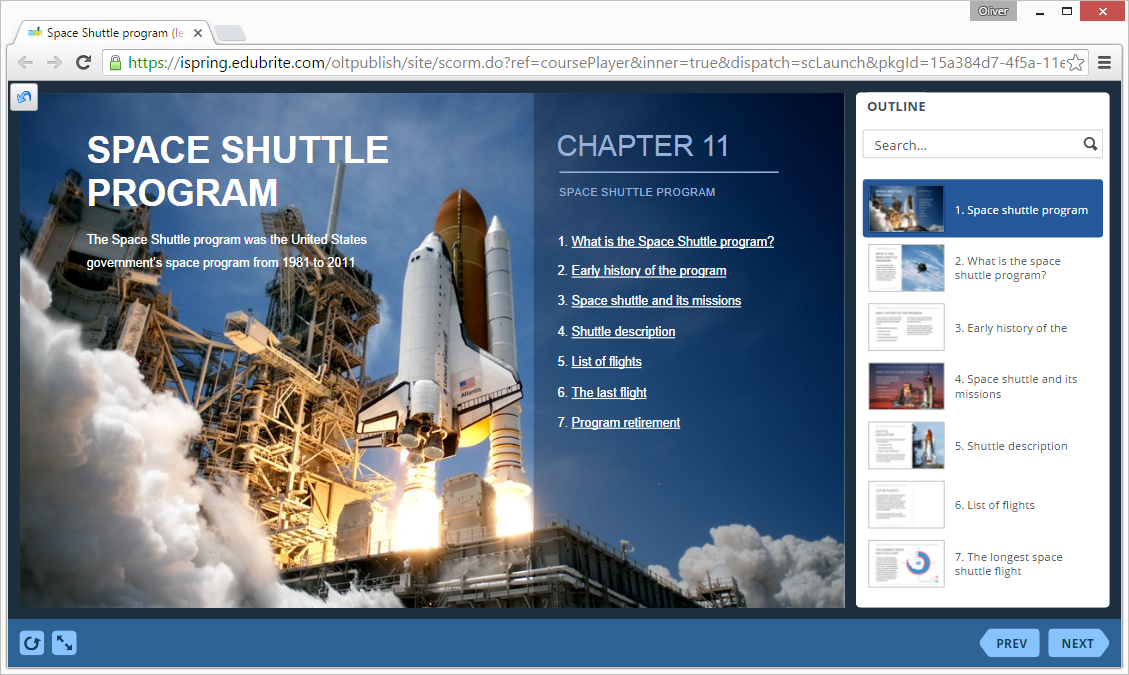
Here is an example of a course launched in EduBrite by a learner.
How to generate reports in EduBrite LMS
-
1
Make sure that you are an administrator or an instructor.

-
2
To see learners' progress for SCORM courses, select Gradebook in the SCORM menu.
-
3
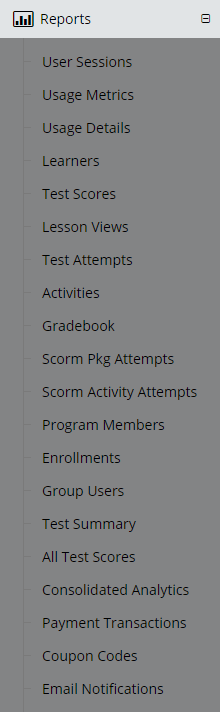
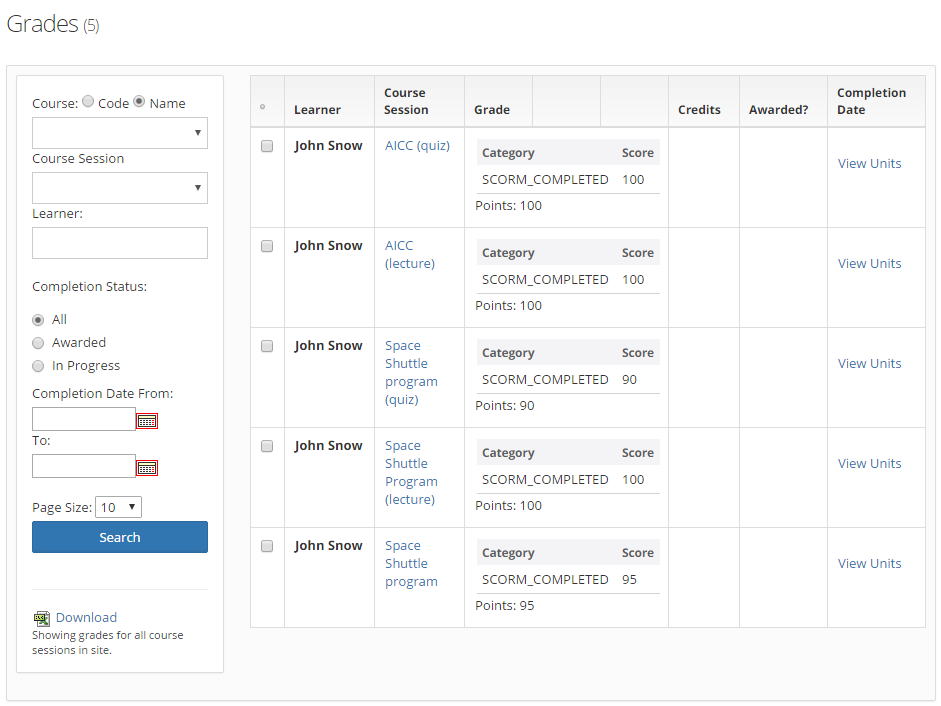
To see learners’ general grades, select Gradebook in the Reports menu.
-
4
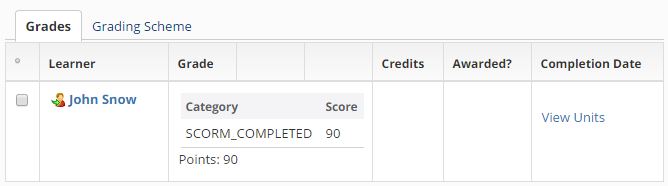
To see grades for a specific course, click on this course name.
-
5
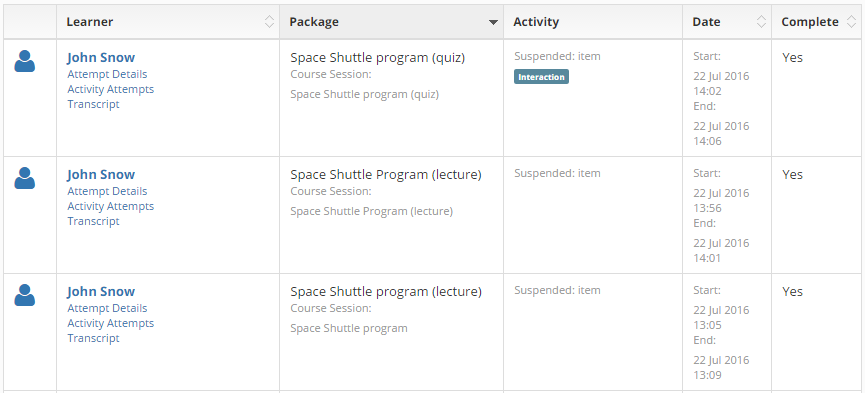
To see when learners attempted SCORM packages, select SCORM Pkg attempts in the Reports menu.
-
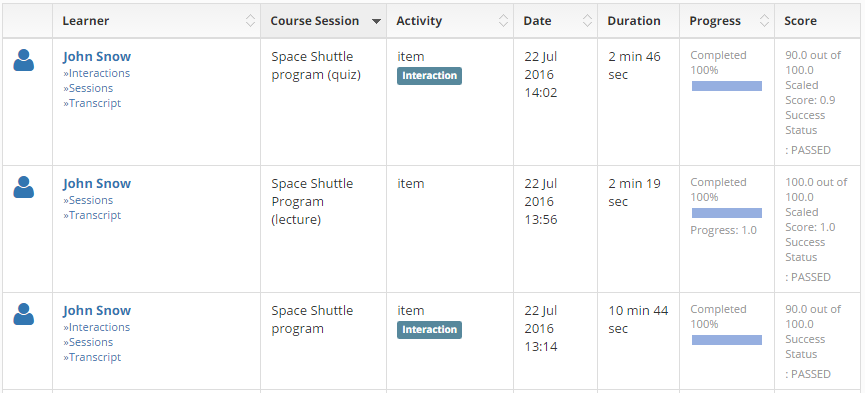
6
To see how learners answered quizzes, select SCORM Activity Attempts.
-
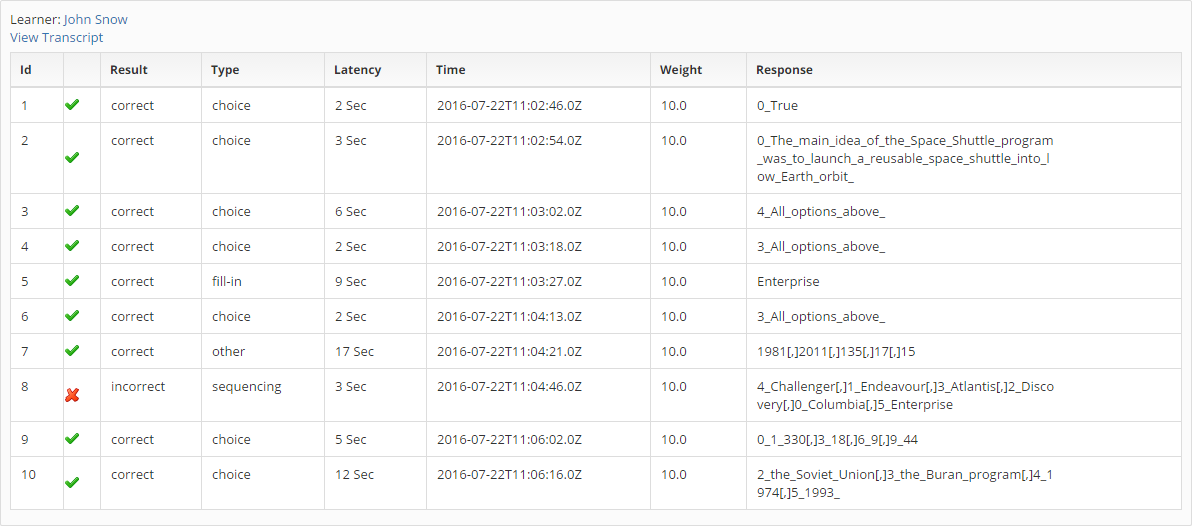
7
To see learners’ responses, click on Interactions.
Related Articles